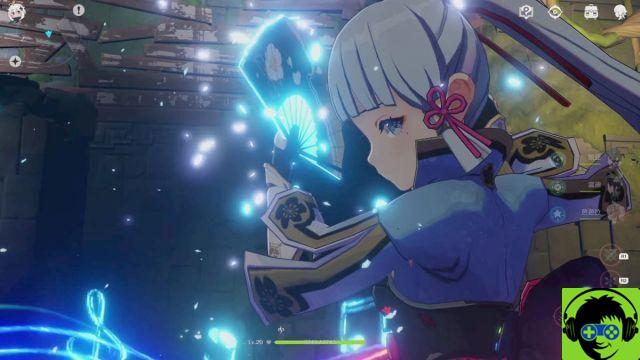
To unlock the blue gem in this happy level, you have to reach the end without destroying a single crate. No checkouts at all. So no checkpoints, no TNT and no Nitro. In many levels this would actually be easy. But here it is almost impossible. You will need to master the power-up of the tourbillon. Learn how to activate it away from the crates and deactivate it before you accidentally smash another pile of misplaced collectibles.
How 100% at each level | Guide to the locations of all hidden stones and crates | How to find ridiculous WOAH! Meme | WOAH YEAH! Easter Egg Guide | How To Beat All The Bosses | Neo Cortex, N. Tropy and more | How to get the 4 colored gems | Blue, yellow, green and red pitches
4-2: Draggin 'On | All crates and hidden gems
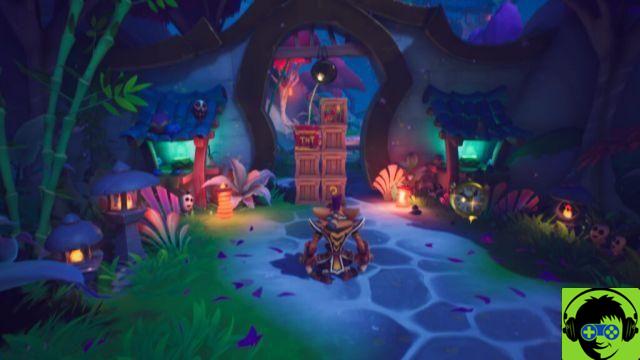
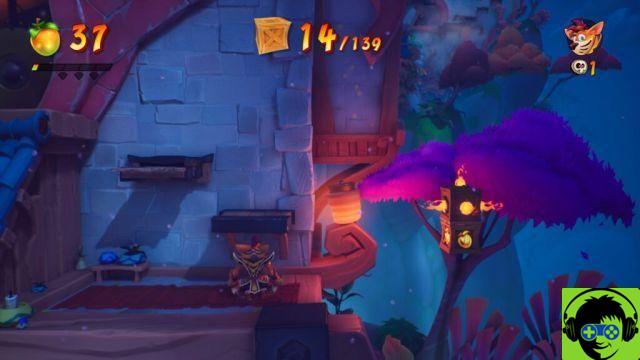
11/139: Crush all the crates at the start of the level that are on your way, ending with the checkpoint on the wall of the wooden platforms.
[[Easy to miss] 14/139: Above the checkpoint, there is a TNT box. Jump on it and destroy the two crates floating above before it explodes.
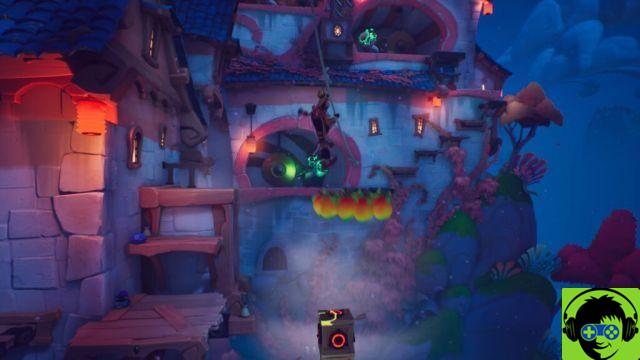
[[Easy to miss] 16/139: Only semi-easy to miss here. Climbing up the wall, there is a fire crate and a fruit crate floating to the right before reaching the gong haunted enemies.
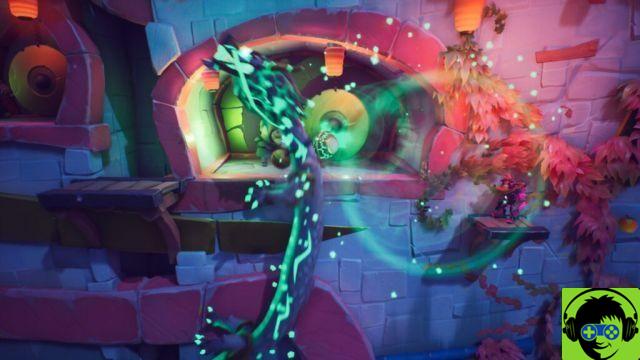
21/139: Continue to break all the crates, finishing at the second checkpoint. There is a floating crate that you don't want to miss when gaining the power of the whirlpool.
23/139: Bust two crates just to the right of the checkpoint.
[[Easy to miss] 26/139: There are 2 fire boxes and 1 floating box on the right before the rope swing.
51/139: Gain the power of the whirlwind and destroy all the crates while avoiding the gong attacks. This count stops at the third checkpoint - including checkpoint.
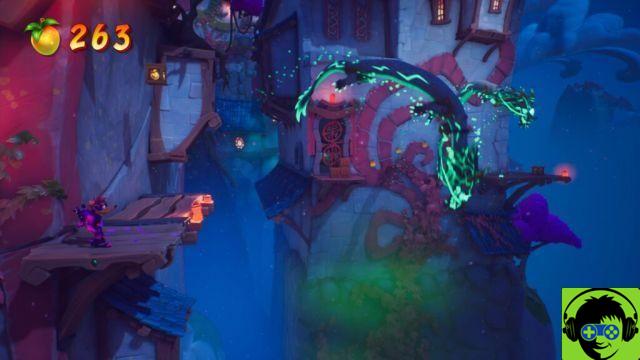
59/139: Use the whirlpool to fight through the three golems and destroy all the crates until you reach the 2D wall section patrolled by dragons.
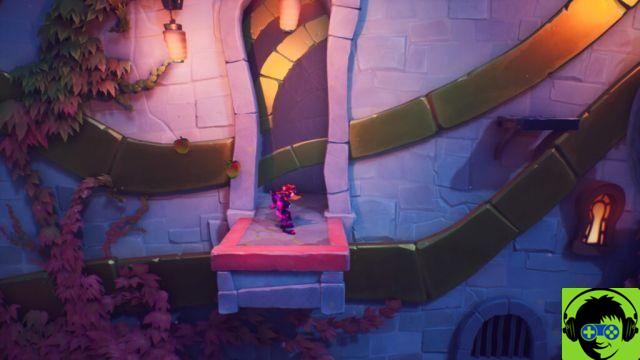
62/139: There are three floating crates on the left as you climb the dragon wall. You now have the drill.
63/139: Hit the floating golden fruit crate with your whirlwind power at the top of the dragon wall, before making the long jump to the wall in the background.
67/139: Keep moving on. Break all the crates and smash the checkpoint before getting on the platform.
68/139: An Aku-Aku crate floats above you when you reach the top of the elevator.
83/139: Crush all the crates on the way to the next checkpoint. This checkpoint is right next to the bonus room.
[[Bonus Room] 105/139: There are 22 crates in the bonus room. The only tricky part is placing the crate very high on a ledge near the center of the room. To do this, launch and bounce off the fruit crate - bounce and then use the whirlpool, using your double jump to reach the ledge and destroy the crate. The rest is simple.
[[Easy to miss] 117/139: Continue, defeat the golem in the alcove, then enter it. There is a secret path behind the wall with a lot of crates.
Hidden gem: The Hidden Gem is also located in this secret alcove.
125/139: Crush all crates, including checkpoint crates, before the last glove.
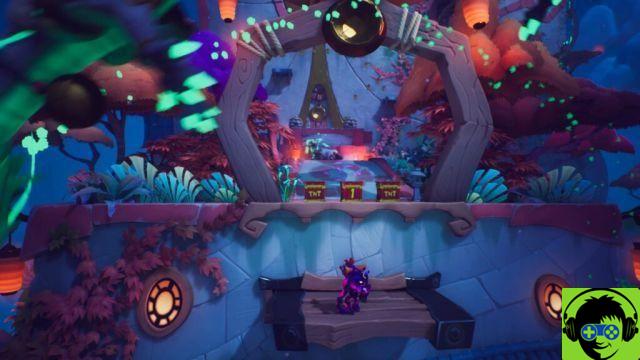
129/139: There are 4 boxes of TNT floating in front of the gong trap in front. Make sure you turn into a regular crash and trigger one.
[[Easy to miss] 130/139: There's an easy-to-miss crate that floats in the alcove with the golem.
134/139: Another batch of crates near the last checkpoint.
136/139: Do not miss the two TNT boxes.
139/139: The last crates are just before the level exit, at the top of the wall before facing the two golems.
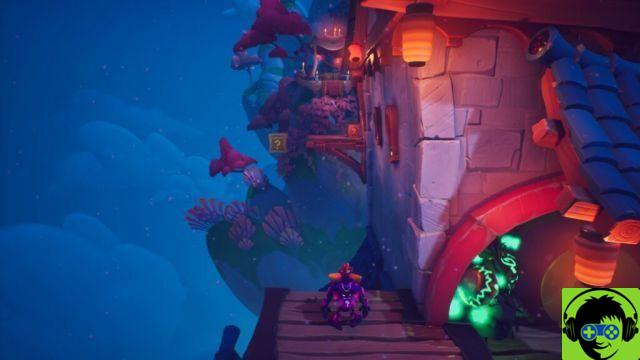
Blue gem: Complete this level without breaking a single crate to unlock this gem. Use the Bonus Room to give you a checkpoint.
- This will take a lot of practice. Make sure to time your tourbillon to turn it off (or on) when you're away from the crates so you don't accidentally break them. You will also need to use slide jump or just slide to erase the spaces without using the swirl.