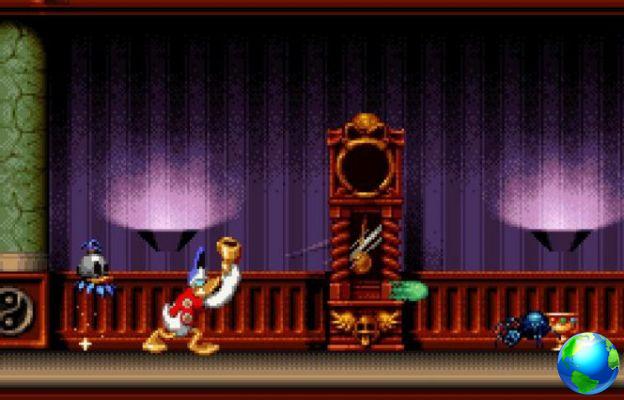
Even experienced Crash players might start to stumble in these later stages, where the challenges become surprisingly intense. There are even more crates hidden here, so let's dig in and finally finish this game.
How 100% at each level | Guide to the locations of all hidden gems and crates | How to find ridiculous WOAH! Meme | WOAH YEAH! Easter Egg Guide | How To Beat All The Bosses | Neo Cortex, N. Tropy and more | How to get the 4 colored gems | Blue, yellow, green and red pitches
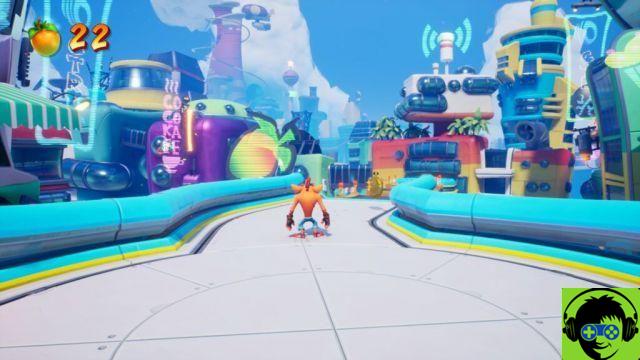
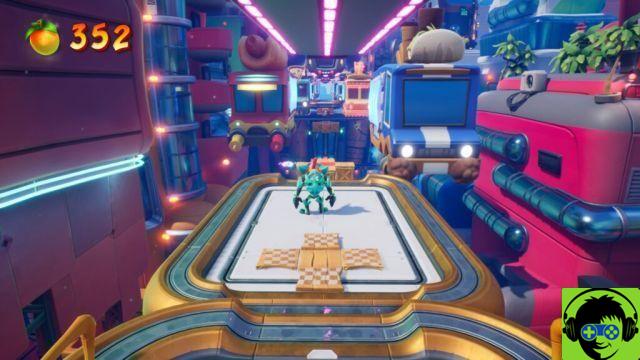
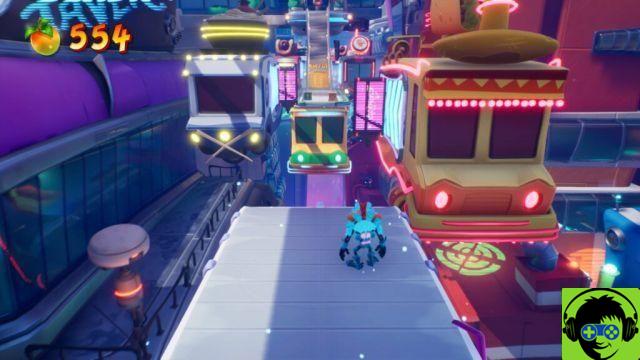
9-1: Food race | All crates and hidden gems
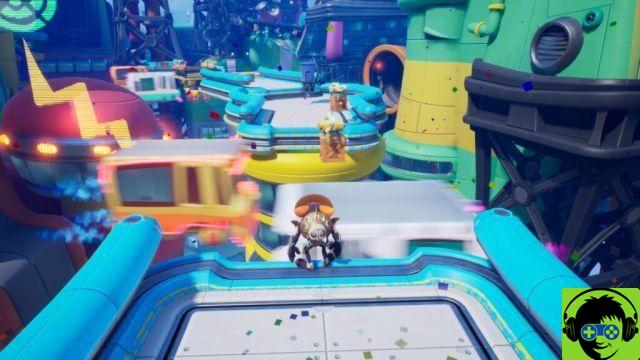
5/171: Destroy all the crates until you reach the flying cars. Do not miss the 2 crates floating above the TNT at the start.

Hidden gem: In the flying car area, look to the left edge. Get into a flying car to catch it.
16/171: Empty all the crates on the way to the first checkpoint - including the 2 crates to the right of the checkpoint. Don't miss the crates held by the flying drones.
22/171: Complete the idle power-up area and collect all the flying crates on the drones along this path, ending at the checkpoint before the gravity power-up.
33/171: Continue through the gravity power-up area, stopping at the checkpoint before the second flying cars.

36/171: There are 2 crates in the flying / wall car area. Continue to the checkpoint before turning on the tourbillon.
104/171: Destroy all the crates in the whirlpool section until you reach the checkpoint just before the wall / flying car / gravity racing section. Don't miss any solid crates!
[[Easy to miss] 120/171: Delicate cases in this area. Use gravity to lower and activate the three sets of TNT crates. You will often have to change gravity to come across these. Continue to the checkpoint before energizing the phase shift.
[[Bonus Room] 158/171: Complete the bonus room to win 38 crates. To complete this you need to use slow motion and rush to the bounce box at the end of the room.
- Do not jump on TNT at the start. Bounce off the normal crate, activate Nitro in slow motion, and use TNT to avoid the Nitro explosion.
- Bounce off the TNT at idle, land on the Nitro, then use the idle to hit the bounce box at the end before the Nitro detonator fires.
- You have to destroy the fruit crate above the bounce crate. If you get to the bounce box on time, you'll be able to move up to the next level and complete the rest of the room.
168/171: Destroy all the crates in the phase shift zone after the bonus room.
[[Easy to miss] 169/171: On the last flying car setup section, there is a single crate on a drone flying around the center. Reach the end, then get in a flying car up to the drone to crush it.
171/171: Don't miss Crate 1 and the Nitro Detonator at the end of the level.