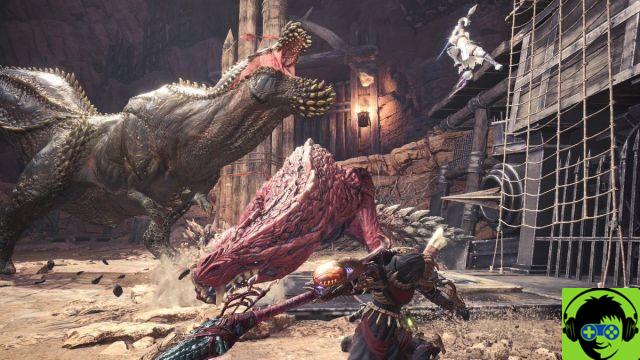
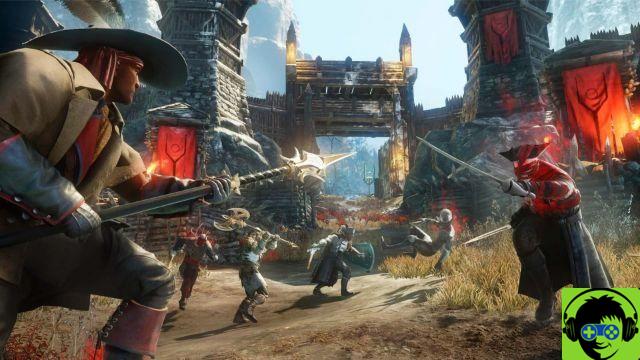
With the theatrical release of the new Star Wars movie "The Last Jedi" the Star Wars Battlefront 2 game (which we had the opportunity to thoroughly try out the demo) introduced a new scenario. So we're pleased to offer you our guide to Crait, the mining planet at the centre of a beautiful clash between the First Order and the Resistance. The Guide will be divided into two parts, one for attackers and one for defenders.
Read also: everything you need to know about EA and microtransactions
THE ATTACK OF THE FIRST ORDER - THE ADVANCE
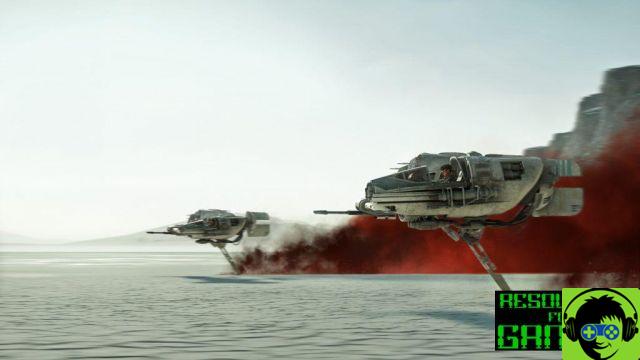
The battle begins with First Order troops deployed and ready to advance to the enemy trenches. We'll be just ahead of the legendary walkers. The recommended class for this start is the specialist. Once the sniper has been chosen the ideal is to find refuge behind the paws of the walkers. Use them as a shelter, advance slowly and keep your sight on the holes in the ground. Every time you see a head come out, fire, then cover and reload. Watch out for the abysses below you as you advance. The greatest danger, apart from the enemy specialists, are the Resistance ground troops. These spiders raise a large cloud of poor red, which will take away practically all your sight. Hitting these vehicles is a good way to score points quickly, as they tend to crash easily into AT-M6s.
DRIVING TO CRAIT - THE OCCUPATION OF THE HANGAR
Once you pass the trenches, you'll find yourself in the hangar. There are two options here. Continue at a distance with the specialist, or break through laterally with the assailants. The best way to break through is to go around the outside of the hangar. Usually it is less defended than the centre and you could pick up enemy resistance on the sides, opening the way to the heart of the map. From this point on, if you were good enough, you could start using the Heroes. The advice is to take the AT-STs, which are really devastating inside the hangar. Even characters like Boba Fett and Phasma are useful at this stage, while for the others, especially those armed with lightsabers the advice is to wait.
CRAIT GUIDE - THE GENERATORS
The last step is to destroy the rebellion generators that are closing the heavy blaster doors. At this stage there's a central strectoria, heavily defended. The rebels in fact place turrets, heavy soldiers, snipers and so on. The ideal strategy is to take a small group of soldiers and try to get around the funnel in the left passage. Here you will certainly find resistance, but always less than the center of the map. Once broken through from this point, you can take possession of the raised structures and hit the enemies from the side, decimating them. The ideal class for this feat is the tank without forgetting the importance of officers able to give good bonuses to all comrades. Following these steps should not be difficult to make many points and close the battle victoriously for you and the First Order.

RESISTANCE TO LAND INVASION - THE TRENCHES
As for the other side of the map, the start of the mission takes place in the dense network of tunnels dug under the planetary surface. These tunnels have numerous surface outlets and allow us to move around without being killed. The ideal class with which to tackle this part of the mission is, of course, the specialist, but there is a rather risky tactic that could prove successful. In fact, if you manage to get out in the outer parts of the map, arriving at the network of tunnels that is halfway through, with an assailant you could get out behind the advance of the walkers and hit the Troopers from behind. An extreme tactic, but one that sometimes pays huge dividends. If you use the ground fighters, remember to cut the walkers off, raising the annoying dust and preventing them from firing on friendly lines.
GUIDE TO CRAIT - THE DEFENSE OF THE HANGAR
Once folded into the main hangar, the heavy soldier will become our best friend. Turrets, traps, grenades and shields will be essential to resist the imperial advance. Be careful to cover the sides of this part of the map, particularly vulnerable. In the center of the hangar there is a control cabin, it is central and quite covered and is a good shelter to hit the enemies making it difficult to fire back. A very useful hero at this juncture is Leila. The princess in fact can generate a very useful shield that can provide shelter from enemy attacks, except exposing himself with his very effective single shot weapons. Don't underestimate her.
CRAIT DRIVING - CLOSING DOORS
If the empire were to take the hangar as well, which is practically always the case, all that remains is to protect the generators that power the anti-blaster doors. Again, the heavy soldier is our best friend. Defending the central access passage is fundamental, without forgetting however the passage on our right, vulnerable to the incursions of our enemies and decisive to obtain the final victory. Heroes such as Luke Skywalker and the Wookie are very effective in taking out many enemies in series. So the guide to Crait is complete, now you all have the tactical keys to dominate the salt planet and may the force be with you!