It all happened by chance: record a mini video on TikTok and Instagram and it goes viral. Then I realized that not everyone knows the right handle to use for taking photos with iPhone (also applies to recording videos). In this video I show it to you and it is the same one that I also use for take pictures with my iPhone. PS At the end of the video also an additional tip!
The grip is everything!
What I am about to tell you is not only valid for the iPhone but, in general, for any smartphone! Nowadays the devices become more and more "narrow and tall" due to the new ones display formats (such as 16: 9) which undoubtedly offer a more immersive experience, but which do even more difficult the smartphone grip.

So here's what this trick comes against us by radically changing the quality of the photos taken! In fact, if you don't know it, one of the most relevant factors of a photo is the so-called "Shutter speed". These (put simply) self-regulates into your iPhone's camera so you can get a shot properly exposed (neither too bright nor too dark).
Therefore, they are created two situations diametrically opposite: when there is a lot of light the shutter speed is very short, the lens takes the photo in a split second not to let in too much light. When there is little light instead, (and for these we have 10 tips for taking night photos on iPhone), the lens stays open more time (even a few seconds) to let in as much light as possible.

You understand that even the smallest movement of the smartphone would result in a snap completely to be thrown away! For this we are met by the software of the camera (more and more advanced) or the optical image stabilization (OIS) but sometimes these too they are not enough if the handle is wrong!
The correct grip
In short, it is unthinkable to go around with a tripod, also because the beauty of photos with the smartphone is precisely that of having a “Point and shoot” always available! But by following this little trick you can incredibly improve the quality of the shots eliminating flickering and blurring.

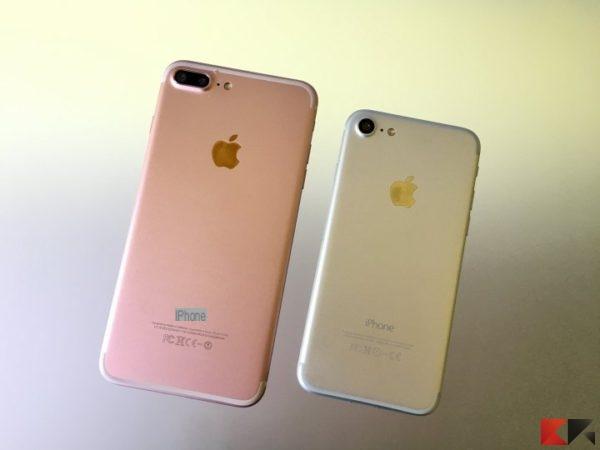
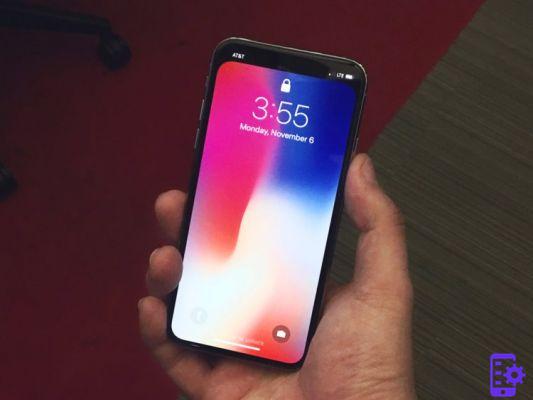
As you have seen in the video and in these images, the correct grip is reached curling his hand in such a way as to support the smartphone from the bottom: by doing so the smartphone will be held securely in hand (without danger of it falling) but above all they will come minimized shaking.
The other hand will obviously do the rest, clicking the shutter button, changing settings, zooming .. in short, worrying about everything else without compromising the shot! Obviously this trick as mentioned, works on any device, but there are also accessories and other tricks that we have shown you over time:
- VISIT | https://www.shuttercase.com/