You have seen the function HDR photo iPhone but you absolutely don't know how to use it?
In our guide we will find that what is HDR function, how to use it and some tricks to take beautiful pictures with your iPhone!
What is HDR iPhone Photos
Have you opened your iPhone's camera and noticed HDR at the top? Here, the first thing you need to know is precisely what is HDR iPhone photos.
HDR, that is High Dynamic Range (Wide Dynamic Range), is a technique that is used in graphics and photography to make sure that the lighting calculations can be made in a larger space and that, therefore, it is possible to represent very high or very low lighting values. .
Think that when the photographs were still developed in dark rooms, photographers used special techniques to apply HDR to their images in process. Now, however, this function can be activated directly from the camera of the iPhone and other smartphones that have this option!
How to use HDR iPhone photos
We have seen what HDR iPhone photos are but we have yet to find out how to use it and above all when it is convenient to activate it.
As we told you, the HDR function is used for make the relationship between light and dark more dynamic in una photography.
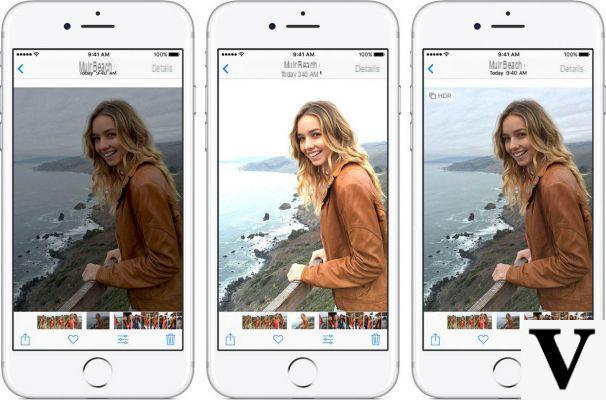
Basically, instead of taking a single image, HDR shoots at least 3 photos in sequence, made with different exposure levelsThese are:
- a darker photo, therefore underexposed;
- una photo normal;
- a brighter photo, therefore overexposed
Finally, the most interesting details of each photo come gathered in a single image which is processed by the camera digitally and in real time.
It is no coincidence that HDR photographs require more time to be processed after shooting.
How to activate HDR on iPhone
By the way, how to activate HDR on your iPhone? It's very simple: open the Camera of the iPhone, click on options and activate the voice HDR. Now, for each photograph, the camera will take several photos with different light exposures, and then merge them into one well exposed image.
Remember that, before opening the Camera app, you need to check the HDR settings in the Settings section of your iPhone: go to Settings> Camera and finally on HDRat the bottom of the screen.
When to use HDR iPhone photos
HDR was created for enhance your photographs but there are some specific cases in which it is particularly recommended to activate this feature.
Let's see together how when to use HDR iPhone photos:
- Sunlit portraits: sunlight is not always a friend of photography! In fact, when you are about to take a portrait, too much light on the subject's face can create glows and dark shadows that damage the image. HDR can be useful in eliminating these defects by making the light more uniform
- Landscapes: one of the problems of landscape photos concerns the contrast between sky and earth which, in a single photo, makes the sky appear too light compared to the rest or the earth too dark. To avoid this defect, it is advisable to activate the HDR function which will be able to make the contrast less strong
- Poorly lit subjects and environments: If the subject or environment is too dark (usually indoors), the scenery will be too dark or backlit. The iPhone HDR photo is able to illuminate the foreground without excessively illuminating the already bright areas of the image.
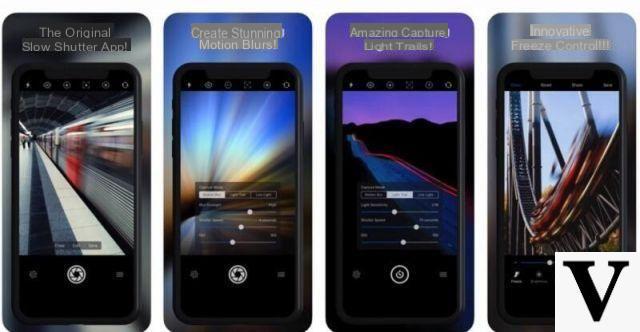
And if you want to get even more positive results, you can download aapp HDR dedicated. We advise you Pro HDR X which offers tons of HDR shooting and editing options to modify and customize the final result of your images.
Limiti HDR photo iPhone
We have shown you the advantages of the HDR option present in the camera of the iPhone and other latest generation smartphones, but it is also fair to tell you about the limitations of HDR.
We can say that i lmedicine HDR photo iPhone they are mainly 3:
- Slower processing: As there are three photographs, the images take longer to process. You will notice a greater slowness from the moment of shooting;
- Weight of images: the weight in MB of the single photos taken in HDR is greater, so much so that each image can occupy about double the space compared to a normal photo;
- Camera in motion: Since HDR takes more photos at the moment of the click, if the camera is moving the final image will not be the best. So, hold your iPhone firmly or use a tripod. The same is true if it is the subject of the photo to move: in this case not even the tripod can help you and the photo will be blurry.
So, learn to use the iPhone photo HDR function at the right time, for example when you face plays of light and shadow or contrasts between lighter and darker areas and when you shoot, remember to keep your smartphone still!