This is very easy to do on Mac computers, for example you can give permissions to users who share or connect to your Mac, to see the files, but cannot edit them.
This is usually a task you should know, if you are the person who manages the permissions on your computer, but if you don't know how to do it, don't worry with this tutorial you will know what you should do. As we did in another article it might show you the steps to follow to change the attributes of a read-only hard drive in Windows.
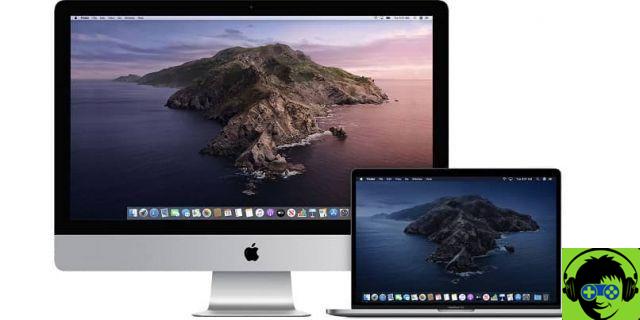
How to change the permissions of an external hard drive on a Mac
Next we will show you what you need to do to be able to assign permissions to an external hard drive that we will connect to an Apple Mac. These steps work the same for both individual users and groups. The first thing we need to do is connect the external hard drive to the computer, then you need to select it and choose the File option.
The next step is to click on the Get Info option, the option Sharing and permissions it should be visible here . If not, you need to click the triangle to bring up a menu and you'll find that option here. Then go to the lock icon and click on it to unlock it.
The next step is to add the following information, administrator name and password, then you need to choose or select one of the names in the column. Then you have to choose one of the privileges in the menu, Read and Write, if you choose this option it will allow users to open the disk and modify its content.
Several options for changing the permissions of a hard drive
The Write Only option, if you choose this alternative you can only record the information in it, without having access to open it. And finally the No access option, where disk access is blocked, when you want you can undo the changes you have made in the administrator privileges, by entering the Sharing and permissions section.
Once the window is open, go directly to the Action option, select it and in the menu you have to choose the Revert changes option. If what you want is to grant permissions to all items on a disk, you need to do the following, choose the disk you have connected, then click File and then click Get information, where you can also retrieve information if the disk has been damaged
The next step is to click the lock icon to unlock it and enter the administrator name and password.
Then in the menu you will select the Action option and find and choose the Apply on all items option. The next is when you want to change the owner of an object, in such cases you have to do the following, first you have to choose the object and then File and then Get Info, click on the lock, so that it is unlocked.
The next step is to enter a name as administrator and add a password, if this name is not in the list, you need to do the following. Go to the Add option, so you can enter the new name.
After performing this step, select this name in the column, click Action, and then choose the Make __ owner option.

As always, you can undo the changes you have made, for this go to the Sharing and permissions section. Then click on the Action option and finally choose the Revert changes option.
And so we come to the end of this tutorial, which explains in detail the steps to take to change the permissions of an external hard drive on a Mac.