


Streaming software has been around for a long time. With the growing popularity of services like YouTube and Twitch, more and more software is available for streamers. Streamlabs OBS is one of the newest and most popular streaming software suites available today. The system allows you to configure and start streaming on almost any platform. Here's a quick guide on how to get started broadcasting on Twitch and YouTube.
Select your platform
 Screenshot via Streamlabs OBS
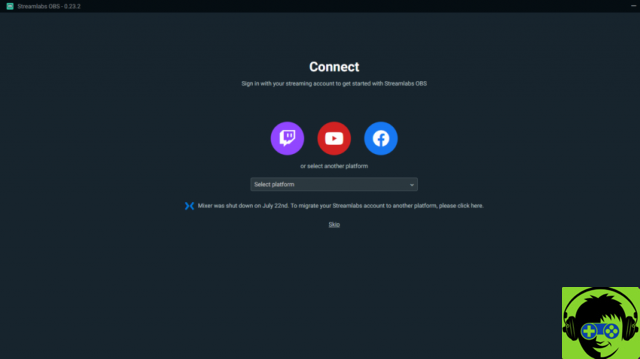
After downloading and installing Streamlabs OBS you can connect to any platform you want to stream on. You can choose between Twitch, YouTube, or Facebook. You will need to already have an account on the platform you choose to be able to log in and start streaming. After creating an account on one of these platforms, simply log in through the Streamlabs software.
Depending on how your account was created, you will most likely need to give Streamlabs permission to access your information and make changes. Specifically, you will need to allow the software to create, edit, or delete videos for your channel on the platform you choose to stream on. Go ahead and press "Allow" if you get the prompt.
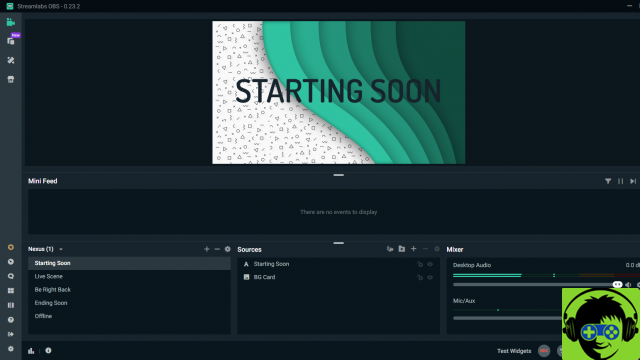
Start OBS
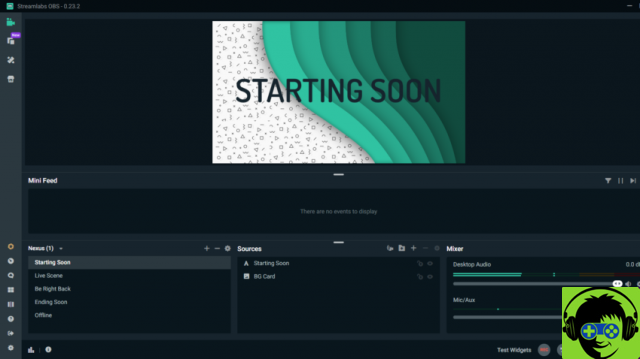 Screenshot via Streamlabs OBS
Once you've logged into the platform you want to stream, you'll be taken to a new window in OBS. In this window, you can either import the settings you have already defined for the software, or start from scratch. If you are new to the software, it is a good idea to just click on the "start over" button. The next screen will allow you to choose from a selection of default themes that you can use for your feed. These themes include images that are used when you pause your feed, wait to start, and when you end your feed. All of these are useful and you can choose any of them to get started or just click on the “jump” button at the bottom right. You will also receive a screen to sign up for Streamlabs Prime. A Prime membership comes with a lot of useful features, but it's not really necessary when you are getting started for the first time. For now, just click on "Ignore"
Then you will be taken to a window where you can choose your audio and video inputs and check if everything is recording correctly. If you have already connected your microphone and / or your camera, you can choose them from the drop-down menus available on this screen. There is also a bar that will show the approximate volume of your voice. When you're done choosing the right audio and video inputs, tap Continue.
You should now see a large blank screen in the middle of the main Streamlabs window. This is a preview of what your feed will look like. If you have a second monitor, it would be a great idea to keep this window open while you play so you can see what your stream looks like. This main window has many essential features for streaming. At the bottom of the screen are boxes labeled Scenes,


