


You have decided to publish photos you have taken in public on the Internet, but before doing so you want to protect the privacy of the people immortalized in the shots by censoring their faces. The effect you want to achieve is the "pixelated" one that is often seen in newspapers and on TV but you are not a great expert in photo editing and you do not know how to apply it to your photos. Do not worry!
Even if you have no experience in the field of graphics you can "pixelate" the faces of the people in your photos easily. Just use IrfanView, a free program that is mainly used to view images but also allows you to do photo editing. If you want to find out how to censor a face in a photo using it, follow the tips I'm about to give you.
The first move you need to make to learn how to censor a face in a photo is to connect to the Irfanview website and click on the green button DOWNLOAD NOW!. On the page that opens, click on the item Download Now to download the program to your PC.
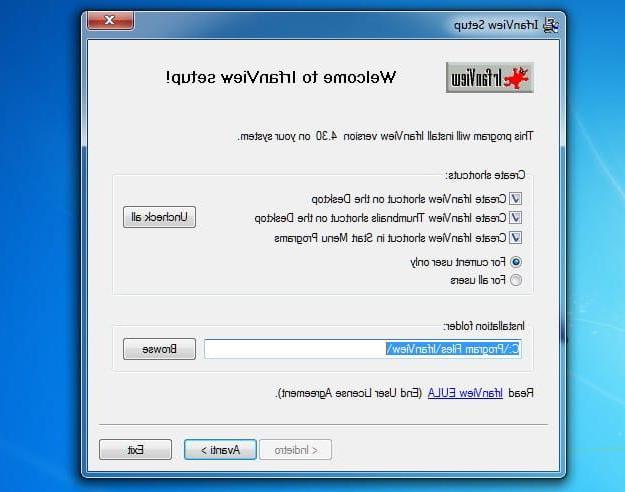
When the download is complete open, double clicking on it, the file you just downloaded (iview430_setup.exe) and, in the window that opens, first click on Yes to authorize the installation (only on Windows 7 and Vista) and then on NEXT for two consecutive times, Images Only (to open images directly with Irfanview), again NEXT three consecutive times, Yes e Done to complete the Irfanview installation process.
Now open, by double clicking on it, the photo in which you want to censor faces and use the mouse to draw a rectangle around the face (or eyes) of the person to be censored. Then select the item Effects > Pixelize from the menu Image of Irfanview and the “pixelated” effect will be applied immediately to the selected portions of photos.
After censor a face in a photo, you can save the "pixelated" version of the image by clicking on the icon floppy disk present in the Irfanview toolbar. In the window that opens, indicate the folder in which to save your censored photo, type the name you want to assign to the file in the field File name and click on Save but I will complete the operation.
How to censor a photo


