


An unframed photo is like a cake without icing. All photos, even digital ones, should have one to be more beautiful in the eyes of the beholder. Do you agree? So don't stand there staring at me and run on the sites I'm about to report to you.
There are a number of online services on the web that allow you to apply free photo frames to digital photos and today I want to introduce you to some of the prettiest and simplest to use. All you have to do is collect your family album and start "operating"!
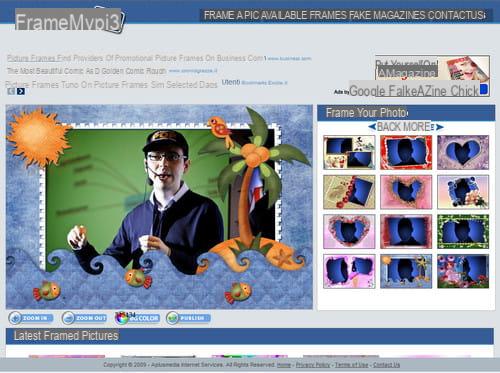
The first online service that I recommend to decorate your photos with free photo frames is FrameMyPic. Then connect to the main page of the site and click on the button Upload Picture to select the photo you want to frame. On the page that opens, use the menu located on the right to select the type of frame to use for the photo (by clicking on More to browse them all) and click on Publish to save your framed photo.
To save the photo on your PC, right click on it and select the item Save image as from the menu that opens. You can also move the photo in the frame by clicking on it and moving the mouse cursor, and increase / decrease its zoom level, using the buttons. Zoom In e Zoom out.
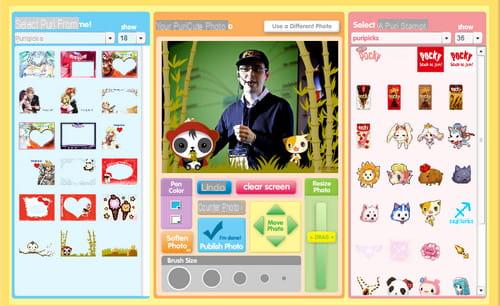
If you love the fun style of Japanese cartoons and are looking for free photo frames you can only contact Puricute, an online service that allows you to easily apply very nice frames with “anime” style characters to digital photos. To start having fun with Puricute, all you have to do is connect to the main page of the site and click on the button Browse to select the photo you want to frame.
When loading is complete, use the box on the left to select the frame to use (use the drop-down menu at the top to browse the various categories of frames available), the box on the right to insert additional symbols and characters in the photo and click on the blue button Publish Photo to save the framed photo. On the page that opens, first click on Skip Sign Up and then SAVE to JPG File to save the photo on your PC.
To create framed photos that can also be used as electronic postcards, connect to the Frame Show site. Then choose the frame you want to apply to your photo by clicking on the item Choose frame that appears on its preview when you hover over it with the mouse pointer, select the photo you want to frame from your PC by clicking on Shop by Department (below) and click on first Upload photo and then OK to merge image and frame.
Use the scroll bars stairs e Rotate, respectively, to resize and rotate the photo in the frame and, when you are satisfied with the result, click on the tab Send E-Card (top right). On the page that opens, click on the button Get E-Card URL to get the address of the virtual postcard created, or select the framed photo with the right mouse button and click on the item Save image as from the menu that opens to save the photo on your PC.
How to create free photo frames


