


Preliminary information

Prima di enter the live tutorial, walking to spiegare come fare the signature digital your Word, there are some preliminary information, in this regard, which it is my duty to provide you.
In case you aren't aware of them yet, you need to know that they exist different types of signatures that you can put on documents, some of which have full legal value. You will find them all listed below.
- Company "simple" electronics - it consists in printing or drawing one's signature by means of a “generic” device (a touch pen or a mouse). In this case, the legal value ceases, as the use of tools capable of guaranteeing the authenticity and integrity of the autographed documents is not envisaged. In any case, it is up to a judge to assess, from time to time, whether an electronic signature of this type is authentic or not.
- Advanced electronic signature - it is a type of electronic signature that is generated with means that allow to demonstrate the integrity of the document and over which the signatory has exclusive and direct control. It has legal value, except in the stipulation of real estate contracts.
- Qualified electronic signature - represents one of the most advanced forms of electronic signature. It can be applied through qualified tools, such as kits issued by certification bodies, coupled with the use of the companion software, to which the reference document must be "fed", by entering the password of the signature user account, selecting the certificate and typing the OTP code generated by the remote signature device. It has full legal value and certifies the originality and also the integrity of the documents that have been signed in this way.
- Digital electronic signature - this is also a signature that has full legal value, as it involves the use of asymmetric cryptographic systems, i.e. cryptographic systems in which a pair of keys (one private and one public) is used to verify the originality and the integrity of the signed documents.
For more details and, above all, if you are interested in understanding how to obtain a digital signature and how to use it to authenticate your documents even without Word, you can consult my tutorials dedicated specifically to how to obtain a digital signature and how to apply the digital signature.
How to digitally sign Word from a computer
Are you interested in understanding how to digitally sign Word from computer, using the classic version of the program for Windows e MacOS? I'll explain immediately how to do it, it's a real breeze. I anticipate that you can act in various ways: by inserting the scanned image of your signature, tracing the signature at the moment with a mouse or stylus or by entering the digital electronic signature, using a service recognized by Microsoft.
That said, the first step you need to take is to start Word on your PC, selecting the relevant one collegamento that you find in Start menu (if you are using Windows) or in the Launchpad (If you are using MacOS).
If you don't have Word installed on your computer yet, you can fix it by following the instructions on what to do that I gave you in my tutorial on the subject. In this regard, I want to clarify that you must have a Microsoft account and that it is not a free operation. To do this, in fact, you will need to subscribe to Office 365 (with costs starting from 7 euros / month) which, however, can be tried at no cost for 30 days.
After completing the above steps, once the Word window is displayed on the screen, draw up the document in which you intend to insert the signature, by going to the section New on the left sidebar and then clicking on the item Blank document, on the right, or by selecting one of the models available. You can also open a previously edited file by selecting the tab apri in the sidebar and choosing whether to pick it up from OneDrive, your computer, or another location.
Now that you are viewing the document, if you want to insert the scanned image of your signature, click on the point in the document where you want to affix it, then select the tab Inserisci located at the top, press the button Images and select the scan file. Then click on the button Inserisci.
After inserting the signature image in the document, if you deem it necessary, you can resize it and choose how to place the adjacent text: as regards positioning, move the mouse cursor over one of the shot found on the selection rectangle of the signature image, click on it and, while continuing to hold, drag it. To define the positioning of the text, instead, click on the button Layout options that you see appearing directly next to the image and make your choice from the menu that opens.
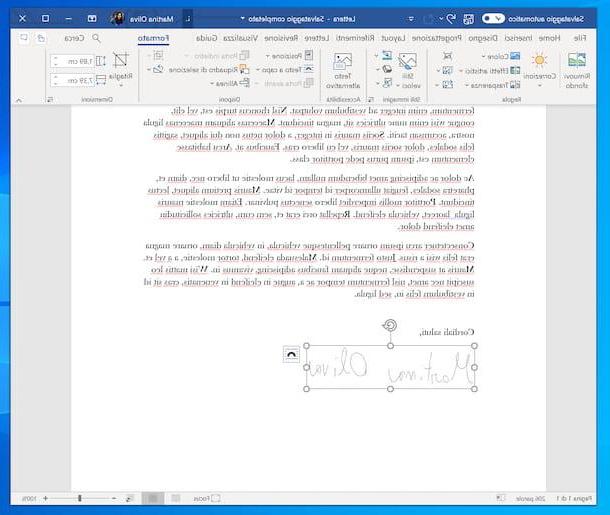
If you do not have at your disposal the scan of the signature and therefore want to trace it at the moment, you can take advantage of the drawing tools integrated in Word: after clicking where you want to sign, select the tab Design present at the top and click on the type of pen you want to use. To adjust its properties, such as thickness and color, click on dart that you find in correspondence with the chosen pen and act from the menu that opens.
Afterwards, please sign your document using the mouse cursor. To use a tablet or other input device or the computer screen (if touch-screen), instead, first click on the button. Editor input penna which is located at the top.
Do you want to affix the digital electronic signature to your document? Then proceed as follows: click on the point in the document where you want the signature to be inserted, click on the card Inserisci located at the top and select the icon with the paper and the pen which is located at the top right, to take advantage of the Signature line.
In the box that opens, type the name of the person who is required to sign, in the field Recommended signer, indicate the person's title in the text field Recommended signer title, provide the recommended signer's e-mail address in the appropriate text field, enter instructions for the signer in the appropriate text field and, finally, choose whether to allow the signer to add comments in the signature dialog box and whether to show the date in the signature line, then click the button OK.
To digitally sign the document in which the signature line has been inserted, it will then be necessary to double-click on the signature field, click on the button Yes and follow the instructions proposed by Microsoft on the web page that will open in the browser.
In addition to what I have just indicated, you can also insert the digital signature in an invisible way. To do this, click on the menu Fillet situato in alto a sinistra, selects the voice Information from the menu that appears, click on the button Protect document, scegli l'opzione Add digital signature and proceed in the same way as I have just indicated.
How to digitally sign Word Online
If you do not have Word installed on your computer or if you want an alternative to the "classic" Microsoft word processor, I inform you that you can rely on Word Online, accessible from any browser and operating system and completely free, to insert the image of a previously scanned handwritten signature. The only requirement, to be able to use it, is to have a Microsoft account.
To use Word online, therefore, open the browser that you generally use on your computer to surf the Net (eg. Chrome), go to the home page of the service and log in to your Microsoft account.
After completing the above steps, draw up the Word document you intend to sign by clicking on the button New blank document or by selecting one of the models existing. Alternatively, you can select a previously drafted document by taking it from OneDriveby clicking on the link More in OneDrive, or by uploading it on the spot, by clicking on the link Load and open.
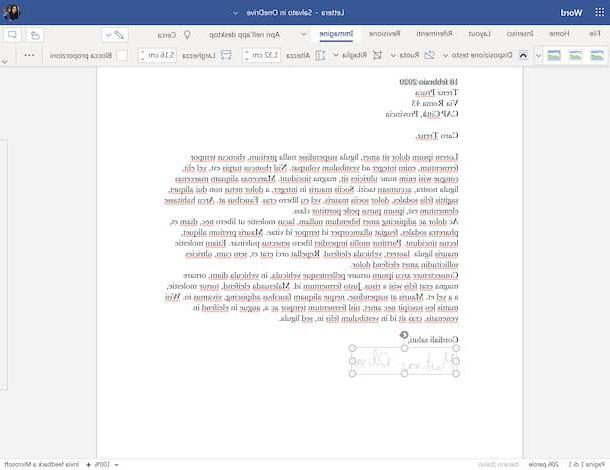
Once the Word Online editor with the document is displayed, click on the point on the sheet where you want to insert the signature and then on the tab Inserisci, which is located at the top. Then select the wording Image that you always find at the top and choose, from the drop-down menu that appears, to take the image of your signature from the computer in use that you must have previously scanned, then select the file of your interest and press the button Inserisci.
At this point, all you have to do is resize the image (if necessary) and choose how to position the adjacent text. To change the size of the image, place the mouse pointer over one of the shot placed on the selection rectangle of the signature image, click on it and, continuing to hold down, drag them. As for the positioning of the text, however, select the tab Image placed at the top, press on the menu Layout text and make your choice from it.
Once your changes are complete, you can save the file by clicking on the menu Fillet at the top left, by selecting the item Save with name e poi l'opzione Save with name, to save the document on OneDrive, or that Download a copy, to save the file locally.
How to digitally sign Word from smartphones and tablets
Now let's find out how to digitally sign Word from smartphones and tablets, using the popular word processor app available for Android e iOS / iPadOS. The application roughly incorporates the features of the computer program, but you can use it for free, as long as you log into your Microsoft account and that the device used has a size equal to or less than 10.1 ″. Otherwise, it is necessary to subscribe to the Office 365 service (with costs starting from 7 euros / month). It should be noted, then, that in this specific case it is possible to affix the signature by tracing it directly on the device display, with your fingers or a stylus.
That said, in order to digitally sign a document with Word on your mobile device, first take the latter, unlock it, access the home screen and select theicona dell'app (Quella with the "W" and the sheet). If you have not yet installed Word on your device, you can fix it by connecting to the relevant section of the Play Store (on Android) and the App Store (on iOS / iPadOS) and proceed from there.
Now that you see the main screen of the application, draw up the Word document on which you want to go and sign, by tapping on the item Blank document, after tapping on the item New present on the toolbar, or by selecting one of the models available. If you have already drawn up the file of your interest, you can take it from OneDrive, from the iPad or from another location, by going first to the section apri.
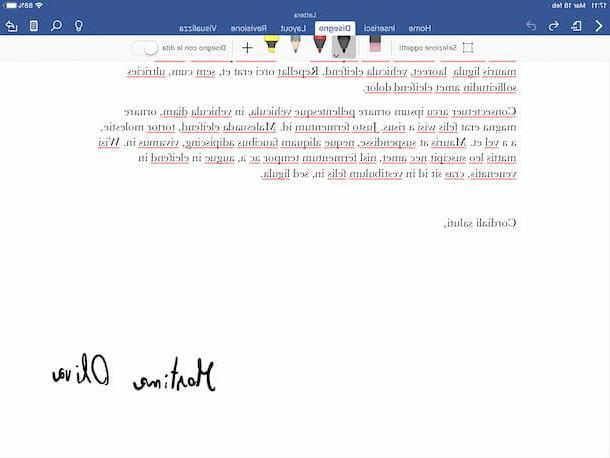
Then, if you are using a smartphone, first tap the button with the "A" and the pencil present at the top, then select the item Design from the menu at the bottom left and touch the wording Start Inking attached to it.
Choose, therefore, the pen you want to use from the toolbar located at the bottom, adjust its thickness and color, by double-tapping the relative icon and acting from the menu that opens, then trace the signature on the mobile phone display at the point where you intend to insert it.
If, on the other hand, you are using Word from a tablet, select the tab Design which is located at the top of the screen and, if you do not intend to use a stylus, check that the switch placed in correspondence with the item Finger drawing is moved up ON (otherwise you provide).
At this point, choose the pen you intend to use from the toolbar above. If you want, you can also adjust its thickness and color, by double-tapping the relative icon and acting from the menu that opens. Then, draw the signature on the screen of your device exactly where you intend to put it and that's it.
How to digitally sign Word


