


You took pictures with your smartphone, everything was contained, you immediately ran home to be able to better observe your shots from your computer but, in doing so, you realized that the final result was not exactly what you expected. I bet you were disappointed with the resolution of the images. Did I guess? Well, then you don't have to worry, there is a remedy for everything. By following the instructions I am about to give you, you should in fact be able to cope with the thing by going to increase the resolution of the photos. Well yes! Believe it or not, by using some special programs (but also online services and apps for smartphones and tablets) it is possible to improve the display of photos by intervening precisely on their resolution.
Before indicating which solutions to use for the purpose in question, however, there is one important thing you need to know: the solutions I am about to show you can be of great help but, keep this in mind, they cannot work miracles: if the basic resolution of the shot is low, you will hardly be able to obtain an excellent final result (as the enlargement of the images in post-production always involves a reduction in their visual quality). A different situation, on the other hand, concerns the modification of the resolution of the photos before they are taken, by acting on the smartphone settings.
Having made this necessary premise, I would suggest not to delay any longer and immediately take action. Therefore, identify the shots on which to go to operate, make yourself comfortable and concentrate on reading everything reported below. Are you ready? Yup? Great! Then let's proceed.
GIMP (Windows / macOS / Linux)
The first program I suggest you refer to to try to increase the resolution of your photos is GIMP. In case you have never heard of it, this is one of the best free alternatives to the famous Adobe Photoshop. The software can be used on Windows, macOS and Linux and allows you to improve the appearance of images, apply special effects, distort photos, resize them and much more. Obviously, it can also be useful for the purpose of this tutorial.
You ask me what to do to be able to use it? I'll point it out to you right away. First, connect to the program's website and press the button Download GIMP x.xx.x directly to download GIMP to your computer.
When the download is complete, if you are using Windows, open the .exe file obtained and click Yes, its OK, its Install and, in conclusion, his end. If what you are using is a Mac, drag GIMP into the folder Applications macOS, right click on the dragged icon and choose the item apri twice in a row, in order to go around the limitations that Apple imposes on non-certified developers.
Once you start GIMP, you will find yourself in front of the main screen of the same, divided into three sections: on the left there is the toolbar with the tools to modify the images, their advanced adjustments and the color palette; in the center there is instead an empty window in which the photos to be edited once opened will be displayed; while on the right there is another toolbar with advanced commands for managing layers, the history of changes and other tools that you will learn to use when you get more practice with the program.
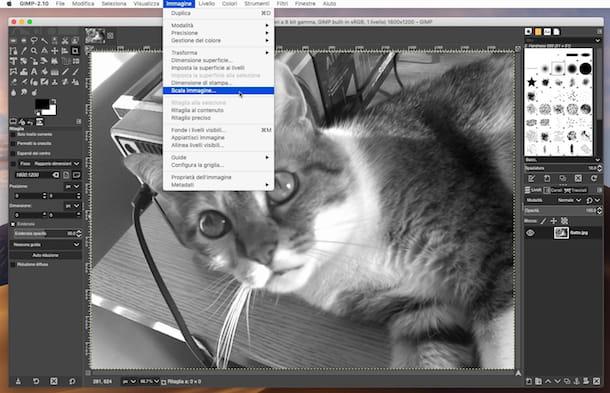
To increase the resolution of a photo, first proceed by going to open the file you want to act on, after clicking on the item Apri ... annessa to the menu Fillet. Next, click on the item Image attached to the menu at the top of the GIMP window and then select the option Image scale ....
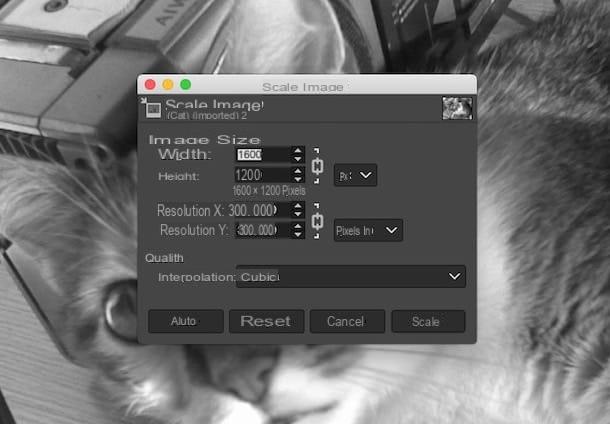
In the new window that appears, change the values in the fields located next to the entries Width e Height. Then click on the symbol depicting a chain to safeguard or ignore the proportion between the entered values. Instead, use the menu located next to the item Interpolation attached to the section Quality to determine the level of interpolation (I suggest leaving the default option set). Then press on Ladder. If you don't like the final result returned, click the button Reset to restore the correct display of the image.
When the changes are complete, press on the voice Fillet attached to the menu bar and click Save to proceed with saving the edited image on your computer.
SmillaEnlarger (Windows/macOS)
Another great resource you can turn to to increase photo resolution is SmillaEnlarger. It is a free software that can be used on Windows and macOS that allows you to increase the size of the images without excessively affecting the final quality of the same. Using it is a real breeze!
To serve, first connect to the software download page and press the button Download, in order to start the download procedure of the program on your computer. When the download is complete, if you are using Windows, apr l 'ZIP archive just obtained and start the .exe file contented to the internal suo.
Stai is invented using a Mac, bees the package .dmg just got it and drag the program into the folder Applications macOS, then right-click on its icon and select the item apri twice in a row, in order to start SmilaEnlarger, however, going around the limitations that Apple imposes on non-certified developers.
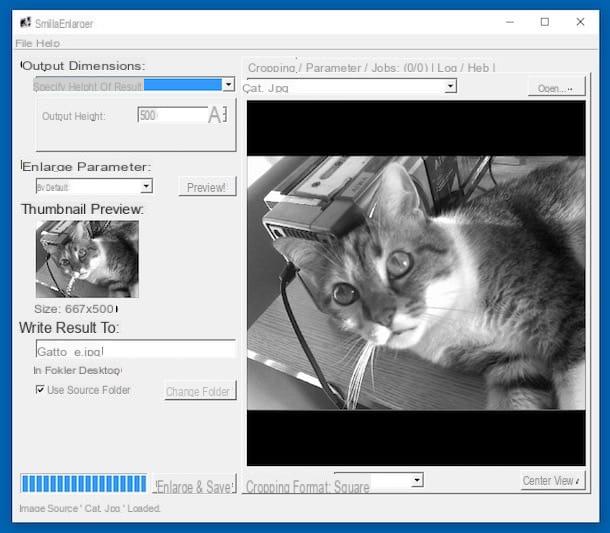
Now that, regardless of the operating system used, you see the main window of the program, drag over it the photo you want to increase the resolution, or select it "manually" by clicking on the menu Fillet which is at the top left and then choosing the item Open ....
Now type the new height, in pixels, to be assigned to the image in the field Output Height located at the top left, select the type of enlargement you want to apply to the photo using the drop-down menu Enlarger Parameter (which is always on the left) and click on the button Preview! to preview the edited photo.
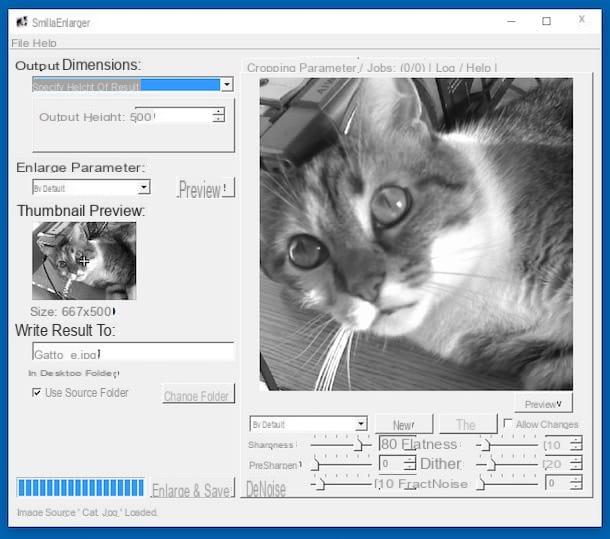
If the result returned by the software is not to your liking, you can further modify the chosen photo by acting on the various parameters made available by SmillaEnlarger before saving a new version on your computer. Then presses on the card Parameter placed at the top and move the sliders placed in the presence of the items Sharpness, PreSharpen, DeNoise, Flatness, Dithering e FractNoise, until you reach the result that you think best suits your needs.
To conclude and to save the final result on your computer, click on the button Enlarge & Save. The enlarged image will therefore be saved in the same folder as the original one, you can easily distinguish it as it is marked with the wording _e in the name.
PhotoZoom Pro (Windows/macOS)
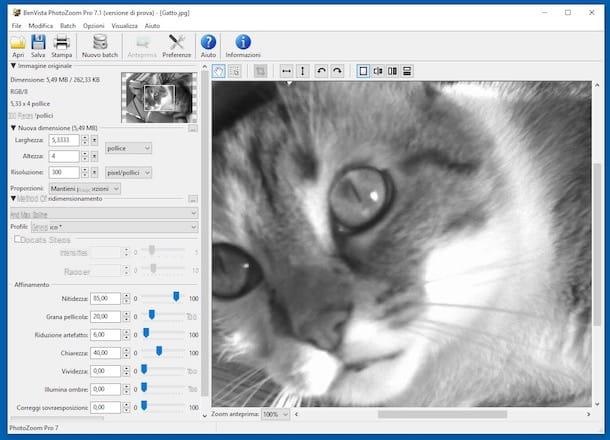
Another great program you can rely on for the purpose of this guide is PhotoZoom Pro: it is a software for Windows and macOS that allows you to increase the resolution of photos using a cutting-edge technology in the sector (called S-Spline Max), through which it is possible to resize and enlarge images while maintaining linear edges and high sharpness in the latter. The program is paid but is available in a free trial version (the one I used to write this step) which allows you to test all its functions by applying a watermark to the final images.
To download the program on your computer, connected to its website, bring the mouse pointer to the item PhotoZoom pro x and presses on the link Download version for Windows (if you are using Windows) or on that Download Mac version (if you are using a Mac).
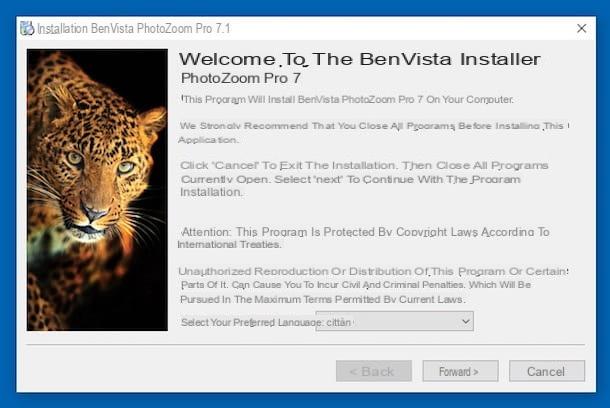
Once the download is complete, if you are using a PC Windows, april il .exe file just obtained and click on the button Si. Pigia, quindi, su NEXT, select the voice I accept the contract and click to anchor your NEXT four times. Then press on Install I concluded the setup by piggy-backing Completed.
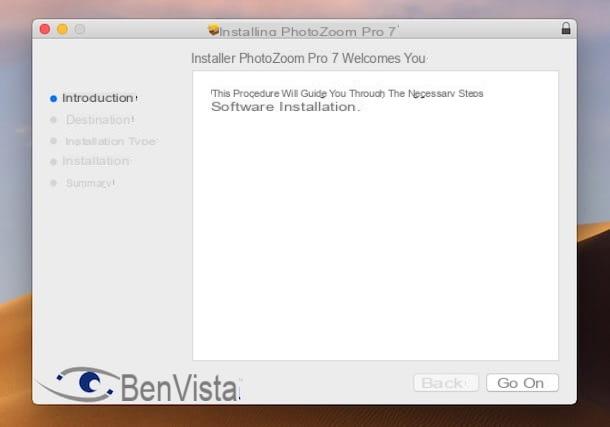
Stai is invented using a Mac, april il package .dmg obtained and double-click the .pkg file contained within it. In the window that appears on the screen, click on Continue three times in a row and then on Install. Now type the Password of your user account on macOS, tap on Install software and finally presses up Close.
Now that, regardless of the operating system used, you see the program window on the screen, you can close the invitation to purchase the paid version of PhotoZoom Pro and click on the button apri located at the top right to select the photo on which you intend to act.
Proceed now by filling in the fields Width, Height e Resolution, located on the left, under the heading New dimension. I suggest you select the option Maintain proportions from the menu Proportions, in order to avoid excessively altering the image.
If you wish, you can make further changes to the photo by editing the section Refinement and adjusting, by moving the appropriate sliders, parameters such as sharpness, film grain, artifact reduction, clarity and vividness. Alternatively, you can select one of the ready-made profiles by pressing on the drop-down menu next to the item profiles.
All the changes you make to the image are displayed directly in real time in the right part of the program window. When you are able to increase the resolution of the photo the way you want, save the modified image by pressing the button Save at the top left of the program window.
BiggerPicture (macOS)
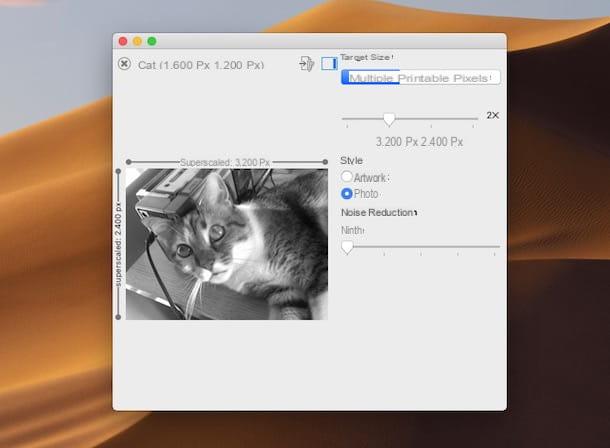
If you own a Mac and the resources I mentioned in the claimant lines did not convince you in a particular way, I invite you to consider using BiggerPicture: it is a specific application for macOS, thanks to which it is possible to increase the resolution of photos in an incredibly simple and fast way. The neural network integrated in the program is able to recognize shapes and textures of the images by creating the necessary new pixels. It's free but applies a watermark to images, which can be removed via in-app purchases.
To use it, connected to the Mac App Store page dedicated to the application, then press the button See in the Mac App Store. Once the Mac App Store window is displayed, press the button Ottieni / Installa to start the app download and installation procedure. If necessary, also enter the password for your Apple account. Next, invoke the app via the Launchpad.
Now that you see the BiggerPicture window on your desktop, drag the photo you intend to increase the resolution over it, then choose the type of enlargement you want to apply between plywood, Pixels e Printable and move the slider on the adjustment bar to the right to increase the resolution.
Finally, click on the button with the sheet that stands on top, presses on Save Specimen and indicate the location on your Mac where I would not like to save the modified image as well as the name you want to assign it and the output format, then press on Save.
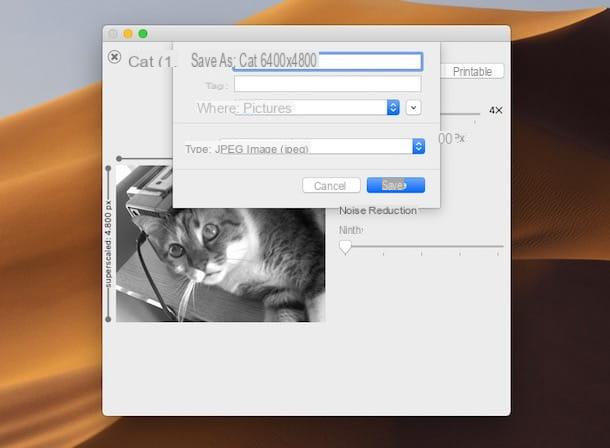
If you want, before proceeding with saving to the image, you can also move the cursor to the adjustment bar under the item Noise Reduction to adjust the noise reduction and you can set the option Artwork or that one Photo at the section Style to indicate the type of correction to be made.
Let’s Enhance (Online)

Would you like to be able to increase the resolution of your photos but don't want or can't download new programs to your computer? If so, you might want to consider using Let's Enhance, an online service that, in fact, allows you to enlarge and enlarge images without burdening their quality. It works with any web browser and is free up to a maximum of 5 calculations per month (after which you must pay).
To use it, connected to the web page of the service and click on the writing Click here to upload image which is in the center. Then select the photo on which you want to go and intervene. Alternatively, drag the image directly into the browser window.
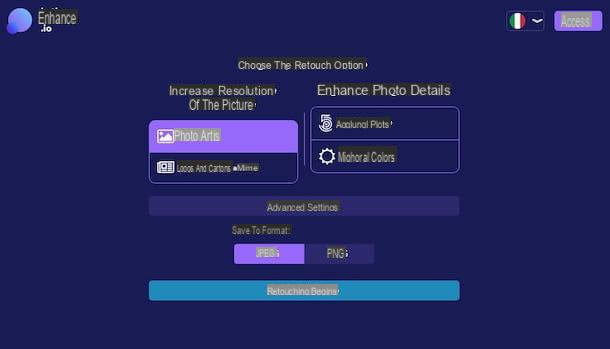
Wait for the photo upload procedure to be completed and choose the type of enlargement you want to apply between Photo and art or Logos and cartoons. You can also choose to improve the details of the photo by clicking on the options Add textures e Enhance the colors that are on the right.
Then press on the wording Advanced settings and indicate the format in which you want to save the output file, choosing between JPG or PNG. Next, hit the button The retouching begins which is below.
In a few moments, your photo will be processed and enlarged, after which you can download it by registering for the service by filling out the appropriate form on the right and selecting the box relating to acceptance of the terms of use. Confirm your account by clicking on the link in the email sent to you by the service and log in.
Finally, locate the preview of the photo on which you have chosen to intervene, move the pointer over it and click on the button magic that appears to immediately download it to your computer. If you have not changed the default browser settings, the image will be saved in the folder Download of the PC.
How to increase photo resolution


