


Your photos must stand out from those of others. If you want to have a guaranteed result, the simplest and quickest thing to do is to apply a border or a frame to your shots. In this way, the photos can take on a special look and be envied by everyone. How do you say? Do you agree with me perfectly but don't have the slightest idea how to do it? No problem, I'll explain everything to you. If you allow me a few minutes of your precious free time, I can point you in fact how to make photo frames.
Before you can get scared and think about who knows what, I would like to make a clarification immediately: no, it is not necessary to be an expert in graphics and photographic retouching to succeed in the enterprise. Fortunately, just turn to some online services that are suitable for the purpose in question and that's it. These are very simple to use resources, free and able to return noteworthy results. In short, they are a real godsend!
Apart from online services, there are also some computer programs useful for this purpose, to be used perhaps in case of no Internet connection or if you prefer to avoid doing everything via web browser. And what about smartphones and tablets? Are there any suitable apps? The answer is yes. In fact, there are resources that allow you to do everything directly and comfortably from the touch screen of mobile devices and even in this case the results are guaranteed. But now just chat and let's take action. Follow my instructions on what to do that you find below and you will see that in the end you will be able to tell yourself very happy with what you have learned. Have fun!
LoonaPix

The first resource I want to suggest you try to apply borders and frames to your photos is the free online service LoonaPix. It is a portal full of effects to embellish images, create photomontages and decorate your shots in general with which you can indulge yourself in the most absolute way. It works with any web browser, you do not need to register and its use is very intuitive.
To use it, connected to the service's website, click on the tab Photo frames that is at the top and select the frame you like best from the many available. If at first glance you cannot find a frame to your liking, first click on the name of the reference category from the appropriate section on the left.
After choosing your frame, press the button choose the photo in the new page that is shown to you, click on Sfoglia ... in the box that appears on the screen and select, from your computer, the photo you want to frame. If the photo you want to apply the frame to is online, after clicking the button choose the photo select from the web in the box you see appear on the screen and type the url.
Once the upload is complete, you can use, if necessary, the buttons that you see appear at the top of the frame to increase or decrease the zoom level of the image, rotate the photo to the right or left or mirror it. Then click on the button create to generate your frame.
Per concludere, premium pulsating Download to download the digitally framed photo to your computer. From the menu that opens you can choose whether to download the image in HD or normal. If you want, before following the download you can also add a caption to the frame by clicking on the appropriate button and make various other changes to your creation, always using the on-screen commands.
Photo Montager (Online)
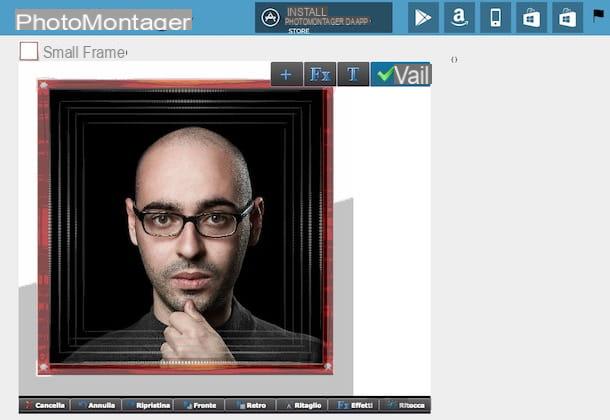
Another nice online service that I want to advise you to contact to allow you to create conics for photos is Photo Montager. It offers a lot of frames (and various photomontages) to choose from, both classic and imaginative as well as inspired by the most disparate themes. The final result is highly effective. Even so, you can use it from any web browser and you don't need to create an account to use it. The only thing you need to take into account is the fact that it needs the Flash Player plugin to work (for more info on this, read my article on how to install Flash Player).
To start using Photo Montager, connect to the home page of the service and select the frame you prefer among the many available and click on it. If by doing so you can't find anything you think you might be interested in, you can help by first selecting the reference category from the menu Browse the templates that you find at the top left.
Then choose whether to upload the photo you want to frame from your computer, whether to take one at the moment via webcam or whether to take the image from Facebook by clicking on the relevant buttons on the screen, then move the image by clicking on it and, continuing to hold down, drag it to so that it is centered. If you want, you can also increase or decrease the size of the photo using the appropriate commands that you find on the sides and in the corners of the same.
You can then make further changes to the image by cropping it, applying particular effects and retouching it using the buttons at the bottom and the toolbar that you see appear. You can also add text to your framed photo by clicking the button T that is at the top and typing what you want to write in the field that appears on the screen.
Once the changes are complete, click on the button vai which is at the top right, wait a few moments for the image to be processed and then you will be shown the final result that you can save on your computer by right clicking on it and selecting the appropriate item from the context menu that appears.
ClipYourPhotos (Online)
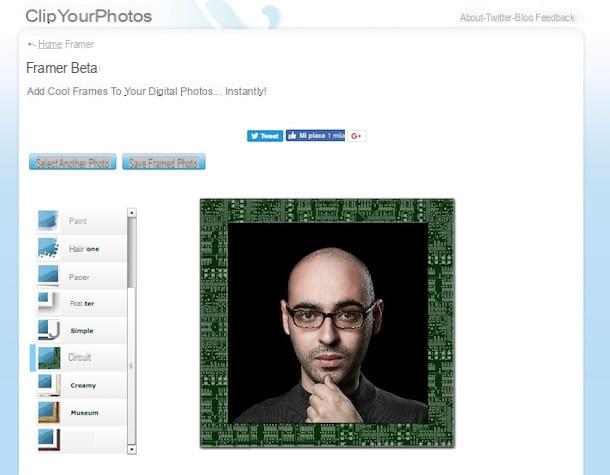
As an alternative to the online services I have already talked about, you can create photo frames by contacting ClipYourPhotos. It is a very easy to use website that offers various resources through which to modify and edit images and which also integrates a special section entirely dedicated to frames. There are various kinds and for all tastes. No registration is required, but even in this case the use of Flash Player is required.
You ask me how to use it? I'll explain it to you immediately. First of all connected to the ClipYourPhotos website, then click on framer. Then wait a few moments for the service editor to be loaded and press the button Browse ... to select the image you want to frame from your computer.
So choose from the menu on the left the type of frame you want to apply to the photos. If the frame provides it, you can also select its color using the appropriate selector that you can always find on the left, at the top.
If you are satisfied with the final result (you can view it in real time on the right side of the website page), click on the button Save framed photo which is up and then up Save to save the photo with the frame applied to your computer.
AKVIS Frames (Windows/Mac)
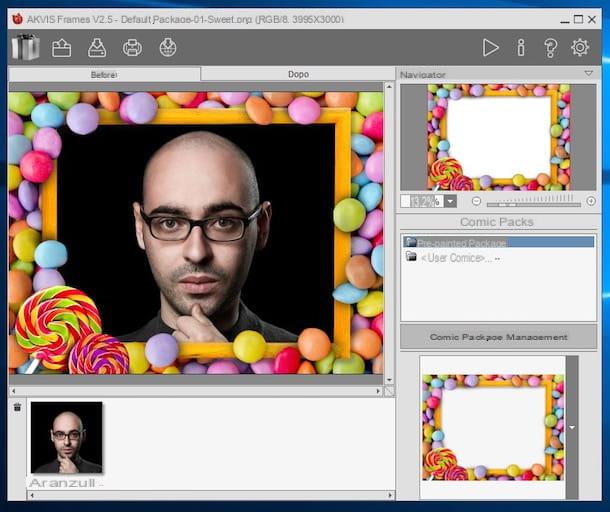
If you prefer “classic” computer programs to online services, I can't help but suggest you try AKVIS Frames. It is in fact a freeware software available for both Windows and Mac that allows you to apply many beautiful high quality frames to the selected photos. The frames available are all grouped by theme, very well done and in high resolution.
To use it, connect to the program's website and click on the button Scarica free which is at the top right, then click on the link for the operating system in use on your computer and wait for the download procedure for the installation file to be started and completed.
Now, if you are using Windows start the file .exe just obtained then click on Yes / Run and OK to set the use of the city language. Check the box next to the wording I accept the terms of the license agreement, awarded his NEXT twice, then on Install and to conclude click on end. Then start the program by double clicking on its icon that has been added to the desktop
If you are using a Mac instead, open the package .dmg downloaded then press on Agree in the window you see appear on the screen and drag the program icon into the folder Applications of macOS. Next right click on the AKVIS Frames icon, select apri and answer in the affirmative to the notice you see open in such a way as to consent to the opening of the program by going around the limitations imposed by Apple against non-certified developers.
Proceed now to register the software for free by typing your username and your email address in the appropriate fields and then clicking on Register then presses the icon of folder with arrow which is in the upper left part of the AKVIS Frames window and select the photo you want to frame.
Then click on the button with the arrow that you find at the bottom right and select the frame you prefer among the many available in the menu that opens. If you can't find anything you like among the listed frames, first select a different pack by clicking the button Management of conical packages.
Per concludere, premium pulsating Play at the top right in order to apply the changes and then click on the button with the hard disk and the down arrowor which is in the upper left part of the AKVIS Frames window to save your framed photo in any location on your computer and in the format of your choice.
If you want, you can also print the framed photo or share everything via the Web. To do this, just click, respectively, on the button with the printer and on that with the world and the down arrow which are always in the upper left part of the software window.
App to create photo frames
As anticipated at the beginning, there are also special apps for smartphones and tablets that can be used to create photo frames by acting directly and comfortably from the screen of mobile devices.
You ask me what are they? Well, for example the ones you find listed below and which in my opinion represent some of the best in the category. Again, these are free resources (but in-app purchases are offered to add more features).
- Pic Collage (Android / iOS / Windows Mobile) - Very simple app to use but full of functions and commands useful for the purpose. It allows you to apply frames and borders to images but also to create beautiful collages.
- PicsArt (Android / iOS) - Application with a minimal interface but not poor in features. It allows you to apply frames to photos but also to create collages and edit your shots in general.
- Pixlr (Android / iOS) - Excellent image editing app that offers a complete set of tools for editing images as well as countless functions to add various frames and effects to your shots.
- Snapseed (Android / iOS) - App developed by Google very simple to use that allows you to edit images at 360 ° by adjusting parameters such as brightness, saturation, etc. as well as adding borders and frames to photos.
If you think you need more details about the operation of the above apps and to learn about new ones, you can refer to my article dedicated to the apps to put borders on the photos through which I proceeded to tell you about it in even more depth. Further applications useful for the purpose (but not only) are then indicated and explained in my guide on apps for editing photos.
How to make photo frames


