


How about becoming a Hollywood actor for a day? And to appear on the cover of the New York Times? With a little imagination, you can even organize a good prank on your friends and make them think they are wanted by the police. If this introduction of mine seems so bizarre to you, know that it is themed with the topic of this tutorial: photomontages.
During this guide I want to take some time to answer all those who ask me: "how are photomontages made? " The answer to this much requested question is actually of a disarming simplicity. Thanks to some specific Internet sites and the vast world of applications, it is possible to create photomontages at the speed of light. In fact, to create photomontages it is no longer necessary to know how to use complex software for editing images: many procedures have been simplified through the use of very easy online tools.
The topic of this tutorial is of interest to you and would you like to know in detail how to make photomontages? Okay, no problem, I'll settle you right away! Take just a few minutes of free time, sit comfortably and carefully read the following lines: I will explain step by step how to create photomontages using special online services. Are you ready to get started? Yup? Very well! I wish you a good reading then!
Photo Funia
If you want to first point out the Internet sites to use to create photomontages, you need to start this tutorial by explaining how to make a photomontage with Photo Funia.
It is in fact a very popular website that allows you to create photomontages in record time: all you have to do is choose the theme of the photomontage to create and upload your photo.
I first chose to tell you about Photo Funia since, as mentioned, its operation is particularly intuitive. PhotoFunia is also available for use on a wide range of mobile devices, including the most popular Android and iOS smartphones. To use it, simply download the free and homonymous application from the Google PlayStore or via the App Store.
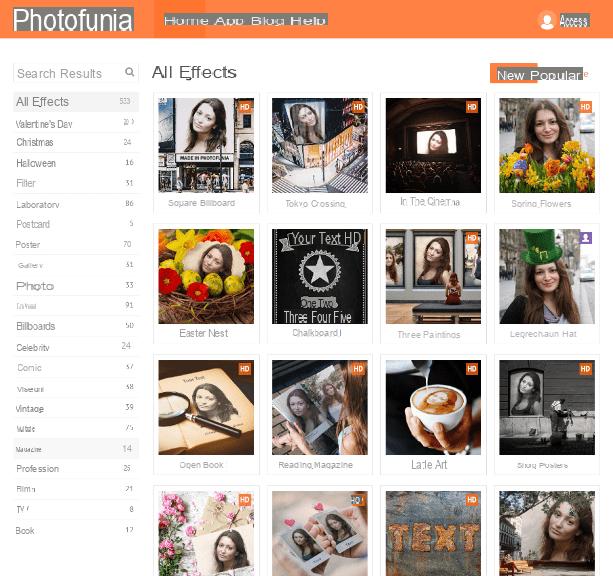
Returning instead to talking about the functioning of its website, the first thing you will have to do to start using it will be to go to the official website and, subsequently, choose the theme of the photomontage.
In case you are undecided, you can take advantage of the photomontage examples on the Home Page of the site or click on the items in the menu on the left that refer to various types of effects, also choosing among the most new and those Popular through the filter buttons of the same name.
Once you have chosen your photo montage theme click on it and, on the next screen, click on the button Choose photos to upload your image to apply in the photomontage.
You will then have several choices for uploading the photo: by tapping on the item Upload from PC you will have the possibility to upload the photo from your computer; pressing on Camera you can take a photo on the spot while pressing on the wording Online you can choose a social network or a cloud service from which to upload the photo for photomontage.
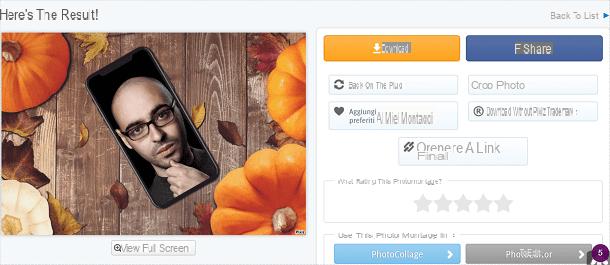
Once the photo has been uploaded, you will need to select the area to be used for the photomontage: if necessary, make a crop and then press the button Cut out. Continue by pressing the button Go and you can see the result applied.
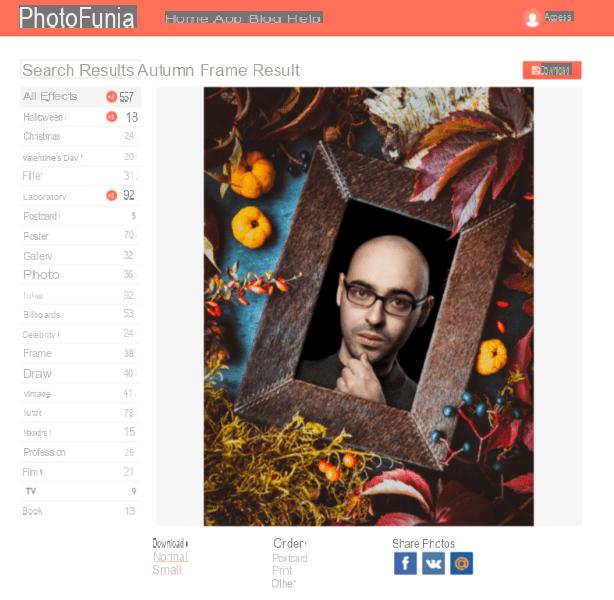
The photomontage created is available for sharing on Facebook, VK or via email; just use the buttons next to the wording Share photos.
You can also download the photomontage made on your PC: in correspondence with the wording Download click on the item Normal o Small.
Fun Photo Box
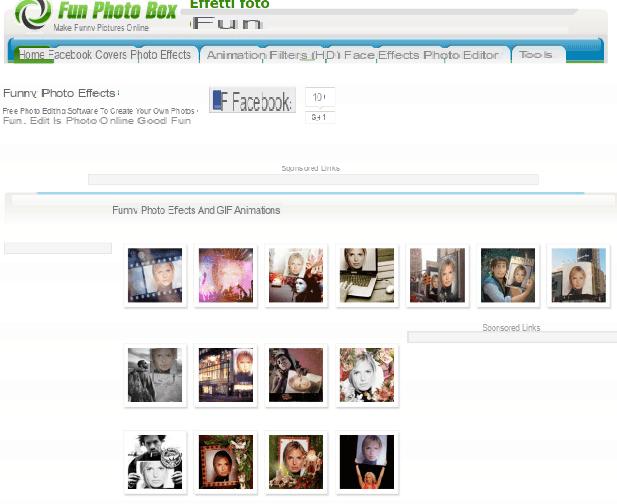
Among the best tools on the Web to create photomontages, there is certainly Fun Photo Box, a website with a minimal user interface that guarantees you a wide choice of predefined templates to create photomontages.
The most interesting feature of Fun Photo Box is the possibility of creating animated photomontages that can be shared online in the form of GIFs.
Do you want me to explain to you how to use this website to create photomontages? Okay then let's get started right away. First go to its main Internet page and choose the type of photomontage to make. In fact, you have the menu items available Facebook Covers, Photo Effects, Animation, Filters, Cards, Effects e PhotoEditor. The items I recommend you use mainly are Photo effects o Entrainment , so you can have more choices on the templates to use for photomontage.
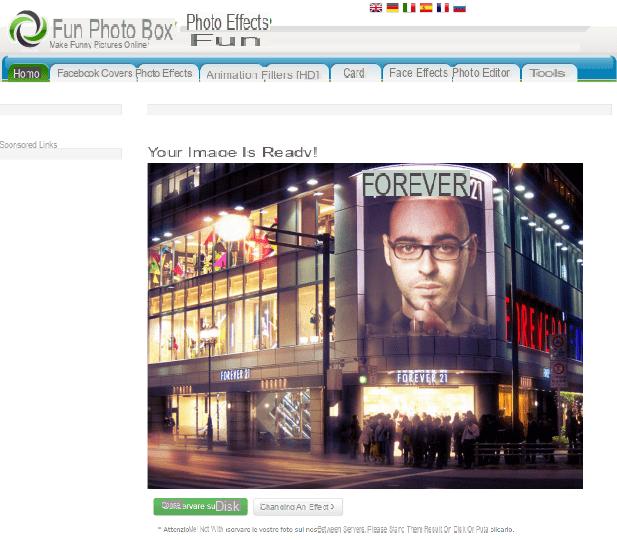
Once you have clicked on the tab Photo effects o Entrainment , in fact, you will have to click on the predefined template to create the photomontage. Then upload the photo to use by clicking on the button Computer, Webcam o From Facebookrespectively if you want to upload the photo from your computer, take it via Webcam or import it from the social network. Then apply the crop to the photo and press the button Go. Et voilà, your photomontage will be beautiful and ready.
To download the photomontage, click on the button Keep on disk while if you want to continue having fun creating other photomontages, press on the item Change an effect.
Loona Pix
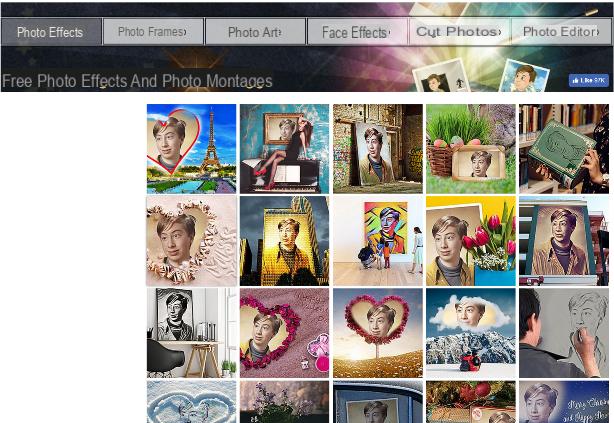
Website exclusively dedicated to the creation of photomontages is Loona Pix, a Web portal that can be used easily to transform your photo into a fun photomontage.
All you have to do to start using it is to log on to yours main website. As you can see, already on the Home Page you will be shown some examples of photomontages that you can make.
If you are satisfied with the effects on the Loona Pix home screen, you can start using them by clicking on one of them. Alternatively, you can click on the entries Photo Frames, Photo Art o Face Effects to have the opportunity to discover other photomontages to use.
Once you have clicked on an effect, you will need to press the button Choose the photo to upload your photo to use as a photomontage. From the menu that opens, click on the item From the disk o from the web to choose whether to upload a photo from your PC or to import it from the Web, by entering its URL in the appropriate text field. If, on the other hand, you choose to upload the photo from your PC, you will also have to press the button Shop by Department.
In both cases, once the photo is uploaded, you will need to make a crop. Once you have located the portion of the photo, press the button Creation and you will be able to see the final result.

At this point you have several additional possibilities: pressing the button Download you can download the photo to your PC; via the button Change photo you can edit the montage and apply another photo to it. If you want to change the effect, click on the button Change effect.
The other possibilities you have available are present via the button To distribute (button to use if you want to import the photomontage to a website) e Add a captionto; in particular, use the latter if you want to add custom text to the photomontage created.
Pixiz

If you want to make a photomontage through easy-to-use websites, know that you have plenty of resources at your disposal free. Among these there is also the Pixiz website, a tool for creating online photomontages full of special effects.
Thanks to the suggestions menu item, present in the main screen of this website, you have some popular categories that will allow you to create photomontages.
The strong point of this website is certainly the possibility of creating photomontages to obtain creative images even in high resolution. This type of photomontages are marked with the wording HD.
Then first click on the default photomontage template to use and upload your image by clicking on the button Select Image. If you don't want to import it from your PC, click the button capacitor positive (+) lead: you can choose whether to take a photo via Webcam do you care about Facebook by clicking on the respective buttons.
Once the image has been imported, press the button Go; the cropping of the image will take place automatically, but removing the check mark on the wording Automatic cropping and pressing the button Go you will be able to act manually for the cropping.
Once the photomontage is finished, you can download the image by pressing the button Download. To share it on Facebook, press the button instead Height and, if you want to download a copy of the photomontage that does not have the Pixiz logo, just press the button Unbranded Pixiz Download.
To create photomontages you can also use the available Pixiz application for free per smartphone Android e iOS.
Other solutions to create photomontages
In the following lines I want to show you other popular solutions that will allow you to create photomontages in a simple and free. In particular, if you want to create photomontages through applications, you can read my guide dedicated to photomontage applications in which I will explain in detail the operation of some apps that are absolutely useful for this purpose.
If, on the other hand, your goal is to create a photomontage in which two or more photos are superimposed, know that you can do it from your smartphone or tablet, without paying a cent. Do you want to know how? Then give a careful reading to my guide dedicated to the topic: I told you in detail how to use some apps to overlay photos.
In case you feel a little more confident in using your PC or Mac, then know that you can find some really useful resources in my guide dedicated to programs to merge photos. You will find detailed explanations on using some software that you will no longer be able to do without.
Regarding the topic of photomontages, I also point out my other guides entitled respectively programs for photo collage and how to combine two photos online: I'm sure they will be very useful in case you want to deepen the subject.
How to make photomontages


