La efi partition (also called efi system partition, ESP for friends) is a small partition (usually 100 MB large) and formatted in fat32. It is created when installing MacOs or Windows on a GPT drive, the partition contains the bootloader files of the installed systems and the applications necessary for the machine's firmware to boot.
If the partition is removed, the system can no longer be booted if this is installed on GPT, to solve the problem you have to restore it. This is why in the most recent builds of Windows 10 Microsoft has made it more difficult to access this drive.
In this post we will not see how to restore efi partition, but the way to mount it and make it editable.
Preliminary information
We always recommend doing an installation through one 100% genuine and original license, this is to avoid data loss or hacker attacks. We are aware that purchasing a license on the Microsoft store has a high cost. For this we have selected for you Mr Key Shop, a reliable site with free assistance specialized in in your language, secure payments and shipping in seconds via email. You can check the reliability of this site by reading the many positive verified reviews. Windows 10 licenses are available on this store at very advantageous prices. Furthermore, if you want to upgrade to the latest versions of Windows operating systems, you can also purchase the upgrade to Windows 11. We remind you that if you have a genuine version of Windows 10, the upgrade to the new Windows 11 operating system will be free. Also on the store you can buy the various versions of Windows operating systems, Office packages and the best antivirus on the market.
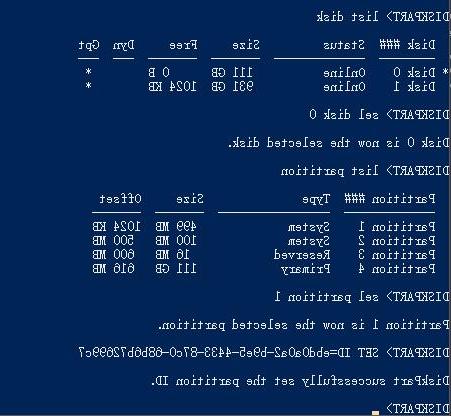
How do I mount the efi partition?
On Windows normally the partition does not have its own drive letter and therefore it is not mounted and is not accessible. Even if you give it a drive letter, it remains non-navigable through Windows explorer (the explorer of the Microsoft home system).
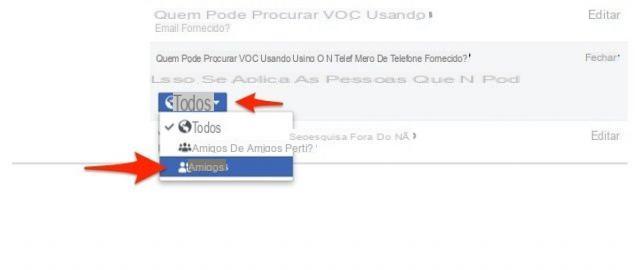
To mount it you have to open a terminal window with administrator privileges, to do this, just go to Start and type cmd and when the Command Promt item appears, right-click on it and in the context menu choose Run as administrator (as shown in the image below).
At this point a dialog box will open say Yes and the Prompt will open where you can enter the following command and then press Enter:
mountvol X: /s
The efi partition will be mounted and given the letter X.
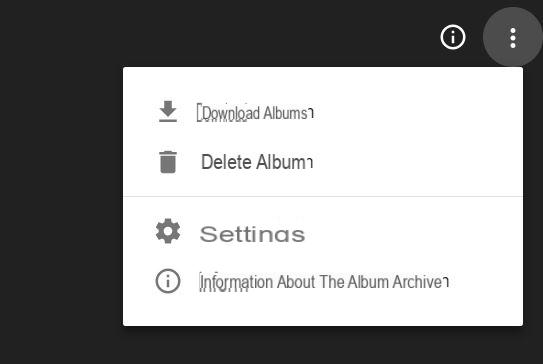
Now to enter and modify it we will need it Explore ++, a convenient free and open source file manager alternative to the canonical Windows Explorer, you can download it from here, it does not require any installation.
To see and change the new partition X you have to boot Explore ++ giving it administrator privileges, just right-click on it and then choose Run as administrator. Also in this case a confirmation screen will open click on yes.
Now in Explorer ++ you will have the X drive perfectly navigable and editable.
Our guide on how to mount efi partition on Windows is over, let us know if it was useful to you with a comment!
Doubts or problems? We help you
Remember to subscribe to our Youtube channel for videos and other reviews. If you want to stay up to date, subscribe to our Telegram channel and follow us on Instagram. If you want to receive support for any questions or problems, join our Facebook community or contact us on Instagram. Don't forget that we have also created a search engine full of exclusive coupons and the best promotions from the web!