


Have you ever had to take a picture of your computer screen to show a program screen or a detail of a web page to your friend via e-mail? If the answer is "yes" but you are still stuck with the concept that for photograph the desktop you have to press the key Stamp keyboard and paste the screenshot you captured in Paint, listen to me that you need a little "refresher course".
Today there are programs that allow you to photograph the desktop (take a screenshot, in technical jargon) in a much simpler and faster way than what you know. Just press a specific command and you can create perfect photos of the desktop or portions of it. Alternatively, it is possible to use special tools attached directly to the operating system.
How do you say? You do not believe me? So take a few minutes of free time and focus on this guide of mine on how to photograph the desktop. I am sure that you will be amazed by how simple and fast it can be and that in case of need you will also be ready and willing to provide all the necessary explanations to your friends eager to receive a similar tip. Let it bet?
Photographing the desktop on Windows
Snipping tool
If you don't know how to photograph the desktop without Paint and you use one of the most recent versions of Windows (10, 8, 7 or Vista), know that there is a little program, Snipping tool, to capture screenshots built into the operating system. Now I'll explain immediately how to do it to be able to use it.
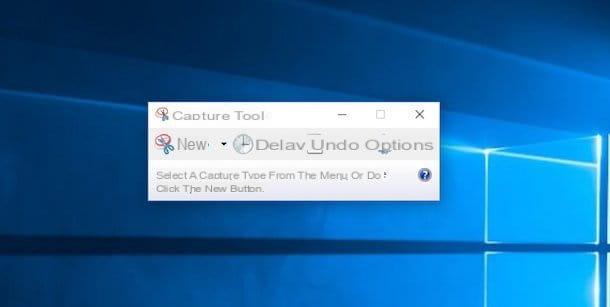
To access the Snipping Tool tool with which you can take a picture of the Windows desktop, just to start with, click on the button Home attached to the taskbar, type in the search field displayed snipping tool and click on the available result to start the tool.
Once this is done, you should see a small window with several buttons right on your desktop. To photograph the desktop then presses the button New and then draw with the cursor, holding down the left mouse or trackpad button, a rectangle that includes the screen area you want to photograph.
Do you need to photograph the entire desktop or just a window on it? No problem, you can do that too. Click on the arrow located next to the button New in the bar displayed on the desktop when the Snipping Tool tool is started and choose, according to your needs, the item Capture window or Capture full screen from the drop-down menu that is shown to you.
If you deem it necessary, instead of the classic rectangle you can use a free format for screen capture instead of the classic rectangle. To do this, always click on the arrow located next to the button New and then choose the item Free format capture from the menu you see. Regardless of the capture format you choose, always use the cursor while holding down the left mouse or trackpad button to photograph the desktop.
You can then set the screen capture format back to the default by simply clicking on arrow take it next to the New button and selecting the Rectangular capture item from the menu that is shown to you.
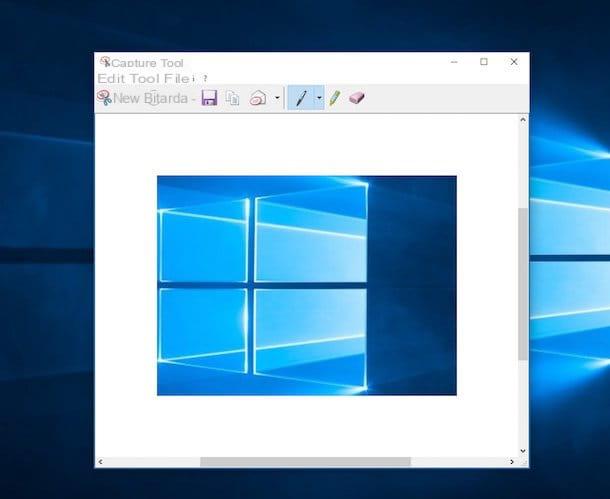
In all cases, once the screenshot has been captured, the tool editor will open, allowing you to modify the screen image obtained using the various tools available.
After making all the necessary changes you can then save the screenshot in the form of a GIF, JPG or PNG file by simply clicking on the icon depicting a floppy disk located at the top left and then indicating the format you prefer to use from the menu Save eat: present new window that will open.
FastStone Capture
If you use Windows XP, or in any case you do not want to use the Snipping Tool integrated in the latest versions of the Microsoft operating system, you can photograph the desktop with an excellent free program compatible with all editions of Windows called FastStone Capture (which is available at no cost only up to version 5.3).
To download FastStone Capture on your computer, click here to connect to the program download page and click on the item Download located in the top center to download the program to your PC.
When the download is complete, double-click on it to open the archive you just downloaded (fscapture.zip), extract the contents into any folder and start the program FSCapture.exe.
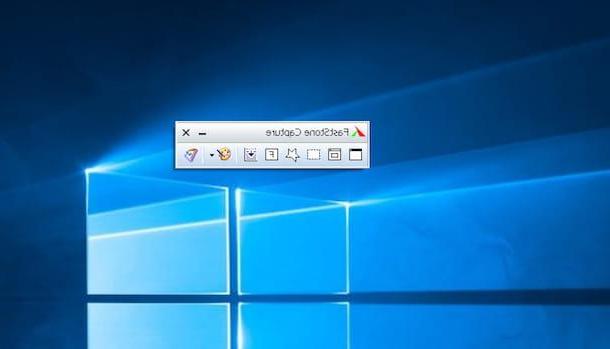
At this point, in order to photograph the desktop with FastStone Capture, all you have to do is take advantage of one of the first three buttons on the left side of the small box that opens after starting the program. Then click on the button Capture Active Window (the first) to photograph the active window, up Capture Window/Object (the second) to capture a single window excluding the rest of the desktop, or on Capture Rectangle Selection (the third) to capture a portion of the screen as seen with the Windows Snipping Tool. To capture the entire desktop, simply press the key instead Stamp of the PC keyboard.
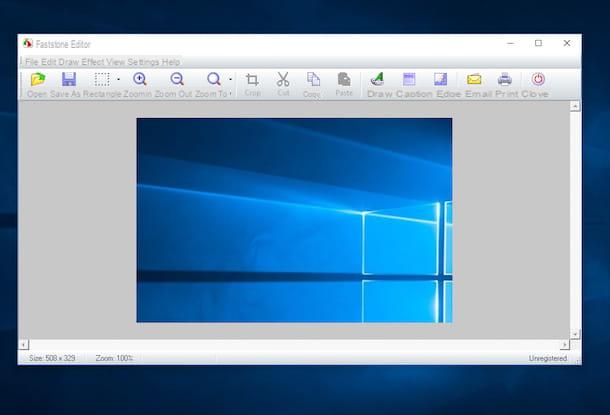
After taking a picture of the desktop with FastStone Capture, an editor will open in which by clicking on Resize you can resize the captured screen by clicking on instead Edge you will be able to add shadows and special effects while clicking on Draw you can write about it.
To save the screenshot as a JPEG or PNG image, click the button Save as located at the top left and, in the window that opens, select the format in which to save the image from the drop-down menu Save eat. It's that simple.
Photographing the desktop on OS X
Keyboard shortcuts
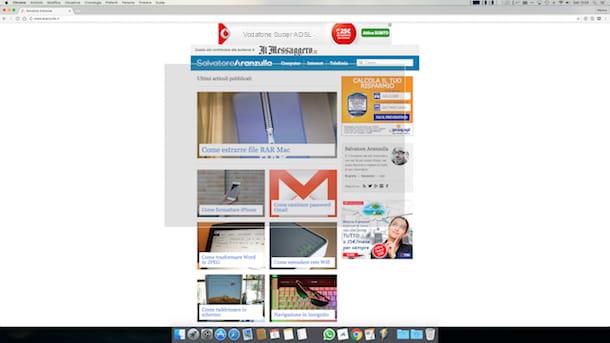
Instead of a PC with Windows installed, you use a Mac and would like to understand how to take pictures of the desktop, or rather the desk? If the answer is yes, first of all know that this is a possible operation and that even in this case I can explain how to do it without having to resort to the use of a third-party tool.
To take a picture of the Mac desktop, you just need to take advantage of it Snapshot, the tool pre-installed on all Apple-branded computers thanks to which it is possible to take screenshots of the desktop. You can use Snapshot to photograph the desktop either through special keyboard shortcuts or through the tool commands accessible directly from the menu bar, the choice is up to you, based on your needs and preferences.
To photograph the desktop on Mac using keyboard shortcuts, press the key combination cmd+shift+3 on your Mac keyboard if you want to get a snapshot of the entire screen. The image will automatically be saved on the OS X Desktop.
If you want to capture only a portion of the screen, use the key combination cmd+shift+4 then hold down the left mouse button and select the desktop area of interest. Also in this case the image is automatically saved on the Mac desktop.
If, on the other hand, you intend to photograph the desktop going to act only on the screen of a single application, use the key combination cmd+shift+4 but instead of selecting the area of the screen to "capture" with the mouse, proceed by pressing the space bar on the Mac keyboard and click on the window you want to capture. Even then, the final result will be automatically saved on the OS X Desktop with a nice shadow effect. With the same technique you can also capture the Dock and menu bar located at the top of the screen.
Snapshot
If, on the other hand, you want to photograph the Mac desktop using the commands of the Snapshot tool accessible directly from the menu bar, start the application by clicking on its icon attached to the folder Other accessible from Launchpad. Alternatively, log in to Spotlight pressing on the magnifying glass located in the upper right part of the menu bar, type snapshot in the search field displayed on the screen and then double-click on the first result that is shown to you.
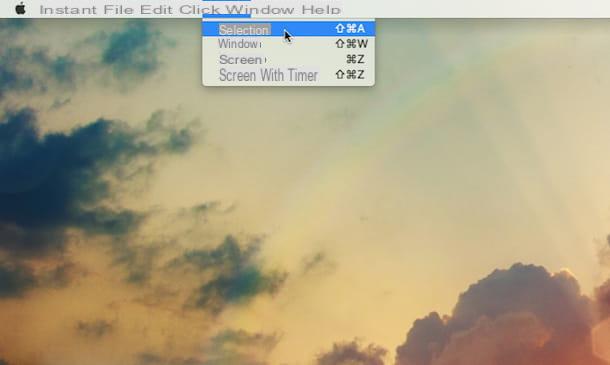
Now bring the cursor to the menu bar, click on the item Shoot and choose, from the menu that is shown to you, the screen capture mode you want to use.
- Selection to take a screenshot of a portion of the screen.
- Window to take a screenshot of a single window.
- Screen to take a snapshot of the entire Mac screen.
- Screen with timer to create a screenshot 10 seconds later than when you give the command.
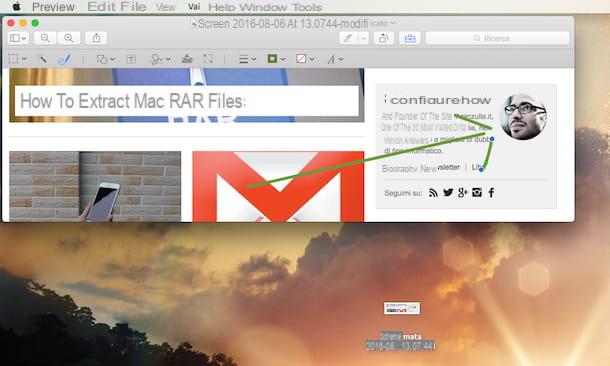
When the operation is completed, a preview of the screenshot just made will open. To save it, select the entry Save from the menu Fillet Preview, top left.
If you want, you can also include the mouse cursor . To activate this function, select the item Pref Renze from the menu Snapshot (top left) and click on the style you want to apply to the cursor to be included in the screenshots (eg arrow or hand).
Once you're done taking a snapshot of your Mac desktop, you can edit the screenshots you got with Preview. You can find all the main editing tools in the toolbar of the program by clicking on the button in the shape of carrying case, and in the menu bar.
When you are satisfied with the result, you can export your edited screenshot as a PNG, JPG or PDF file by selecting the item Export ... from the menu Fillet. If you are using a version of OS X equal to or later than Lion, you can also count on the autosave function which records all changes made to an image directly on the original file.
If you need more details about the Snapshot functions or the possibility of photographing the desktop on Mac I suggest you consult my guide on how to photograph the Mac screen through which I have provided you with all the explanations of the case. In the tutorial you will also find some useful tricks by which to change the file format in which to capture images and eliminate the shadow effect from the screenshots of the individual windows. Please, take a look at least.
How to photograph the Desktop


