Search
Search
Search

For the past few years, instant messaging or chat services have been growing by the millions of users and functions to the point that everyone uses at least...
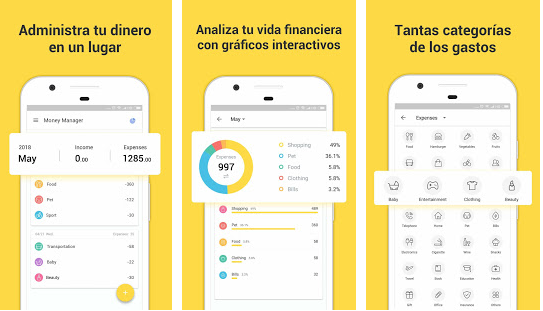
Surely, on a normal day, you have opened your bank application on your mobile phone and realized that you are spending a lot of money. The bank application...

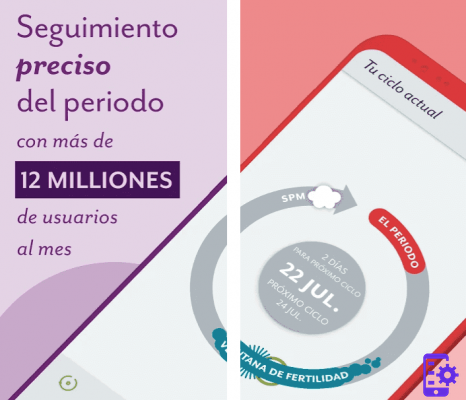
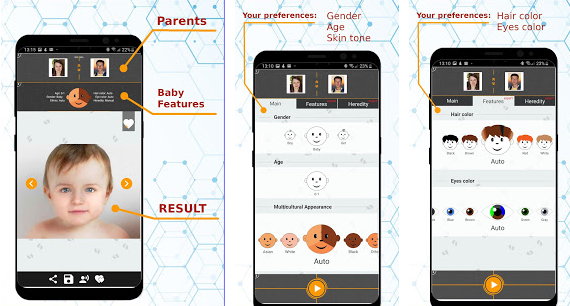
If there is anything that faithfully distinguishes woman from man, it is the miracle of being able to create a creature from within. To be able to be...
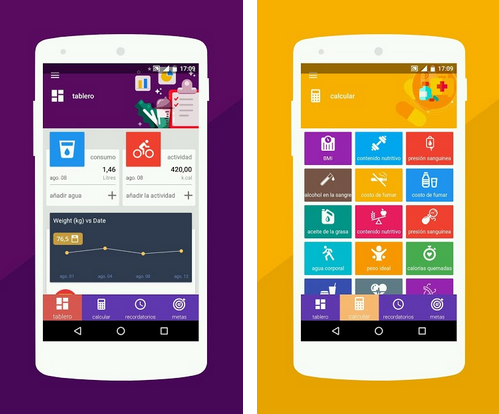
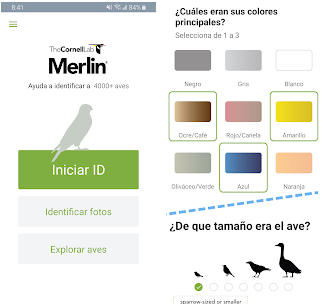
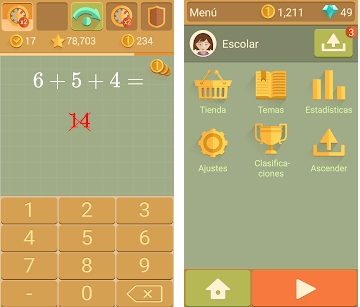
One of our main concerns is that we and those around us are in good health. This can be achieved by playing sports, eating healthy and getting medical...


This year's Call of Duty: Modern Warfare entry is shaping up to be an exciting title. Players are returning to the franchise to experience the franchise's new...
![]() Sitemap 2025 / androidbasement.com
Sitemap 2025 / androidbasement.com ![]()
![]()
![]()
![]()