Search
Search
Search

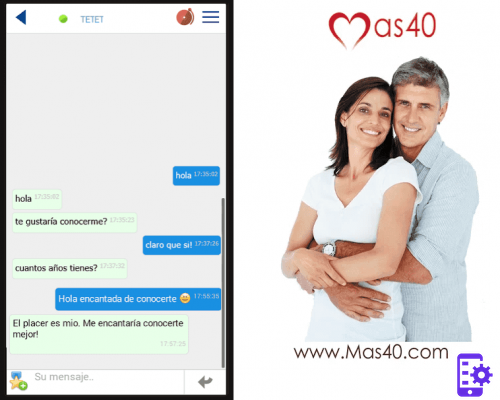
Over the years, the way we flirt and date has changed a lot. While in the past people we met in bars or our friends’ friends were more...
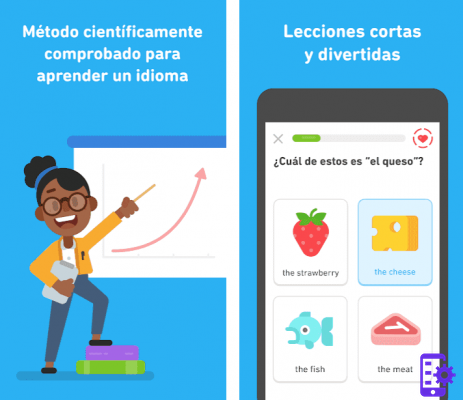
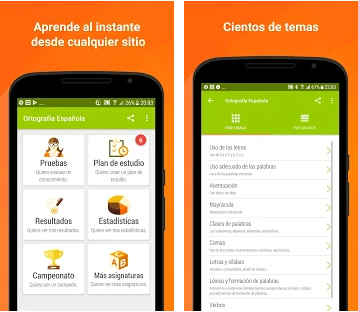
One of the languages that when you go to look for a job they always ask you if you speak it is English. To learn this language there...
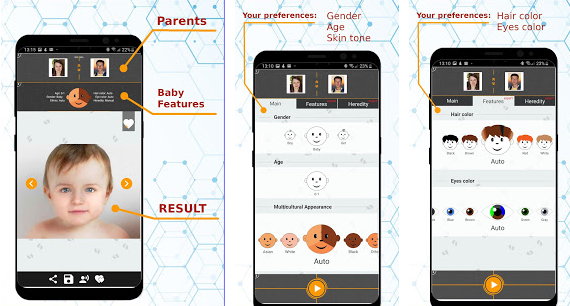
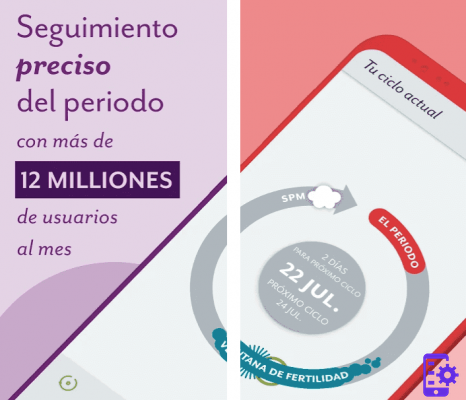
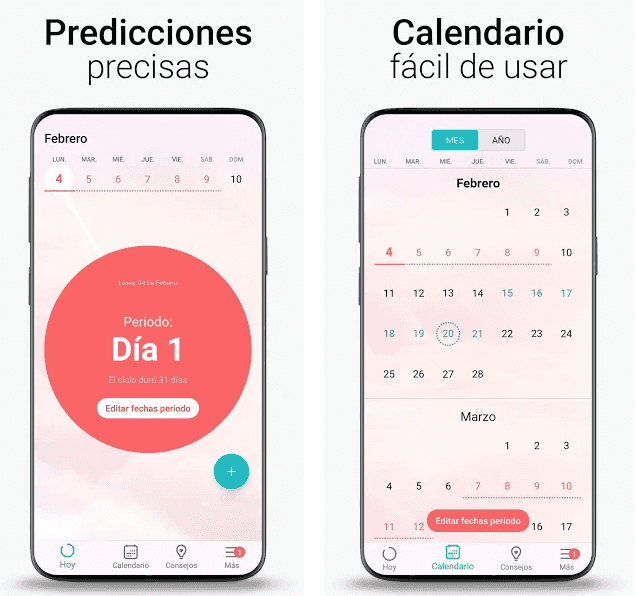
One of the things that worries people the most is the future, who they are going to marry, how the wedding is going to be, how many children...
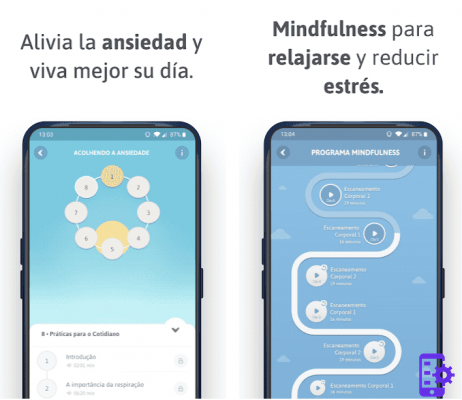
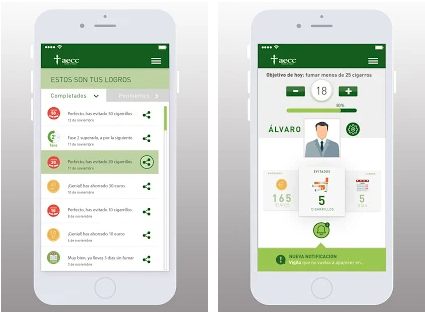
Many of us are used to starting the day and immediately thinking about all the things we should do during the day or week. We spend hours with...


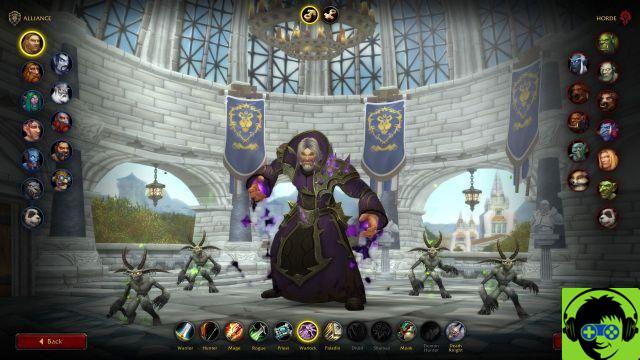
Not all classes have received massive adjustments, but Warlock has certainly seen a fair amount of class change. Below is the full list of class changes made...
![]() Sitemap 2025 / androidbasement.com
Sitemap 2025 / androidbasement.com ![]()
![]()
![]()
![]()