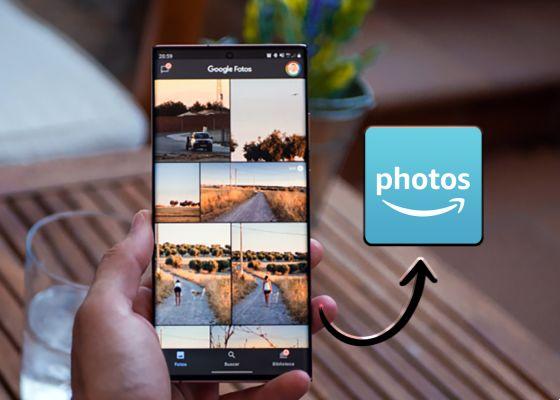
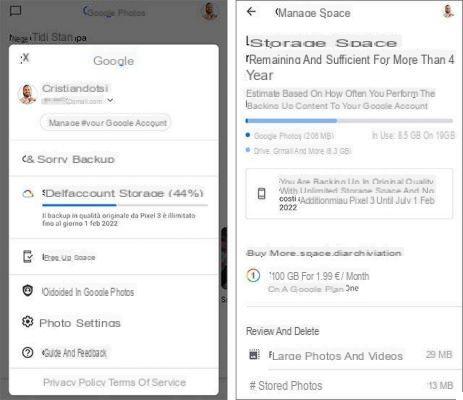
I don't know about you, but when I got that damn email from Google it transformed forever Google Photos in a service paid, I was very upset. On that service I have been collecting all my photos and videos for over 5 years! And now how do you do it? There are many alternatives to Google Photos, but for better or worse, to have a service similar to that of Big G you must still subscribe: no thanks! I thought about it for a while and I found it excellent free solution, that is to use a NAS as an alternative to Google Photos. In this guide I will show you how easy it is to use such a device to easily replace Google Photos and always have photos and videos under control, automating the backup process.
 NAS as an alternative to Google Photos 1">
I NAS (network Attached Storage) go far beyond simple storage functionality, offering an unlimited number of convenient possibilities for family or multimedia. In addition, there are often many apps available, including one that allows you to upload photos / videos from your smartphone to the NAS automatically making them accessible even remotely (just like Google Photos).
Note: to write this guide I used my personal NAS, an ASUSTOR AS5202T that we reviewed on this site, and for which all photos and screenshots will be taken from this device. However what I am about to show you will work in a very similar way with any other NAS. If you don't have one, we recommend among the best brands: ASUSTOR, Synology, TerraMaster or Western Digital.
What do we need?
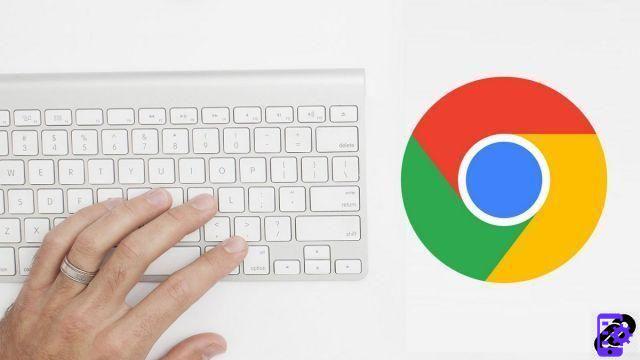
All you need is a NAS! This type of device is now increasingly present in our homes and, in case you don't have it, I highly recommend that you consider buying it. Trivially a NAS is nothing more than a big memory on which to save all our personal data (in case, for example, your smartphone or PC breaks). It is a real “box” inside which some are installed Hard Disk that store all our data and protect them over time:
 NAS as an alternative to Google Photos 3">
The peculiarity of NAS is the fact that they are constantly connected to the Internet: in fact, you will notice that they must be connected directly to your home modem / router with an Ethernet cable. This allows us to access his memory both when we are at home and away from home. In short, having a NAS is a bit like having a personal Cloud (such as DropBox, iCloud or, of course, Google Photos).
Using a NAS as an alternative to Google Photos is therefore very simple and this is just one of the hundreds of things you can do with a NAS. I will mention some just to make you understand how important it is nowadays to have such a device at home: file your files from any platform (cloud, smartphone, PC, HDD and various devices), run the streaming of your photos / videos / music from any device (such as smartphone, PC or TV), manage the home automation (from the printer to the security cameras), automated backups (even from smartphones, for example to use the NAS as an alternative to Google Photos) and much more!
Which NAS to buy?
Technically it doesn't matter which NAS you buy (if you don't already have one) because nowadays they all offer the same functionality for good or bad. I, from personal experience, can only give you three tips:
- First choose NAS from better brands because these will not only give you many features, but also all the support to keep the NAS updated over time, with software that is increasingly feature-rich and increasingly attentive to your files (with data encryption systems). Among the best brands we recommend: ASUSTOR, TerraMaster, Synology or Western Digital.
- Another very important advice is to buy (at least) one dual-bay NAS, that is a NAS that has two ports for Hard Disks. By doing so you can use one of the disks to store your files, and the second disk to make a one-to-one copy of the data on the first Hard Disk. This way, whatever happens to one of the HDDs, you will always have your back covered. This feature is called RAID1 and often the best NAS do it automatically (you just need to insert two hard disks and in the initial configuration the NAS will do everything by itself).
- Il third advice is to buy Hard Disks for NAS, or disks created specifically to last over time and withstand continuous work cycles. Buying substandard HDDs only exposes you to the risk of burning them over time, and this whole procedure would not make sense. Here then, below, the 5 dual-bay NAS currently most purchased on Amazon:
NAS as an alternative to Google Photo
Once you have purchased a NAS, and once configured, basically the game is done! But how to configure it? In this regard, in my review of the ASUSTOR AS5202T NAS I explained the configuration step by step. Once the initial configuration is finished, we can download the smartphone app and use the NAS as an alternative to Google Photos in a few simple steps.
 NAS as an alternative to Google Photos 4">
Installation and configuration
In general initial installation and setup they are very similar across all NAS, so you can use that review as a reference. In general, the steps to be performed are these:
- Open the NAS and insert the hard disks. NAS usually host 3.5 "HDDs but many give us the option to use 2.5" HDDs or SSDs as well. In any case, we recommend two 3.5 ″ Hard Disks (of the same capacity) for the simple reason that they are cheaper than SSDs and in general have larger storage capacities.
- Connect the NAS to the router running an Ethernet cable (supplied in the package) that goes from one of the LAN ports of the NAS, if it has more than one, choose the "fastest" one, to one of the LAN ports located behind the router (called for example "LAN1, LAN2" or "ETH1, ETH2" and so on).
- Finally, connect the NAS to the power outlet, using the power supply supplied in the package. Once this is done, you can turn on the NAS using the appropriate button power on.
- Once this is done, take your PC and connect it to the same modem on which you connected the NAS (via Ethernet or via WiFi) and connect to the IP address of the NAS. In some cases manufacturers (such as ASUSTOR) provide software to download to your PC to access the NAS directly, but if not, you just need to access your modem, find out the IP address of your NAS (something like 192.168.XX) and type it in the address bar in your browser as for example, in my case:
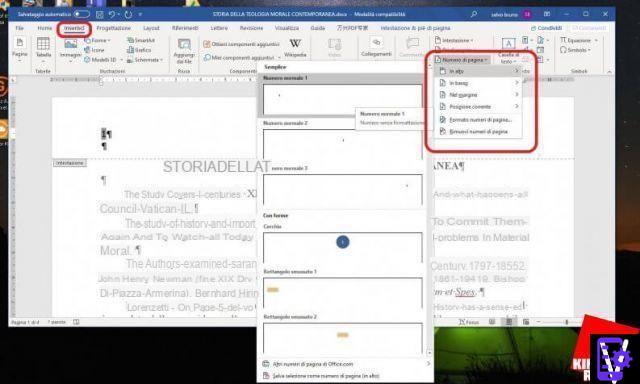
done, at this point you will find yourself inside the operating system of the NAS that is there waiting for you start the configuration. This kind of configuration, while it may seem complicated, is made easier and easier and you don't need to be an expert. For example, the initial configuration on my ASUSTOR is done practically with a few clicks, as you can see from the screen below:
 NAS as an alternative to Google Photos 6">
In this screen we are asked to give a custom name to the NAS (if you want) and to create an account by providing a username and password (very important, mark them somewhere) that will be used from now on to access your NAS even remotely.
Soon after, you will be able to set the storage mode of the NAS. In fact, depending on the type of discs inserted in the device, we will basically have two choices:
- "Maximum capacity“: All the memory available on the disks is used to save your data. Not recommended because it is unsafe.
- "Better data protection“: Performs a RAID1 automatically making a copy of all data in the second disk. If one of the disks should fail, no data will be lost.
So continue the configuration by carefully reading what has been explained and you're done, you will have finished the configuration and you will be ready to use the NAS as an alternative to Google Photos.
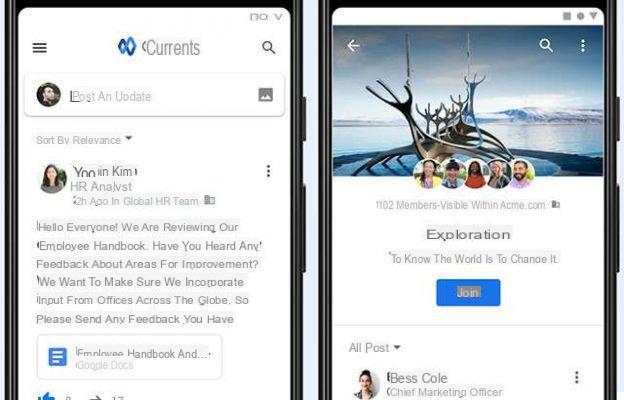
Download the photo app
In fact, once the configuration is complete, you will be brought into the NAS operating system. This looks exactly like a computer's operating system, and you will already find many apps installed, including one Photo Gallery (or similar name) which allows you to view the photos and videos saved on your NAS.
In case there is no such app, do not worry! Today's NAS are also equipped with a store (a application store) from which to download hundreds of applications, including one Photo gallery. By uploading photos or videos to the NAS, you will find them instantly within this app. For example on my ASUSTOR the application is called Photo Gallery 3 and looks like this:
 NAS as an alternative to Google Photos 7">
Now all that remains is to download the same application also on the smartphone. In fact, by going to the Play Store (for Android) or on the App Store (for iOS or iPadOS) and by typing the name of the application in the search bar, you can download that app for free on the smartphone. Sometimes it is possible that the name of the app is slightly different, but in general it will take you very little to find and install it.
Once installed and started you will need to connect the application to the NAS. In fact, on the initial screen of the application, you will be asked to enter some data such as the IP address of the NAS (which we used a little while ago) and your username and password that we chose a little while ago when configuring the device:
Should it be necessary to also enter a "port“, Write the number 8001, while if you also need a "description", enter what you want. That's it, clicking now on "ACCESS"We will have entered the NAS and we will be able to see our photos also from the smartphone. But it does not end there, because now we will use the NAS as an alternative to Google Photos by going to enable automatic photo backup.
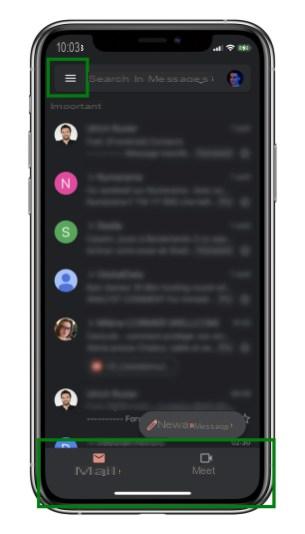
In fact, once you enter the app, go to the Settings and here look for an entry indicating the Backup (as shown in the following images). From here we can activate the automatic backup and select which smartphone folders this application must "draw" for take your photos and upload a copy to the NAS (automatically, every time you take a photo or shoot a video):
Done! From now on any photo taken with your smartphone, exactly as it happened with Google Photos, it will be loaded immediately to the NAS by making a double copy (in case you have a dual-bay NAS with RAID1, as we have recommended).
As mentioned this is just one of the hundreds of possibilities that NAS give us today, and although the initial cost may seem a bit high, we assure you that over time you will not be able to do without it. After all, our personal data is priceless, and paying "for life" for a service that could disappear overnight is definitely not one of the best methods.
Download the Photos from Google Photos and upload them to the NAS
Now that everything is ready, you may want to transfer all the photos and videos you had to Google Photos to your new NAS. This step is not mandatory, because Google Photos will continue to keep your old photos even after switching to the subscription policy. However, making a copy is never wrong.
Fortunately, a Big G instrument called precisely comes up against us Google Takeout and that allows us to export all the photos / videos from Google Photos (and not only) in a handful of clicks. So go to the site and deselect all services except Google Photos (leaving the blue check only on the latter), and go down to the bottom by selecting "Next step"
After that, a second screen will open, similar to the one you see in the photos below, where Google Takeout will give us the possibility to choose how to export our contents. Specifically, we can choose how to download them (from a direct link for example, or via other methods), export it as archive (and therefore immediately), with which file type (.zip recommended) and the maximum size of this archive (for convenience I have selected the maximum, 50GB):
Finally click on “Create export”And wait for Google to prepare the files to download. This procedure can be longer or shorter depending on how many files you have on Google Photos and it could take hours or days. For this reason, at the end of this procedure you will receive an email directly containing the direct link to the download.
Once you have downloaded the archive containing the photos, extract it to a folder inside your PC, log into the NAS (then go to a browser and connect to it via IP address for example), go to the Photo app inside the NAS and proceed to upload the photos by selecting the folder in which you extracted them. TOwait until the end of the upload and you're done!
Note bene: unfortunately we could not go into too much detail because the procedure may differ slightly depending on the NAS you have. However for any questions or problems please contact us through the official channels found below for immediate assistance and clarifications! With that, our guide on how to use a NAS as an alternative to Google Photos concludes; we hope to have been of help!
Doubts or problems? We help you
Remember to subscribe to our Youtube channel for videos and other reviews. If you want to stay up to date, subscribe to our Telegram channel and follow us on Instagram. If you want to receive support for any questions or problems, join our Facebook community or contact us on Instagram. Don't forget that we have also created a search engine full of exclusive coupons and the best promotions from the web!