Search
Search
Search

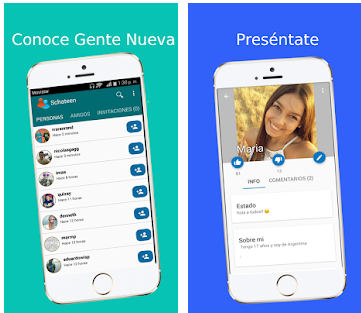
Do you spend hours looking for the perfect partner in bars, clubs or nightclubs? Are you tired of not finding your ideal partner? Donâ??t worry anymore, at 4AndroindLovers...
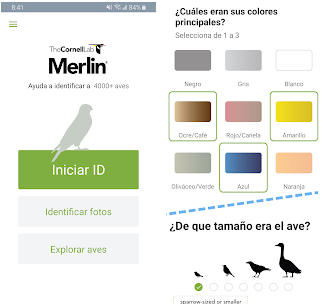
Summer is coming and the weather is good, and with it many migratory birds. These birds coming from the south are usually exotic due to their shape and...


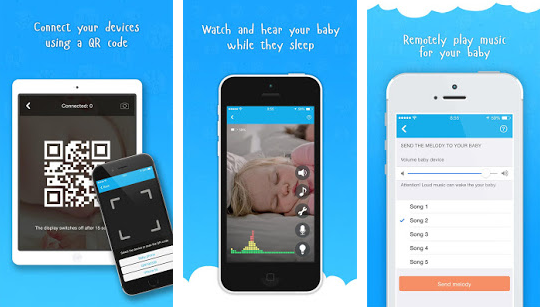
Have you run out of ideas on how to entertain your child? We understand you. After all, with so many distractions it seems like an impossible task to...
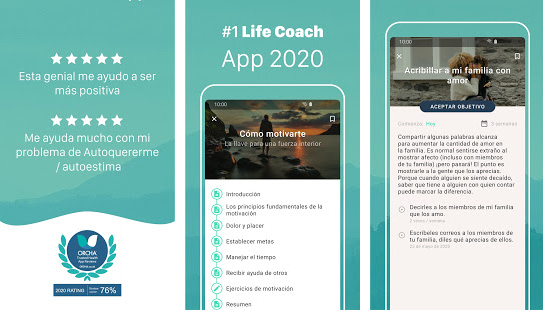
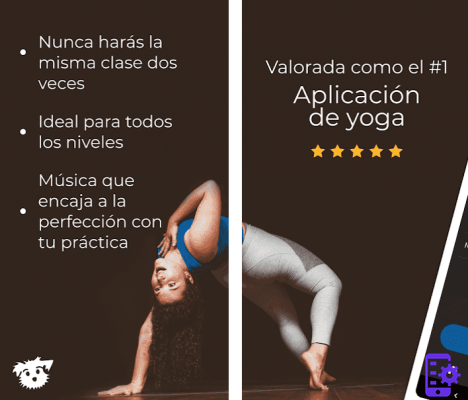
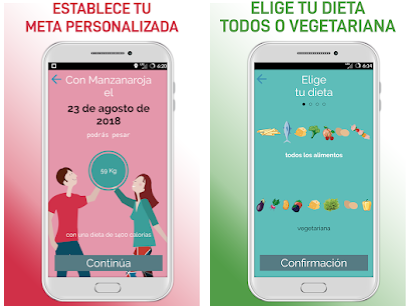
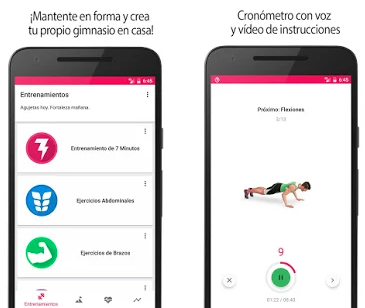
One of the things all doctors recommend is that we have a healthy lifestyle. This way we can have a much better life, as we will feel better...


Would you like to learn the Disney Plus tricks to manage the platform like an expert? Then the shortcuts will be perfect for you. Because? Because they allow...
![]() Sitemap 2025 / androidbasement.com
Sitemap 2025 / androidbasement.com ![]()
![]()
![]()
![]()