


You have found one of your favorite films but unfortunately you have discovered that it is in English, so you are looking for a solution to solve as you do not have much command of the language. Within this new guide today we will explain how to add subtitles to vlc on windows 10 following practical steps.
Preliminary information
We always recommend doing an installation through one 100% genuine and original license, this is to avoid data loss or hacker attacks. We are aware that purchasing a license on the Microsoft store has a high cost. For this we have selected for you Mr Key Shop, a reliable site with free assistance specialized in in your language, secure payments and shipping in seconds via email. You can check the reliability of this site by reading the many positive verified reviews. Windows 10 licenses are available on this store at very advantageous prices. Furthermore, if you want to upgrade to the latest versions of Windows operating systems, you can also purchase the upgrade to Windows 11. We remind you that if you have a genuine version of Windows 10, the upgrade to the new Windows 11 operating system will be free. Also on the store you can buy the various versions of Windows operating systems, Office packages and the best antivirus on the market.
Where to download subtitles
Before seeing the steps to follow, you need to get the subtitles to add to the film. In our complete dedicated guide (attached below), you will find a series of services that allow you to download the subtitles of your favorite film.
How to add subtitles to VLC on Windows 10
To add subtitles to a movie played via VLC Media Player, just perform a simple operation. First, locate the film to watch and open it with VLC taking advantage of the function Open with available in the context menu that appears after pressing the mouse button on the file. Alternatively, double-click the left mouse button if VLC is set as the default player.
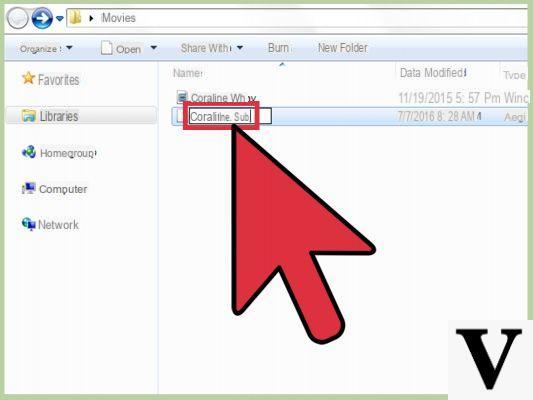
At this point, place the subtitle file in the same folder where the movie to be played is present and then trascinatelo in the main window of the playback software. The message "Subtitle track added". Alternatively, you can do the same by clicking on the menu Subtitle present at the top, choosing Add subtitle files and selecting the subtitle file using File Explorer di Windows.
How to add two subtitles to VLC on Windows 10
VLC Media Player it can also play a second subtitle file leveraging a Plugin free to add to the software. The first file can be loaded natively through the built-in functionality in VLC.
To take advantage of this feature, you need to download the extension Subtitler lite mod v1.3 from the website by pressing the button Download, then on the voice Subtitler (lite) mod.zip which appears just below and then on the button Download (0.03 MB). Once the file is downloaded, open the folder extensions following the path C: UserusernameAppDataRoamingvlclua.
You may need toenable the display of hidden elements to be able to access the folder AppData. To do this, click on the menu Show di File Explorer and then click on the item Hidden elements present in the box Show / Hide. Also, if the folders moon ed extensions they are not present, create them through New > Folder.
Once this is done, paste the zip package downloaded previously and use a special software (eg. WinRAR) to extract the content. If you have version 3 of the program, open the folder Subtitler (lite) mod v1.3 for VLC 3, if you have the release up to 2.2.8, open the folder Subtitler (lite) mod v1.2 for VLC up to 2.2.8 while for those up to 2.0.x, open the folder Subtitler (lite) v1.0 for VLC 2.0.x (and older).
Once this is done, copy the files inside into the folder extensions. Complete the procedure by copying to extensions the contents in the folder Button presser for Subtitler (lite) mod.
The next step is to download the program Key Press. You can proceed with the download by connecting to the website of Softpediaby pressing the button Download now and choosing one of the mirror links (eg. Softpedia Mirror EU). A zip package will be downloaded to extract to your favorite folder (eg. desktop). Now that you have everything you need, it's time to see how to add two subtitles to VLC on Windows 10.
Open the movie you want to play with the program and then follow the steps listed above to add the primary subtitles. Now, click on the menu Show and press on the item Subtitler (lite) mod. At this point, the program comes into play Key Press which practically allows you to automate the click of the button Update. This will allow you to play the second subtitle file as well.
To do this, open the software (there is no need to do any installation as it is a portable program), click on the drop-down menu below a Application and select Subtitler (lite) mod. At the entry Single Key (in the section Use), tap on the drop-down menu and choose ENTER. Once this is done, in the text field next to the wording Time interval (ms), enter 100. You may need to play around with this a bit. We advise you to start with 100 and gradually go down.
Complete the operation by clicking on the button Home making sure that the Subtitler (lite) mod remain active. Now, the second subtitle file will be loaded and Subtitle Lite constantly updated by Key Press so that both subtitle files are played while the video is being produced.
You will find that you cannot watch the video since the window Subtitle Lite remains in the foreground and cannot be moved. In this case, you can use the key combination Win + left arrow to move VLC left and Win + right arrow to move Subtitle Lite to the right. Once this is done, resize the playback program window so that it takes up more space and do the same thing with that of Subtitle Lite by placing it in a small part.
What to do in case of problems
In case the subtitles of the movie you are watching do not appear, then first make sure that you have placed the file inside the same folder as the film. If you are still having problems, check the contents of the subtitle file by opening it with the Block Notes. If there is nothing inside, you will have to look for another one.
Following the path Instruments > Pref Renze > Subtitles / OSD in VLC Media Player, you can customize the default color of the text and border by clicking on the color preview next to Default text color e Border color, customize the font and its size and border thickness. Remember to save any changes by holding on Save. Once this is done, close and reopen VLC and check if subtitles appear.
If you are still having problems, we suggest you download another SRT file or make sure the subtitle file name does not have special characters in its name. The last solution to follow is that of restore the initial settings of VLC. To do this, open the program, click on the menu Instruments and choose Pref Renze. In the screen that appears, click on the button Reset preferences present below and confirm by choosing OK.
Doubts or problems? We help you!
If you want to stay up to date, subscribe to our Telegram channel and follow us on Instagram. If you want to receive support for any questions or problems, join our Facebook community.
Other useful articles
Doubts or problems? We help you
Remember to subscribe to our Youtube channel for videos and other reviews. If you want to stay up to date, subscribe to our Telegram channel and follow us on Instagram. If you want to receive support for any questions or problems, join our Facebook community or contact us on Instagram. Don't forget that we have also created a search engine full of exclusive coupons and the best promotions from the web!


