In many cases the mouse has a large one speed in its pointer and for this reason it is possible that a few clicks are given. But sometimes it works very slowly and this feature makes many users impatient. If you wish, you can remove or activate the double click of the mouse.
For this reason, it is important to understand that some devices have their own tracking speed settings. It is based on proprietary software or hardware. However, from Windows you can too adjust the mouse speed With a few simple steps from the pre-configured settings, you can also configure the use of the mouse buttons.
In Windows 10, you can change the speed of the mouse pointer
It should also be noted that Microsoft's policy is to make major changes several times a year in Windows 10. For this reason, this operating system allows you to increase pointer speed, below we will mention the steps to follow to get it.
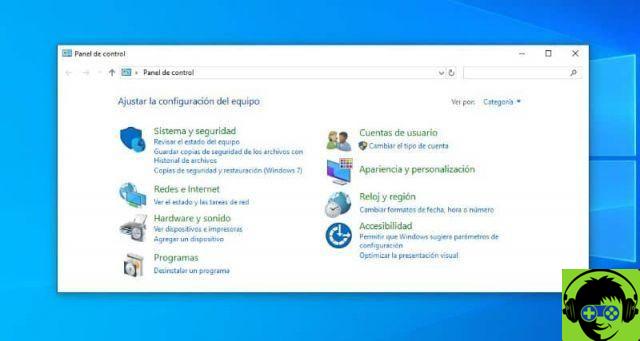
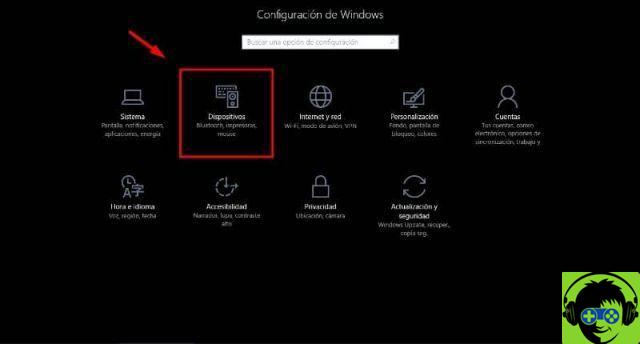
Initially you need to go to the boot menu and from that option you will have to choose and click where it says "Settings". Then you will see some options where you will have to click where it says "Devices" a window will pop up where you have to choose the option "Mouse".
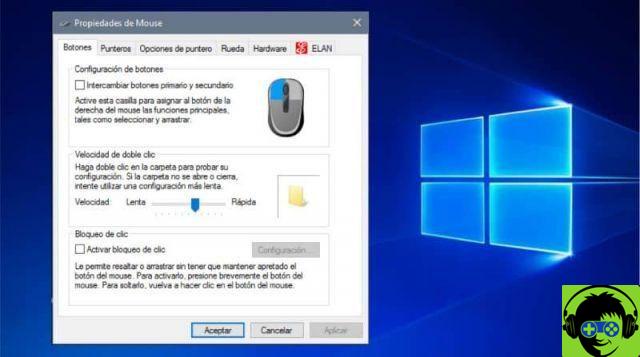
After performing this step and finding yourself within these options, you need to choose the "Pointer options" from that point where you will be able to see the cursor. It is in the session "movement", manages the movement of the mouse, controls the speed with which it moves on the screen.
Note that mouse speed is measured in relation to physical movement that occurs on the desktop. Then you can adjust the slider on the left side and it will move more slowly.
But if it slides to the right it will move faster, this movement makes it faster or slower. This is why Windows 10's default settings are in the middle of these two options.
Then you can move the cursor and leave it where you like, also, as the cursor is adjusted, the change in the mouse will be done automatically. On its own, this is a useful option, as you can try various speed functions until you select the one that best fits your mouse hardware.
Improve mouse pointer accuracy
It should also be noted that you can also configure the accuracy of the mouse pointer in Windows 10. To achieve this you can go to the tab "Pointer Options".
It performs the function of improving the user experience in terms of accelerating the cursor based on the speed of the mouse. So, having this option enabled, Windows 10 will automatically recognize that moving the mouse quickly should accelerate the speed of the cursor.
This way the cursor can be moved as quickly as possible in the desired position. It all depends on what the user selects in the options.
This function allows you to change the value of the constant to an increasing value, it all depends on the user's choice. At the end of the settings you will be able to select the option "Apply" and then "Accept" and in this way you can save the changes made. It's a simple procedure if you follow the steps correctly.
Being able to change and increase pointer speed consists of a few simple and easy steps that you can perform from your computer. If you follow them correctly you can adjust the speed to your preferences. You can also adjust the speed based on work, activity, and the type of mouse to use in Windows 10.
Finally, we hope this article has helped you. However, we would appreciate your feedback. Have you been able to change and increase the mouse pointer speed by following these steps? Neither do you know another who allows you to perform this action? Leave us your answers in the comments.
You may also be interested in, How To Capture The Mouse Cursor In A Screenshot In Windows 10?