It is important that our electronic devices perform their duties automatically to maintain optimal functioning. But we have to be the managers of what may or may not be installed on our equipment, be it PC or mobile.
Since we know you are concerned about this situation, we will shortly show you an article that will explain it to you how to remove windows 10 automatic updates screen.
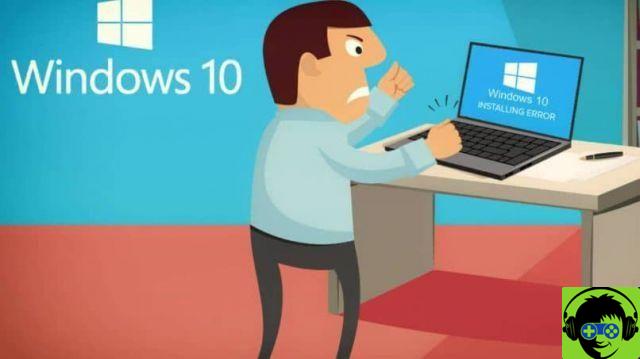
For this reason, we will configure such that these automatic updates are blocked. And these are installed on my computer only when I look for them, this way we remove these automations once and for all. But so that you can understand very well what we are going to do, I advise you not to miss any steps.
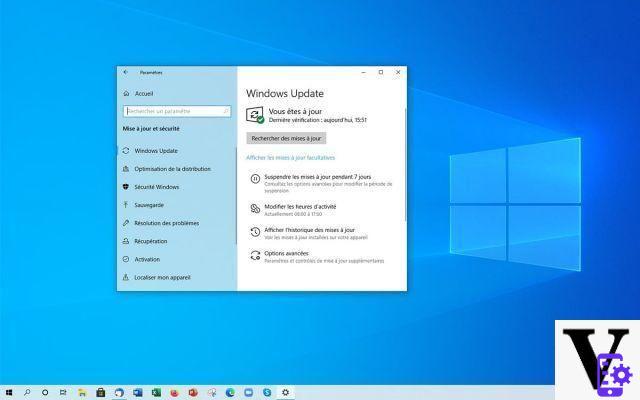
Windows Update is in charge of downloading system updates when they are available. But it can happen that errors occur and keep looking for updates and thank God this can be fixed. But to avoid this and other possible problems, it is advisable to remove the automatic updates screen from Windows 10.
How to remove the Windows 10 automatic updates screen
If we rummage through the Windows Update settings, we may find that the updates automatic cannot be completely disabled. Then we have to resort to other means that do not allow this task. And we will delve into the advanced options of the Windows 10 operating system.
So to do this, first of all we will go to the service applications, to do it we go to the start menu and we have to write the following statement services.msc and the services window will immediately appear on our screen. And what we will do here, then prevent it from booting Windows updates together with the system.
In this window we can see a list with a large number of processes and we can see their name, description, status, show if the process is in execution at the moment or not. We will also see the type of startup and the way to start the session, all this information is contained in the services window.
How to configure the services window in Windows 10
The next thing you should do is scroll down to the bottom of this window and you will find the Windows Update option . Then you will double click on it to take you to another new window, in this you will find and select the tab which is called General. You may already be in it and go to the Startup Type section.
Then you have to click on the arrow pointing down and several options will appear and you have to choose Disabled, then go down and click on the Apply button. This will apply the changes made in this window. Now the last step is to restart your computer, this is an important step when making system configuration changes.
After restarting your computer, the update screen will no longer show you and you won't worry about it anymore. But we recommend that you enter Windows Update from time to time. This is so that you can receive updates available as they contain corrections and perches that can keep you protected from new threats.
Before we finish, it is important that you know that many configurations that we can do to the system serve to offer us an answer for a specific task. But we must act with caution and awareness because if we make a mistake in any instruction or command we can make the system work properly, so pay attention to this.

In this way we end up with the explanation of this tutorial which could teach you another function that we can disable in Windows 10. And without too many complications, you already know how to remove windows 10 automatic updates screen.










![[Free] Software to Play and Listen to Music on Windows PC -](/images/posts/bce57ef3d2bc9852e0fa758f66120b13-0.jpg)