CHKDSK is a tool that runs before Windows starts. This system usually displays a countdown when "Check Disk" must be performed. If you ask yourself how to change the time CHKDSK runs in Windows 10 during disk fix? , this article offers you an effective and very simple solution.
How to change CHKDSK runtime in Windows 10 while repairing disks?
Il compensation disk or CHKDSK is a tool for analyzing the disk, to detect errors and correct them. There are two ways to change the CHKDSK run time: via the command window and via the Windows registry.
Next, let's explain what CHKDSK is how to change the running time of this tool in Windows 10.
What is CHKDSK?
CHKDSK refers to "Check Disk" and is a tool that includes Windows for servicing storage drives. Just as the process for defragmenting the hard disk in Windows is relevant, CHKDSK is very useful because it allows you to analyze and repair drives such as the hard disk, an SD memory or a pendrive.
A cosa serve CHKDSK?
CHKDSK is used to scan and fix logical and physical errors which may have a storage drive. It also allows you to monitor the status of your computer in real time. It also allows you to repair bad sectors on your hard drive when the scanning process detects this type of problem.
How does CHKDSK work?
CHKDSK runs only from the Windows CMD command window. For this you need to activate the administrator permissions.
When running CHKDSK, you need to take into account a syntax that includes: "Unit" and "Parameter". The "unit" refers to the letter it identifies the mount point or the name of the volume. Right next to the unit you should write the colon. You can also choose to disable disk checking when needed.
Parameter "File name (file name)"
The "parameter" is a way to identify the name of the file to test the fragmentation.
The "/?" shows the options of the CHKDSK command. "/ V" displays cleaning execution messages and is available to the system NTFS. "/ F" allows you to correct errors that occur on the disk. Finally, the / R parameter is used to find bad sectors of the hard disk as well as to retrieve readable information.
Change how long CHKDSK runs in Windows 10 when repairing disks
CHKDSK runs by default for 8 seconds. However, you can change this time via the Windows command window as specified below.
Access the Windows command window
First, you need to open the CMD command window via the boot menu. In the magnifying glass icon on the taskbar, type the command cmd. Then, right-click on "Command Prompt" and choose "Run as administrator". Then the command window will open.
Check the time that the system has set by default
Once in the system window, type the command chkntfs / t to know the time configured by default. If this is 8 seconds, you can change it via the comando chkntfs /t:s. The "s" refers to the time in seconds to be set.
For example, if you want the execution time to be 12 seconds, the command should be chkntfs / t: 12
Change how long CHKDSK runs in the Windows registry
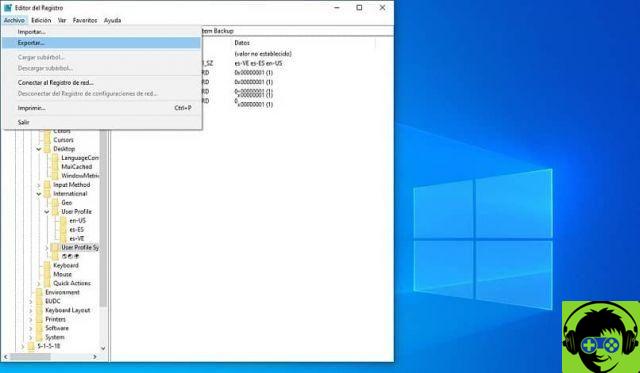
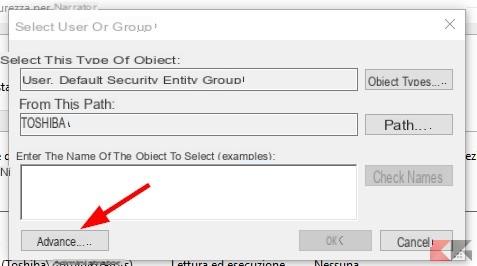
To access the Windows registry you need to write the command regedit from the magnifying glass icon located on the taskbar and press the «Enter» key. A window will open in which you can view a series of subdirectories.
Follow the following path: HKEY_LOCAL_MACHINE SYSTEM CurrentControlSet Control Session Manager. In «Session Manager» On the right of the panel you will see "AutoChkTimeout", double click on it and write the time in seconds. Finally, click "OK".