


Do you need to remove small imperfections from some photos, crop others and rotate images that look “crooked” but don't want to waste time installing advanced photo editing programs? Then I give you good news: you can do everything with Paint, the digital drawing program included on virtually all versions of Windows. You've probably never noticed it, but good old Paint includes all the functions you need to perform basic photo editing operations, like the ones just described. If you want to know more and want to learn how to edit photos with Paint, Keep reading.
In the next paragraphs, in fact, I will explain how to proceed both using the "classic" version of Paint (the one we have all used at least once), and its revised and corrected version, that is Paint 3D, available only on PCs upgraded to Windows 10. As you can see, the latter is preferable to the older version of Paint, especially if you want to try your hand at slightly more complex photo editing jobs (such as those in which you have the need to cut out the subjects in the photo). For completeness of information, then, I will have the opportunity to tell you about Paint .NET, a free drawing software that can be useful for editing some of your shots.
So, what are you doing still standing there? Courage: make yourself comfortable, take all the time you need to concentrate on reading this guide and, more importantly, try to put into practice the "tips" that I will give you in relation to the use of the main functions of Paint. I wish you good reading and, above all, have fun!
How to edit photos with Paint
Let's start this guide on how to edit photos with Paint seeing how to eliminate small imperfections or superfluous elements from the images. As you can imagine, there are no powerful tools available, such as the Photoshop patch or clone tool, but I assure you that you can still get good results.
Just a small clarification before proceeding: the indications you find below concern the version of Paint present in Windows 7 and above. Previous editions include almost all the functions described but have a different layout of the menus.
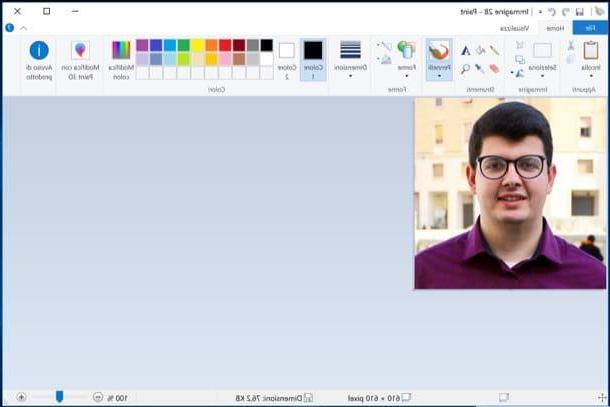
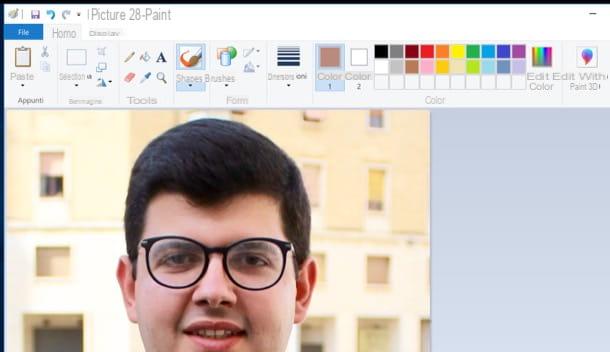
To proceed, right-click on the photo you want to retouch and select the items Open with> Paint from the context menu. To hide small imperfections in photos with Paint, you can use a simple and effective method. Here's what it consists of: click on the button Color picker (l'icona del dropper present in the toolbar located at the top) and click on an area adjacent to the element to hide. Then the brush with the newly selected color on the area to be removed and that's it. As if by "magic", the imperfection will be gone!
The above technique works especially with photos where there is a predominant color and the element to hide is not surrounded by many objects (e.g. a soap bubble in the sky or a pimple on the face), as long as you have selected carefully the color to use and the brush has been set correctly (you can choose various types of brushes and adjust the dimensions of the latter using the appropriate menus located at the top).
Another technique allows you to remove imperfections from photos with Paint using a sort of "clone tool". To proceed, activate the tool Freehand figure selection from the menu Select, choose the portion of the photo you want to "clone" to cover unwanted image elements and drag it onto the latter while holding down the key Shift keyboard. Many copies of the selected portion of the photo will be created, which will replace - in a much more natural way than the brush - the object to be hidden within the image. Simple, right?
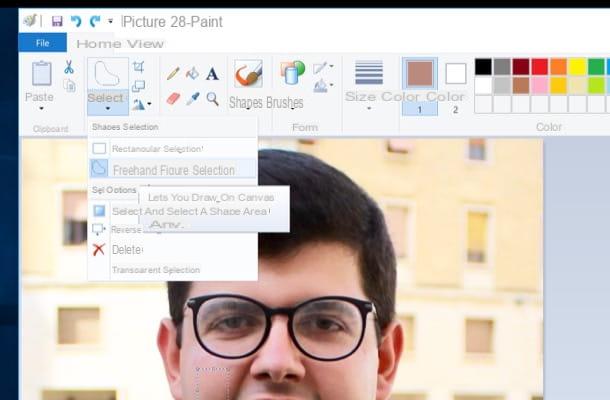
To create more precise selections, you can help with on-screen indicators such as the grid and ruler. To activate them, select the tab Show from the Paint toolbar and put the check marks next to the items Rulers e Grids. To increase or decrease the zoom level of the photo, instead, use the buttons capacitor positive (+) lead e (-) which are located at the bottom right (in the program status bar).
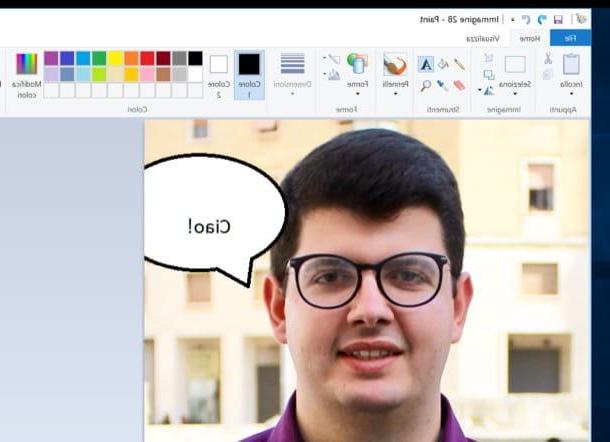
Do you want to add text or speech bubbles to the photo? Nothing easier. To create a comic, expand the text box Form located in the toolbar of the program (by clicking on the arrow that goes down) and select the shape relative to the comic you intend to insert in the image.
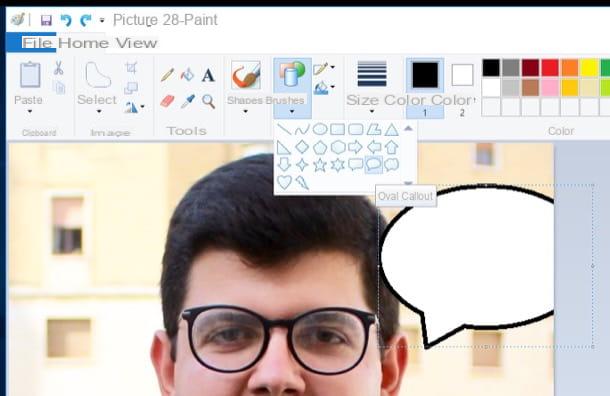
At this point, "draw" the bubble in which to insert the words at the point of the photo that you prefer and set the value Solid color on the menu Filling. Next, select how 1 color il black (or the color you want to use instead for the comic border) and how 2 color il White (or the color you want to use for the cloud fill).
To add the writings, then, activate the tool Text from the Paint toolbar (represented by the letter A), click on the point in the photo where you want to write and use the commands located at the top left to set writing character e text size. Then type in the text and move it to the position of the image you prefer, dragging the dotted box surrounding the text with the mouse.
To save the work done, press the button Fillet located at the top left, select the item Save with name from the menu that opens and choose the extension and the location in which to save the output file.
How to change the size of a photo with Paint
If you have come to this guide with the aim of change the size of a photo with Paint, I'll settle you immediately. After importing a photo into the program, as I showed you in the previous chapter, press the button Resize located on the tab Home and select the image resolution adjustment mode.
If you want to resize the image by specifying the percentage of size to reduce or expand it, put the check mark in the box Percentage, specify the size you want in the text fields Horizontally e Vertically and presses the button OK. If, on the other hand, you want to set the custom size in pixels, check the box pixel and provide the dimensions you prefer to use by writing them in the text fields Horizontally e Vertically and then click on OK.
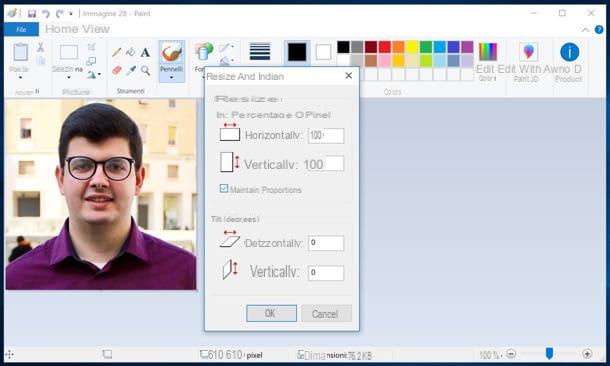
As you can see, by default Paint resizes photos while keeping their original aspect ratio. To disable this setting just remove the check from the box Maintain proportions And that's it.
Paint can also be used to overlay photos, crop portions of images, and rotate photos in various directions. Did you know that? If you want to take full advantage of these features of the graphics program included in Windows, run to read the following guides.
- How to overlay two images with Paint, in which we saw how to create nice photomontages by “sticking” images downloaded from the Internet on our photos.
- How to crop photos with Paint, in which I explained how to quickly reduce the canvas of a photo using Paint.
- How to flip a photo, which explains in detail the procedure required to rotate images in various directions.
- How to join two photos, to find out how to put two images next to each other and create a small collage.
How to edit photos with Paint 3D
As I mentioned in the introduction to the article, Paint 3D is available “standard” on Windows 10 (if not, you can install it from the Microsoft Store using the link I gave you a moment ago) and works in a similar way to the "old" Paint, even if it offers new features designed especially for the creation of 3D drawings (its name is explained here). Let's find out now how to use it best.
First, start Paint 3D by typing "paint 3d" in Cortana's search bar (located in the lower left corner of the screen) and pressing on the first occurrence that is found. In the main application window, then presses the button apri and select the photo you want to edit. Alternatively, right click on thephoto icon you want to import into Paint 3D and click on the items Apri con > Paint 3D.
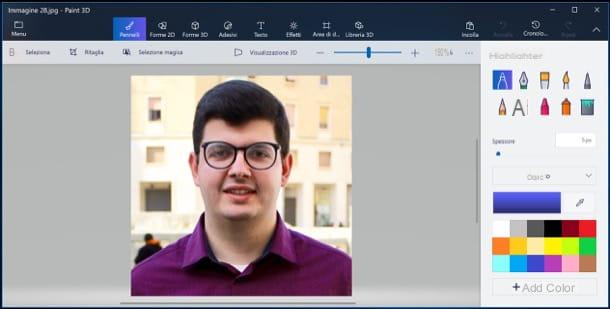
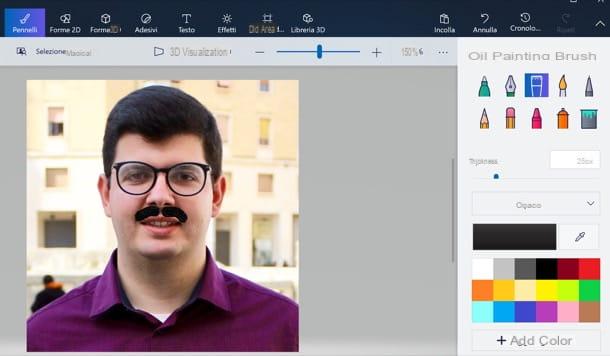
Once the photo is imported into the program, edit it using the tools included in Paint 3D. Then press the buttons located at the top of the program window to draw on the photo using i brushes, to insert 2D shape e 3D shape, adhesives, testi, effects and so on. After pressing one of the buttons in question (eg. paintbrushes), select the characteristics of the chosen item from the menu that appears on the right.
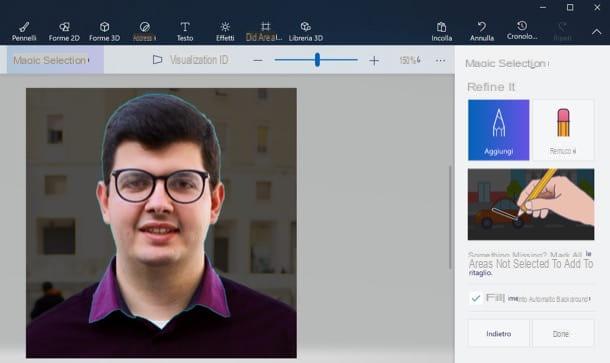
One of the most interesting features of Paint 3D, which can be very useful in the field of photo editing, is the Magic selection, thanks to which it is possible to cut out a subject in a rather simple and precise way (more or less like in Photoshop, even if, for obvious reasons, the results are not exactly the same).
After pressing the button Magic selection located at the top left, drag in the corners or on the sides of the pop-up box to indicate the subject you want to separate from the background and press the button NEXT. Then refine the cutout by pressing the buttons Add o Remove through which to signal areas of the image to add or remove from the selection and press the button Done.
Now that you have cropped the image, you can copy it by pressing the keys at the same time Ctrl + C on the PC keyboard, then open a new sheet (to do so, press the button Menu located at the top left and then on the item New) and paste it by simultaneously pressing the keys Ctrl + V.
Once you have finished editing a photo, click on the button Menu located at the top left, click on the buttons Save As> Image and, after selecting the format and the location in which to save the output image, presses the button Save. Facile, see?
How to edit photos with Paint .NET

If the “stock” built-in solutions in Windows seem a bit too limited to you, I suggest you try Paint .NET, a free program that allows you to access functions not included in Paint and Paint 3D, such as the ability to manage layers and add artistic effects to your shots. I also point out the presence of its official application in the Microsoft Store, which costs 6,99 euros and allows you to receive automatic updates and support software development, but in terms of functions it is the same as the free program that can be downloaded from the official website .
To download Paint .NET for free, then connected to this page, locate the item Download placed in the menu bar at the top, then click on the link Download now located next to the item Free and click on its link paint.net xxx located at the top right (under the heading Free Download Now).
Once the download is complete, open the archive .zip you got, double-click the file .exe to start installing the program and follow the instructions you see on the screen to complete the setup: then press the button Yes, put the check mark on the item Rapida, pig sul sul bottone NEXT, put the check mark on Accept and then press the buttons NEXT e end.
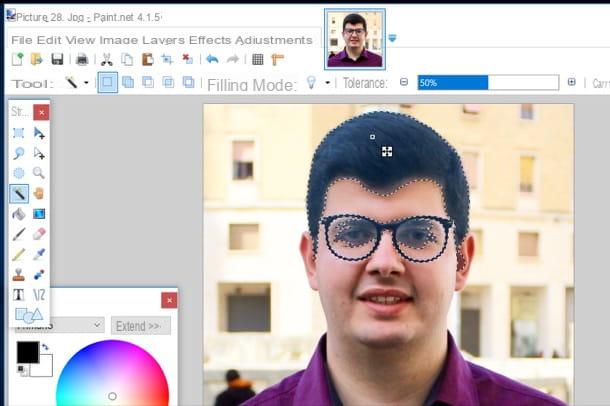
After starting Paint .NET, open the menu Fillet (top left), select the item Apri ... from the latter and choose the image you want to edit. Then use the tools in the toolbar located on the left to edit the photo.
Among others, you can use the Magic wand to cut out an object from the background or the pencil and rubber to edit it. On the right, however, you can manage the levels image and access the chronology changes made: function that is useful for redoing or undoing an action.
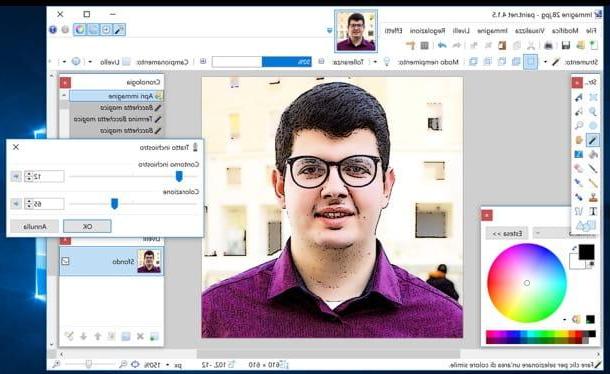
Through the menu bar placed in the upper part of the window, however, it is possible to access some editing tools. Opening the menu Imagefor example, you can resize, flip and rotate the photo; from the menu Adjustments you can "play" with parameters such as brightness, contrast and saturation, while from the menu Effects you can apply artistic effects and styles, such as blur or pixelation.
Once you have finished applying the changes to a photo, go to the menu Fillet > Save with name and save the output image by choosing the format and location to save it. Did you see how easy it was to use Paint .NET to edit photos?
How to edit photos with Paint


