


You started scanning yours old photos to have a copy on your PC but have you noticed that they are all full of stains and scratches? This is normal for photos taken a few years ago, but don't worry, with a little bit of effort and good photo editing software you can fix the situation easily.
In fact, today I want to teach you how to fix photos with scratches or smudges using GIMP, a very popular photo editing program that is absolutely free and extremely easy to use. Bet your old shabby photos will turn into flawless shots?
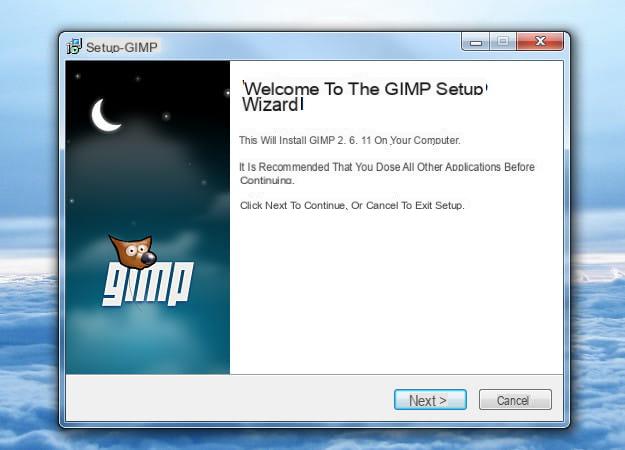
Before you find out how to fix photos with scratches or smudges, you need to install GIMP on your PC. Then connect to the official website of the program and click on the item Download GIMP 2.6.11 to download it to your PC. When the download is complete, double-click on it to open the file you just downloaded (gimp-2.6.11-i686-setup-1.exe) and, in the window that opens, first click on Run e Yes (to authorize installation on Windows 7 and Vista) and then on Next for two consecutive times, Install now e Finish to complete the GIMP installation procedure.
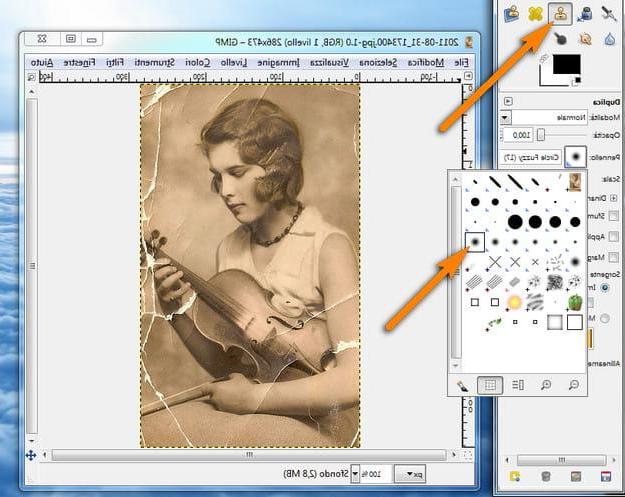
Now, start GIMP through its icon on the Windows desktop and, in the window that opens, select the item apri from the menu Fillet to open the old photo from which to remove stains and scratches. For correct photos with scratches or smudges, the main tool you have to rely on is the one called clone, which is capable of "cloning" portions of photos and transferring them to other points in the image to cover imperfections.
Then select it clone tool from the GIMP toolbar located on the left of the screen and configure it as follows using the commands available in the box at the bottom left: to make the filling of scratches and stains not too clear, I suggest you click on the button located next to the item Brush and select the brush with soft edges (circle fuzzy) instead of the classic one, for the size of the clone (scroll bar Ladder) instead you have to adjust yourself according to the size of the scratches or stains to be covered.
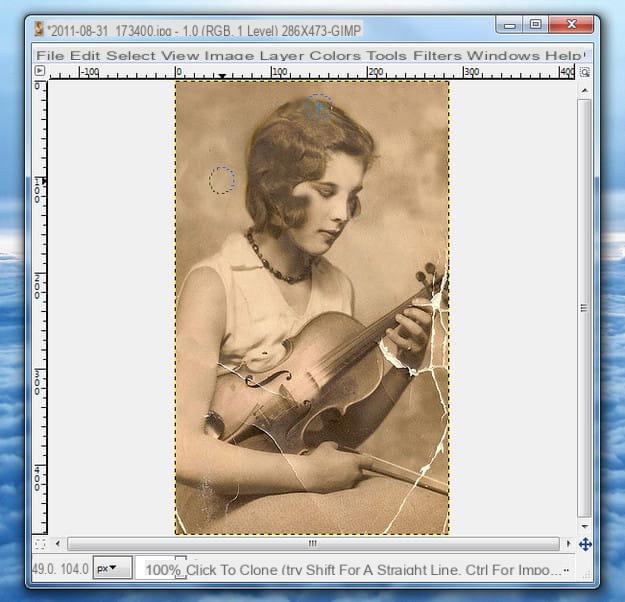
Once selected and properly adjusted it clone tool, you can start using it on your photo. First, you need to sample a "healthy" part of the photo to use as a fill to cover scratches and stains, then hold down the key Ctrl on the keyboard of your PC, click on the point of the photo without any imperfections to be sampled and click with the left mouse button to complete the operation. Try to sample parts of photos as close as possible to the imperfections to be covered.
Now, use the clone tool as if it were a brush and “color” the scratches and smudges in the photo to camouflage them. Always resample the clone in the vicinity of any scratches or stains to be filled e use the tool by tapping on the image, do not hold down the left mouse button when using the clone tool for too large stretches of photos.
When finished, if there are parts of photos where the camouflage of scratches and stains is not perfect, you can blend the effect using the tool blurs present in the GIMP toolbar (the drop). Then set theOpacity of the blur to a value between 40 e 70 (no more otherwise the gradient will be too sharp) using the appropriate scroll bar in the box at the bottom left and use it as a normal brush in the photo points to be blended.
When you are satisfied with the result, you can save your photo free of scratches and smudges by selecting the item Save eat from the menu Fillet of the GIMP central window. In the window that opens, click on the Explore other folders button to select the folder in which to save the image, give it a name by typing it in the Name field and click on the Save button to complete the operation. So, saw that correct photos with scratches or smudges wasn't it that hard?
How to fix photos with scratches or smudges


