


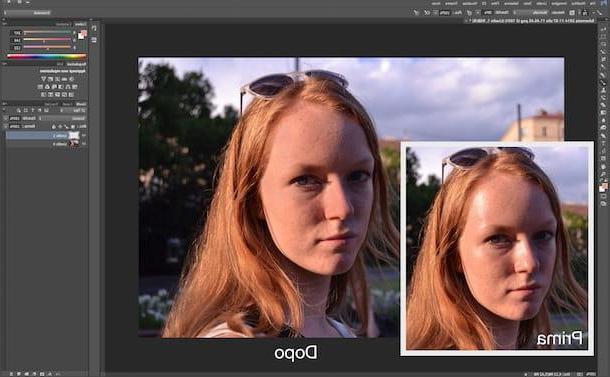
Going to review some photos taken last week did you notice that there is an annoying shiny effect on the faces of the people immortalized in them? Nothing tragic, quiet. A "shot" of Photoshop and the problem is nice that solved.
How do you say? Not very familiar with photo editing? No problem. Unless you have to work on "basket cases" you don't need to be an expert in photo editing for dull a photo with Photoshop, all it takes is a pinch of attention.
Come on, take five minutes of free time and try to fix the photos of your friends and / or loved ones thanks to the simple instructions I'm about to give you. I bet you will be pleasantly surprised by the result you will be able to obtain!
Small premise: the procedure related to how to opacify a photo with Photoshop it is quite simple to complete, however it is subject to numerous variables that depend on the degree of brightness of the image to be corrected. You will soon find out what I mean.
For now I tell you that you need to create an empty layer on the original photo, set it with the blending mode It's getting dark and try to “color” with very light brushstrokes the areas that are too light on the skin: the difficulty lies in filling the shiny parts of the image with the right tone without making the final result seem too “photoshopped”.
To get started, open the photo you want to opacify in Photoshop and create a new level by selecting the appropriate item from the menu Level> New of the program. Then go to the box Layers located at the bottom of the right sidebar, select the layer you just created (Level 1) and set the option It's getting dark in the drop-down menu located just above.
Now select the tool Dropper from the left toolbar, set the media 5×5 in the drop-down menu Sample which is at the top left and tries to select an area of the image in which the skin color is fairly balanced, that is, it adapts well to the shiny areas to be covered, resulting neither too light nor too dark.
Finally, select the tool Brush from the Photoshop sidebar and set the Photoshop to have a soft tip, a not excessive size and a level of opacity by 40-50%: you can do everything from the menus located at the top of the program window, on the left.
At this point it all depends on your skill. You have to "color" the shiny areas of the skin trying to avoid smudging and making a couple of "passes" on the areas that after the first application of the brush are too light. If you see that in some areas the skin color does not take on natural tones, activate the tool again Dropper and samples a color adjacent to the area to be filled: the result will certainly be better.
If some areas of shiny skin hide details in the image, such as a part of a beard or a line of the face, try to reconstruct them using the tool Clone stamp. I explained how to use it well in my post on how to clone with Photoshop.
When you are satisfied with the result, select the item Save with name from the menu Fillet Photoshop and choose which folder to export your opaque photo to.
If you don't have Photoshop installed on your computer and you prefer to use the free GIMP software to do your photo editing work, also check out my guide on how to opacify a photo with GIMP.
Photo used in the article: My Love
How to opacify a photo with Photoshop


