


Do you need to reduce the size of some photos saved on your computer in such a way as to fit perfectly to your blog and then be able to post them online without problems? Would you like to be able to "lighten" all the shots taken this summer in order to easily share them with your friends? If the answer to these and other similar questions is "yes" and if you are interested then find out how to go about it reduce photo know that you have come to the right place, indeed on the right guide! In the following lines I will go in fact to show you the best tools to succeed in your inteno.
Before you can get scared and think about the worst, however, I would like to point out right away that contrary to appearances, reducing photos is not at all complicated. You just need to know precisely which resources to use and how to use them and that's it, trust me. Currently there are several on the square software e web services that allow you to reduce photos, personally I will go to propose those that in my opinion are noteworthy for more free.
Ready to get started? Yup? Very well, then sit comfortably in front of your computer, take a few minutes of free time and concentrate on reading this tutorial. I am sure that in the end you will be able to tell yourself more than satisfied and that you will be ready to say that reducing photos was actually a real breeze.
FILEminimizer Pictures (PC Windows)
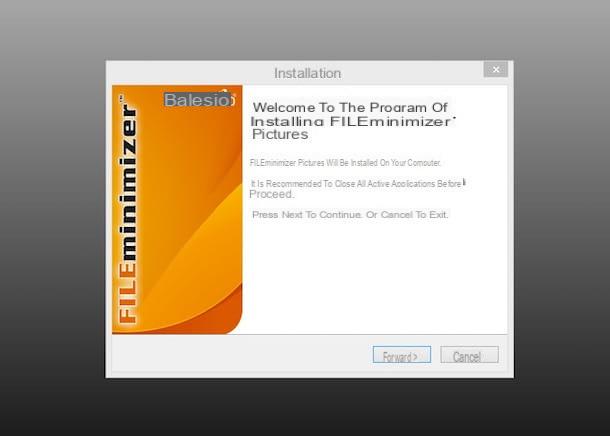
If you own a PC and if you are interested in understanding how to reduce photos by acting on the weight of the images then I suggest you resort to the use of FILEminimizer Pictures. It is a free program for Windows operating systems thanks to which it is possible to optimize all major image formats by reducing their weight in a very simple and fast way.
To be able to reduce photos with FILEminimizer Pictures the first thing you need to do is to click here so that you can immediately connect to the program's download web page. Then scroll down the displayed page and then press the button Download Free Version and wait for the download of the program to be started and completed.
When the download is complete, open the file FILEminimizerPictures-Free-Setup.exe that has been downloaded to your computer by double clicking on it and then first presses on Si and then NEXT. Then put a check mark next to the voice I accept the terms of the license agreement and click on NEXT five times in a row. Finally, he first presses on Install and then end.
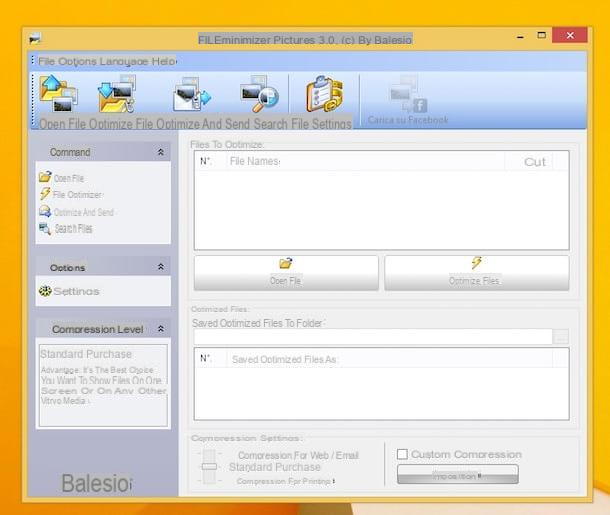
Now wait for the program window to be visible on the screen, then click on the button Open File to select the photos to reduce, select the type of optimization you prefer for the photos using the bar located under the item Compression Settings present at the bottom left and click on the button Optimize File to start the processor reduce photo.
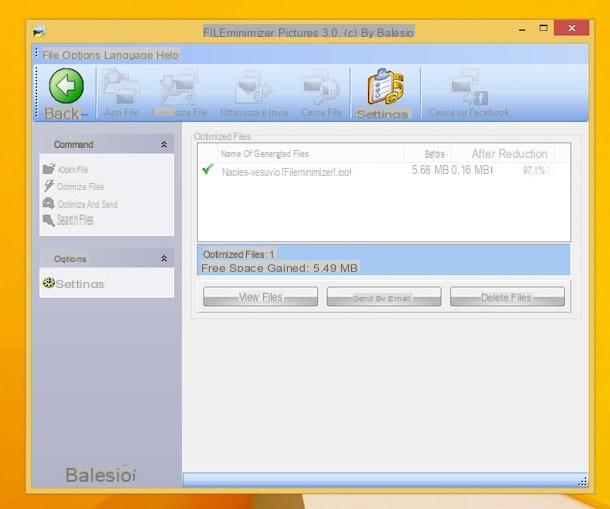
When the procedure is completed, the optimized images will be saved in the same location as the original ones. To access it quickly you can press the button Watch files attached to the software window.
Preview (Mac OS X)
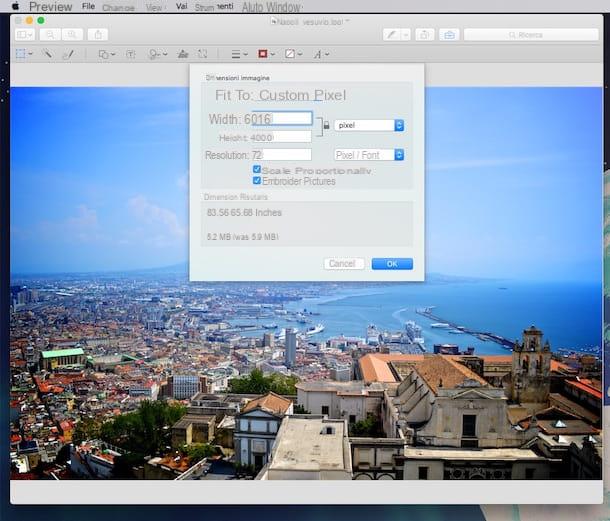
If you own a Mac and you want to reduce photos by acting on both the dimensions and the weight of the same, I suggest you contact Preview, the program included "standard" on OS X thanks to which you can view images and make countless changes in a simple but effective way.
To be able to reduce photos with Preview the first thing you need to do is open the image on which you intend to go and act by pressing on it with the left mouse button twice in a row. Now wait for the application window to be visible on the screen, then proceed as follows.
If you want to reduce photos by acting on the size, press the item Instruments located at the top right of the menu bar, select the item Adjust size ... and then fill in the fields located next to the items Width: e Height: as you see fit. If you deem it appropriate you can make sure that the resizing of the image occurs proportionally by ticking the box next to the item Resize proportionally. You can also specify the resolution by filling in the field next to the item Resolution: and you can change the unit of measurement used for resizing using the appropriate drop-down menus. Once all the changes have been completed, press the button OK. Before clicking OK can get an idea of what the final size of the file will be once the changes have been made by taking a look at what is reported in the section below the writing Results size located in the lower part of the displayed window.
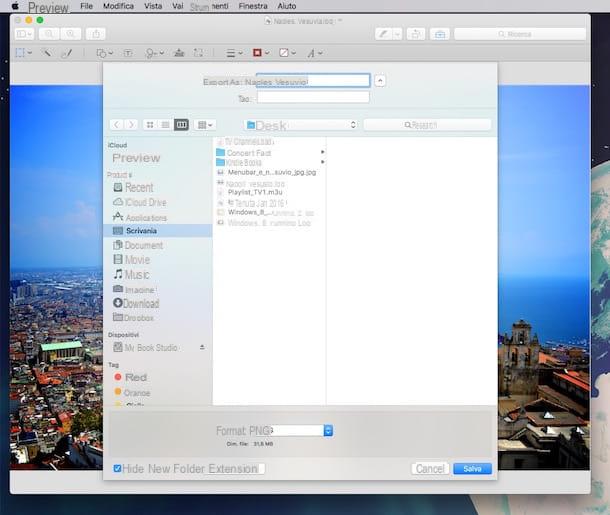
If, on the other hand, you want to reduce the photo by acting on the weight you will have to proceed by exporting the image. To do this, he presses on his voice Fillet attached in the upper left part of the menu bar then click on Export .... Now select the format in which you prefer to export the image to reduce its weight using the drop-down menu located next to the item Format:, if available, it also adjusts the quality of the file using the slider next to the item Quality:, then indicates the position in which you intend to save the image in the new format and once the desired final result is obtained, presses the button Save. Before clicking Save you can get an idea of what the final size of the file will be at the end of the procedure by taking a look at what is reported next to the item Dim. file located in the lower part of the displayed window.
After making all the changes and then being able to complete the procedure by which to reduce photos with Preview, simply close the preview of the image by pressing the appropriate button located at the top left of the same to save everything.
GIMP (PC Windows / Mac OS X)
As an alternative to the solutions that I have already proposed you know that you can try to reduce photos also by using GIMP. In case you have never heard of it know that GIMP is one of the best free alternatives to Photoshop. The software is usable on both su Windows both OS X and in addition to allowing you to reduce photos, it allows you to improve the appearance of images, apply special effects and much more.
If you want to try to reduce photos with GIMP download the program. To do this click here so that you can connect to the main web page of the software and then click on the item Download 2.x.x and then click on the orange button to start the procedure by which to download the software on your computer.
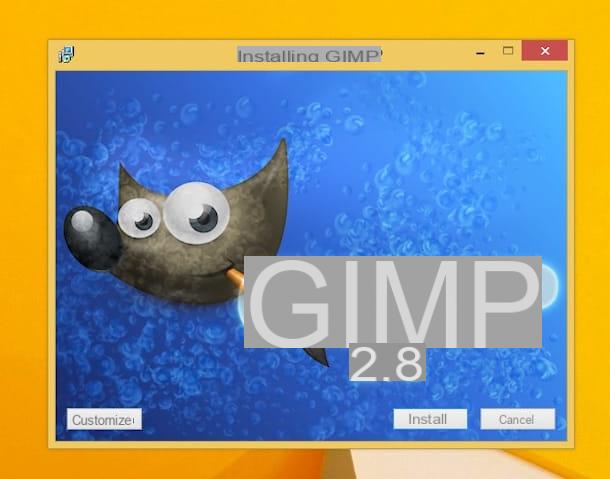
Once the download is complete, double-click on the file you just downloaded to start the quick software installation procedure.
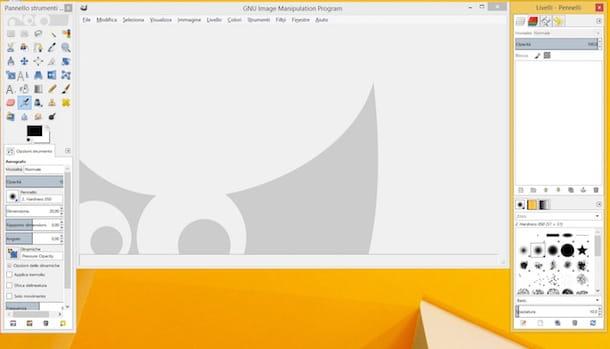
Once the installation procedure is completed, wait for GIMP to start. Then you will see three windows appear: on the left the toolbar with the tools for editing images, their advanced adjustments and the color palette, in the center an empty window in which the photos to be edited will be displayed once opened and on the right a another toolbar with advanced commands for managing layers, editing history and other tools that you will learn to use as you get more practiced with GIMP.
Now open the image on which you intend to act by clicking on the item Apri ... annessa to the menu Fillet and then selecting the photo on your computer.
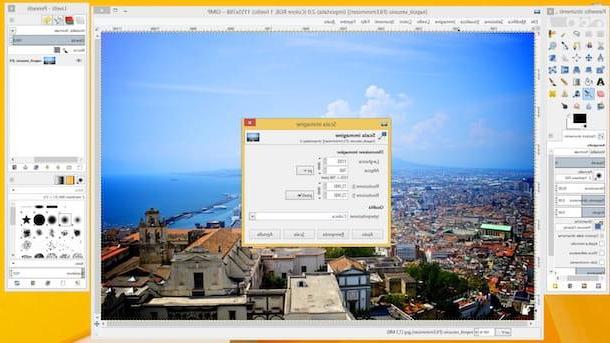
At this point, in order to reduce the photo by acting on both the dimensions and the weight, once the image is displayed, click with the mouse cursor on the item Image attached to the menu at the top of the GIMP window and then select the item Image scale ....
In the new window that opens, change the values in the fields located next to the items Width e Height. Click on the symbol depicting a chain to save or ignore the proportion between the values entered. Instead, use the menu located next to the item Interpolation attached to the section Quality to determine the level of interpolation (I suggest leaving the default option set). To conclude, press the button Ladder. If the final result returned is not to your liking, just click on the button Reset to restore the correct display of the image.
Final changes to save the changes made to the photo presses on the item Fillet present in the upper left part of the GIMP window and then presses on Save from the displayed menu.
If you are interested in even more advanced options to reduce photos with GIMP you can also install Liquid Rescale. It is a free add-on for GIMP that allows you to resize and crop images in an "intelligent" way, ie leaving the most important parts of the photos intact and automatically filling the added or cropped portions of the image.
To download Liquid Scale click here in order to immediately connect to the official website and then click on the button corresponding to the operating system to be used on the computer and then on standard GIMP installation ed here to download the plugin. When the download is complete, open the file obtained, follow the simple installation procedure that is shown on the screen, then select the folder in which GIMP is installed and complete the setup by pressing the appropriate buttons.
Once the installation is complete, you can start the filter Liquid Rescale calling it up from the menu Subscription by GIMP. In the window that opens, then type the size you want to reduce your photo to and click on the button OK to leave the plugin to automatically resize the image for you. When you are satisfied with the result you can save your resized photo as seen above.
If you are interested in learning more about how GIMP works and the features available to reduce photos, I also invite you to read my guide on how to use GIMP.
Compress JPEG e PNG (online)
If you need to reduce photos by acting on the size of the same but you do not have any desire to resort to the use of specific programs, know that you can succeed in your intent even directly online thanks to Compress JPEG e PNG. It is a Web service that works directly from the browser and allows you to reduce photos by acting on the weight of images in JPG and PNG format in a totally automatic way. The service allows you to process up to 20 images at the same time.
To reduce photos with Compress JPEG and PNG to begin with, click here to connect to the service's website, then click on the label JPEG or on that PNG at the top right depending on the type of images you intend to treat. Then drag the photos you want to act on into the field Drop your files here or select it "manually" by pressing the button Upload files.

Now wait a few moments for the procedure to reduce photos is first started and then completed, then click on the button Download everything to download them to your computer.
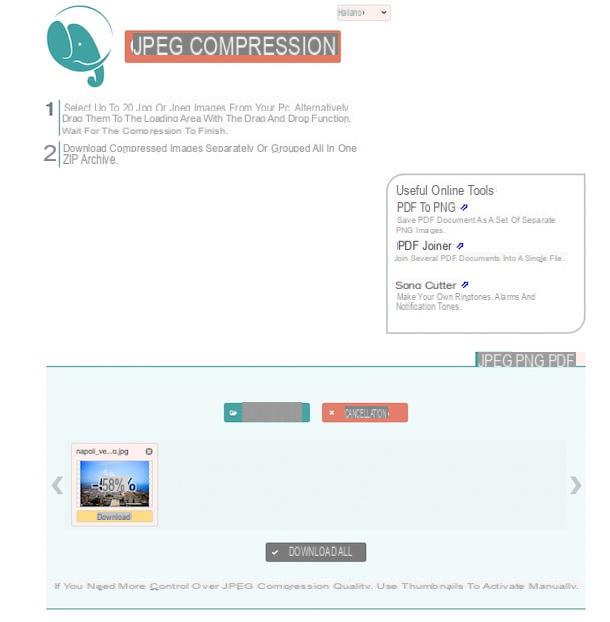
Note that the web service goes to reduce photos automatically. If you want to adjust the settings according to which this operation is carried out before starting the download of the compressed images, move the mouse cursor over each of them, then click on the item Settings then use the appropriate cursor shown on the screen and click on OK to confirm the changes made
How to reduce photos


