


The signature, it is well known, has its great importance also in the digital world and even more so in that of photography. By signing the photos it is in fact possible to avoid unpleasant "accidents", such as the reuse of specific shots without explicit permission. How do you say? You are perfectly aware of it but have no idea how to go about it sign photos? Well, then know that you have landed on the right guide. In fact, in the following lines I will go to explain to you what is possible to do to sign the photos. Don't worry, you won't have to carry out any operations that are too complicated!
In fact, by resorting to the use of special programs, I assure you that you will be able to sign photos in a way that is as simple as it is quick. To succeed in your intent, therefore, you do not have to be open in terms of photo editing or who knows what else. You just need to have a minimum of attention, a computer and an Internet connection up and running to download the resources I'm going to show you, nothing else.
So if you want to find out what you can do to sign the photos I suggest you get comfortable and take a few minutes of free time to dedicate to reading this guide. I am sure that in the end you will be able to obtain the desired result and that you will be able to say that you are more than satisfied with the thing.
FastStone Photo Resizer
If you are interested in understanding how to sign the photos I suggest you use FastStone Photo Resizer. It is a free and easy to use program for Windows that allows you to add watermarks in batches. Depending on the different needs, the program allows you to sign photos with both writings and logos.
To be able to sign photos with FastStone Photo Resizer the first thing you need to do is to click here in order to connect to the program's website. Once the software web page is displayed, click on one of the first two buttons download for free to download it to your PC.
When the download is complete, open the file you just downloaded by double clicking on it and first click on Yes and then Next. Then accept the conditions of use of the program by clicking on the button I Agree and then click first install and then Finish to finish the FastStone Photo Resizer installation process.
Now start FastStone Photo Resizer through its icon added on the Windows desktop and, in the window that opens, use the navigator on the left to access the folder where you keep the photos you want to sign. Then click on the button Add all to import all the images in the folder selected in FastStone Photo Resizer or click on the individual photos and then press the button Add to manually add them to the program.
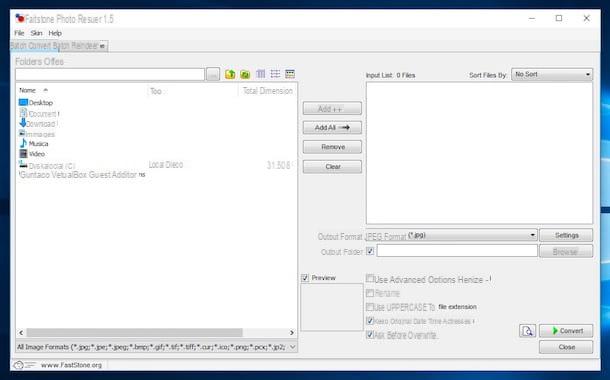
After selecting all the photos to sign (they must all appear in the right panel) put the check mark next to the item Use Advanced Options located at the bottom right and then click on the button Advanced Options.
If you want to sign the photos by stamping them, go to the form Text and metti il segno di spunta accanto alla voce add Text. Then type the text you want to add on the photos (eg. © photoclan) in the field at the top left and use the mouse to move the text to the point of the photo you prefer. If you deem it appropriate, you can also change the size and font of the writing by clicking on the button Font. To save the settings click on OK.
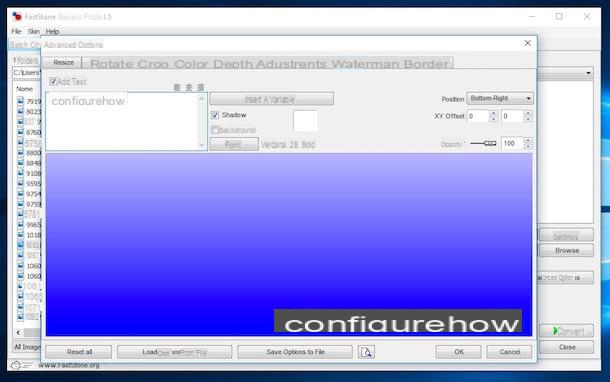
If you prefer to sign the photos with a logo, go to the card Watermark and metti il segno di spunta accanto alla voce Add Watermark. Then click on the button ... which is located in correspondence with the item Watermark Image and select the image you want to imprint on your photos. Use the mouse to move the logo to the point of the photo where you want to imprint it and finally click on OK to save the changes. If you see fit, you can also adjust the transparency level of the logo using the bar Opacity.

After signing the photos as I have just indicated, click on the button KATEGORIEN located in the lower right part of the main program window and select the folder where you want to save your images. Then click on the button Convert and the software will start tagging all your photos automatically. At the end of the procedure (it only takes a few seconds) you will find all the signed photos in the folder you previously indicated.
Photoshop
Did you not like the solution that I have already proposed to you to sign the photos? Are you looking for something more, so to speak, professional? Then turn to Photoshop, the world's number one software for photo editing, and the plugin Digimarc, which allows you to add a watermark to your photos. Keep in mind that both Photoshop and Digimarc are paid solutions but can be used without spending a cent on a trial period.
To succeed in the enterprise, to begin with, download and install Photoshop on your computer. To find out what steps to take to download and install Photoshop on your computer, I suggest you consult my guide on how to download Photoshop.
Then click here to connect to the Digimarc website and download the plugin by clicking on the appropriate button visible on the screen. When the download is complete, double-click on the file obtained to start the simple and quick plugin installation procedure.
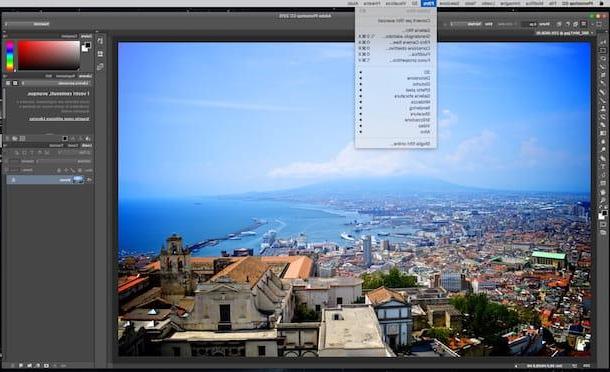
Then start Photoshop and wait for the window of the same to be visible and then press sula voice Fillet located at the top left and import the photo you want to sign by clicking first on Apri ... and then selecting the file.
Once the photo is displayed in the Photoshop window, proceed by clicking on the item first Filter placed at the top, then on Digimarc and subsequently on Include watermark in order to access the window for entering the data relating to the copyright of the photo. If you are not already logged in to your Digimarc account presses on the item Customize to fix it immediately.
After signing the photo you can save it to your computer by clicking on the entry Fillet placed in the upper left and then on the item Save. attached to the menu displayed on the screen.
GIMP
Does Photoshop seem too "challenging" to you? Are you looking for a free but equal solution to sign photos? Trial GIMP! If you have never heard of it, know that it is a well-known software for totally free photo editing, much appreciated and used by a large number of users in the world as well as considered as the main freeware rival of Photoshop.
If it is your intention to try to sign photos with GIMP the first thing you need to do is download the software. To do this click here, then press on the item Download placed at the top and then click on the orange button. Now wait for the software download procedure to start and complete, then double click on the downloaded file to start the program installation wizard and follow the instructions on the screen to complete it.

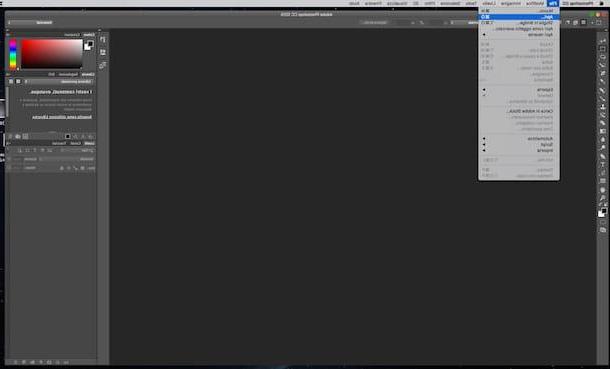
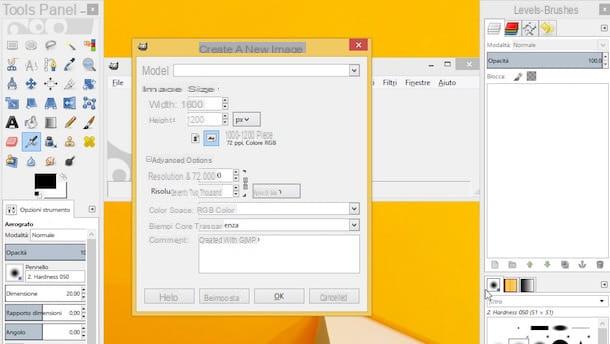
Now that you have downloaded and installed GIMP on your computer, start the software by clicking on its icon and then proceed to create the signature to be imprinted on your photos. To do this, select the item New from the menu Fillet and, in the window that opens, set 1600 in the field Width e 1200 in the field Height. Then click on Advanced options, select Transparency give menu to tendin Fill with and click on the button OK.
To make your signature select it text tool from the GIMP toolbar, choose the font you want to use from the drop-down menu Character and set the font size to 70 or 80. The color of the signature must be white.
At this point you just have to write the text of your signature (eg. photoclan) and center the text using the arrow keys on the keyboard. Once you have obtained the desired result, select the item Auto-crop Image from the menu Image of GIMP to adapt the size of the image to the signature and save everything by selecting the item Export from the menu Fillet. In the window that opens, type the extension . Png at the end of the file name in order to save the image in PNG format with a transparent background.
Now that you have created the signature you can finally proceed by going to sign the photos. To do this open the photo on which to act in GIMP by selecting the item apri from the menu Fillet. Then select the item Open as layers from the menu Fillet and open the PNG file with your signature previously created.
Now use the tools Move e Ladder present in the toolbar to move and resize the signature in such a way as to fit it in the best way to the photo and make the writing semi-transparent by lowering the opacity level using the bar located at the top right.
When you are satisfied with the result, select the item Export from the menu Fillet and save your signed photo in the folder and format you prefer.
How to sign photos


