


The operation of switching from public to private network in Windows 10 is not exactly immediate as it did for previous operating systems!
In previous versions of Windows it was possible to easily set the network to which you were connected in the public network or private network: Practice wanted that, in the name of security and by default, to use features like the sharing files and devices the network should be private and for instead deactivate this possibility the network should be public.
To date, the choice of the type of network is an operation that Windows 10 does automatically and, by default, the networks to which you connect are recognized as "public"; but there is a way to switch from public to private network in Windows 10 (and viceversa)?
Obviously yes, and it comes back to the security reasoning above: to switch from public to private network in Windows 10 you need explicitly make the computer discoverable, while to do the opposite it is necessary to make it undetectable. And, listen, listen, it is possible to do this via a switch (quite hidden) present in the settings! Let's see how to do it.
NOTE: when you connect to public hotspots or global networks of which you do not know the composition (for example university ones), it is always advisable to leave the computer undetectable and then set its network as public.
Preliminary information
We always recommend doing an installation through one 100% genuine and original license, this is to avoid data loss or hacker attacks. We are aware that purchasing a license on the Microsoft store has a high cost. For this we have selected for you Mr Key Shop, a reliable site with free assistance specialized in in your language, secure payments and shipping in seconds via email. You can check the reliability of this site by reading the many positive verified reviews. Windows 10 licenses are available on this store at very advantageous prices. Furthermore, if you want to upgrade to the latest versions of Windows operating systems, you can also purchase the upgrade to Windows 11. We remind you that if you have a genuine version of Windows 10, the upgrade to the new Windows 11 operating system will be free. Also on the store you can buy the various versions of Windows operating systems, Office packages and the best antivirus on the market.
Switch from public to private network in Windows 10
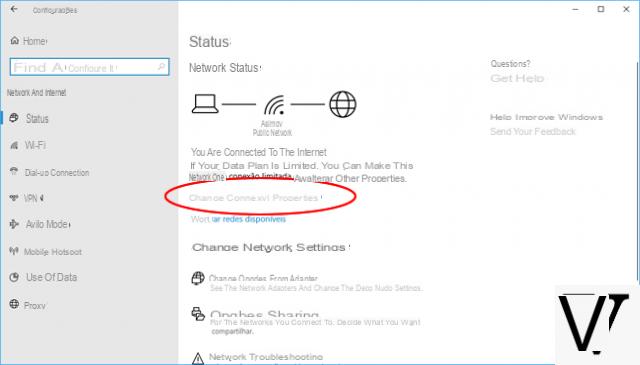
Go to Start> Settings and select the item "Network and Internet".
Once this is done, select the item WiFi if you are connected via wireless network or Ethernet if you are connected via a network cable; in both cases, scroll down the page until you find the item "Advanced options“, Present under the list of networks to which you are connected / available.
At this point the game is done: just move the switch to "Make this PC discoverable" to define the type of network.
To change the network from public to private, you need to move the switch to “On”.
Conversely, to change the network from private to public, you need to move the switch to “Off”.
Doubts or problems? We help you
Remember to subscribe to our Youtube channel for videos and other reviews. If you want to stay up to date, subscribe to our Telegram channel and follow us on Instagram. If you want to receive support for any questions or problems, join our Facebook community or contact us on Instagram. Don't forget that we have also created a search engine full of exclusive coupons and the best promotions from the web!


