


Di Picasa I've talked to you many times before. This is an excellent free application produced by Google that allows you to view, manage and retouch photos quickly and easily. It is completely in British and is available for Windows, Mac OS X and Linux.
Among its countless functions, there is also one that allows you to create collages by tiling two or more photos automatically. If you want to know more and want to find out how to tile two photos with Picasa, here is the procedure to follow step by step. It's a real no-brainer, believe me.
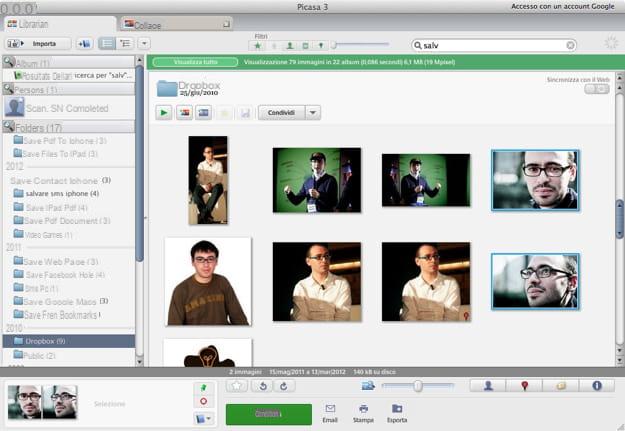
If you want to learn how to tile two photos with Picasa, the first step you need to take is to start the application and select the folder where the images you want to merge are located from the left sidebar. Alternatively, you can search for the name of the photos using the search bar located at the top right and locate the images to be used in the collage among the search results (the search is performed automatically in all folders imported into Picasa).
At this point, you need to select the two photos to be placed side by side. To do this, hold down the key Ctrl on the computer keyboard (or cmd, on Mac) and click on the thumbnails of both images. Then click on the button Create photo collages located at the top, to the right of the icon with the symbol play, and the photo collage creation screen will open.
Now, for side by side two photos with Picasa select the item Grid from the drop-down menu located at the top left and select the size that the collage must have from the menu Page format. You can choose various aspect ratios and also set the orientation vertical o horizontal of the image by clicking on one of the two buttons located at the bottom.
Would you like to add spacing and borders between the two photos? Nothing simpler. Move the adjustment bar under the heading to the right Grid spacing and set a background color for borders and spacing by clicking on the box next to the item Solid color. You can also change the order of the photos, moving the one on the right to the left and vice versa, just select them with the mouse and drag them to the opposite side.
When you are satisfied with the result, you can easily save your collage created with Picasa by clicking on the button Create collages which is located at the bottom left. Later, you can share the image via e-mail o export it in a folder on your computer by clicking on the appropriate buttons located at the bottom of the window.
How to tile two photos with Picasa


