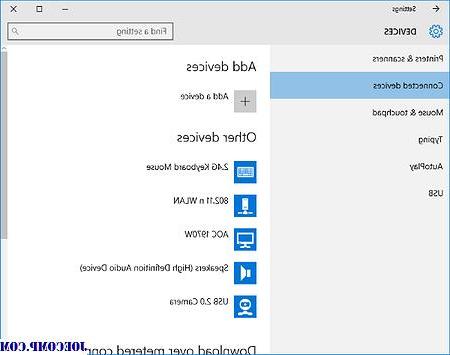
Miracast is a wireless technology that allows you to project your screen on TVs, projectors and media streaming players that support it. The potential of this technology is truly enormous, precisely because it allows us to share the operations we are performing on the PC in real time. But how should we do to configure the devices? Let's find out together.
Preliminary information
We always recommend doing an installation through one 100% genuine and original license, this is to avoid data loss or hacker attacks. We are aware that purchasing a license on the Microsoft store has a high cost. For this we have selected for you Mr Key Shop, a reliable site with free assistance specialized in in your language, secure payments and shipping in seconds via email. You can check the reliability of this site by reading the many positive verified reviews. Windows 10 licenses are available on this store at very advantageous prices. Furthermore, if you want to upgrade to the latest versions of Windows operating systems, you can also purchase the upgrade to Windows 11. We remind you that if you have a genuine version of Windows 10, the upgrade to the new Windows 11 operating system will be free. Also on the store you can buy the various versions of Windows operating systems, Office packages and the best antivirus on the market.
Preparing the devices
First of all you need a PC that is equipped with a Windows 10 operating system (but regardless of the Windows version we recommend checking that the PC supports Miracast) and a wireless screen that supports Miracast technology.
Does my PC support Miracast?
To find out if your PC is among those supported by this type of technology we will have to check through the library diagnostic tool DirectX. In this regard, we recommend reading this article which explains step by step how to do it:
Get updated drivers for your PC
Once the compatibility of our device has been ascertained, it is good to update the drivers of our PC in order not to run into malfunctions. To do this we can proceed in two ways:
- Verify that Windows Update has installed all important and optional updates for your PC
- Check the support page of the PC manufacturer's website for new versions of their drivers, then proceed with manual installation
What if my target device doesn't support Miracast?
In the event that we run into an incompatibility on the part of the target device (the one where the contents will be projected to be clear) then we will need an adapter (or dongle) for Miracast to be connected to an HDMI port of the display device.
Add the screen to complete the connection
Since we will find ourselves having a PC and a screen configured correctly then we can proceed with the connection. Before starting with the connection phase, it is necessary to specify that both devices must be within the coverage range and therefore in the same room.
How to add a wireless display to your PC
The procedure for adding a wireless display to your PC is as follows:
- We click on Notification Center (the icon next to the WiFi icon at the bottom right of the Windows screen) and then on Connect.
- We select the video device from the list of available devices that will be displayed (obviously our wireless screen must be on the relative screen share page to ensure that it can be searched).
- Once the connection is complete we will have a copy of our screen displayed on the wireless monitor.
Choose what to see on each screen
As already announced, at the end of the procedure described above we will have an identical copy of our screen projected on the wireless screen but this is not a forced choice, precisely because Windows allows us to choose what to project on each screen. To complete this choice we will have to:
- Enter the Notification Center
- click Project
Once inside this section we will find ourselves in front of various options:
- PC screen only - This option will allow us to disconnect the wireless device
- Duplicate - The same items will be displayed on both screens
- Extend - All elements extend across the two monitors and can be moved and dragged from one to the other
- Second screen only - All content will be displayed on the second screen only
Conclusions
We are in the final stages, we finally have our PC display projected on our wireless screen but before we leave you we want to recommend reading some interesting articles:
Doubts or problems? We help you
Remember to subscribe to our Youtube channel for videos and other reviews. If you want to stay up to date, subscribe to our Telegram channel and follow us on Instagram. If you want to receive support for any questions or problems, join our Facebook community or contact us on Instagram. Don't forget that we have also created a search engine full of exclusive coupons and the best promotions from the web!


