Have you recently returned from your last trip, have you taken lots of photos of your vacation and would you like to show them to your friends, adding superimposed writings that can best describe every single shot? If the answer is affirmative, but if you don't have the faintest idea how to proceed, know that I'm here, ready and willing to explain everything that is possible to do for you. write on a photo.
Before you can get alarmed and think about the worst, however, I want to reassure you and tell you something right away: write on a photo it is not at all complicated, at least by not resorting to the use of the free resources and tools that I am going to show you in this tutorial of mine. In fact, by following the instructions in this guide, you too, far from an expert in image editing and photo retouching, will be able to create writings on a photo without any kind of problem, trust me. The programs and tools I want to tell you about are in fact characterized by a very intuitive user interface: writing on a photo is within everyone's reach.
So if you are really interested in finding out how it is possible to write on a photo, I suggest you get comfortable, take a few minutes of free time and concentrate on reading my instructions. You will see that in the end you will be able to say that you are more than satisfied and certainly you will also be willing to give some advice to all your friends in need of a little help. Before we begin, I would like to wish you a good read.
How to write on a photo (PicMonkey)

If you are going to write on a photo but would like to avoid installing programs on your computer, I suggest you consider using P. It is one of the most used online services for photo editing in the world and which, among the many functions made available to users, provides some that will allow you to write on a photo in a very simple way. PickMonkey can be used for free, requires registration in order to save the edited photos but it must be considered that for some functions, such as access to some filters, it is necessary to subscribe to a paid plan.
To be able to write on a photo with PicMonkey the first thing you need to do is to connect to the main web page of the service. Then click on the icon Edit a Photo which you can see placed in the center of the screen. You will then be able to view the PickMonkey editor and use the web service to write on a photo.
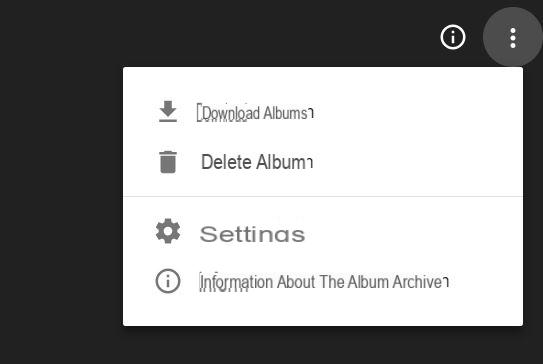
Now you just have to upload the photo you want to write on. How to do? It's very simple: first press the button Open New located in the top menu and press on the item More that you find in the drop-down menu (symbol of three dots [...]). This way you can more easily import your photo, choosing whether to upload it from Flickr, from OneDrive or from dropboxby clicking on its icon. Once you have chosen the image to upload you will only have to wait for the upload procedure to start and complete.
All PickMonkey tools that will allow you to write on a photo are visible in the left sidebar. As you can see, the user interface is very intuitive and the buttons refer to the editing and photo editing options most requested by users.
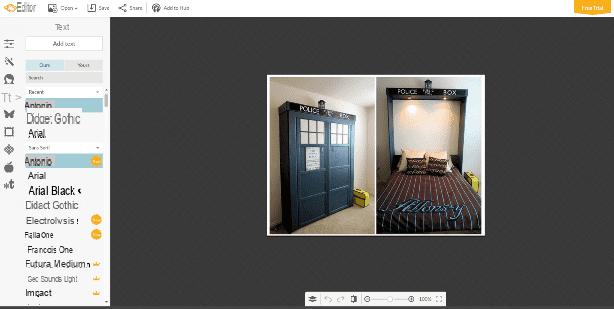
At this point, to write on a photo with PicMonkey, click on the icon Text (has the symbol with a letter T). In the box Type you text here that you find in the editor you can insert the text you want to add to the image, by double clicking on it. If you wish, before typing the text, you can change the type of font to use, choosing one of the many available in the left sidebar. You can also choose whether to make changes to the text formatting using the box Text located on the right. This option will allow you for example to change elements such as text color, size and alignment.
I also advise you to take a look at the box around the text: by clicking and holding down on one of the corners, you can resize the writing. By clicking and continuing to hold down on the indicator at the top of the box you can also rotate the text. Don't forget that the text can also be placed in another position on the photo; just move it.
Did you make all the changes you wanted? Very good! Save the final result on your computer: to do this, click on the button Save which is located at the top.
However, I remind you that, to save the edited photo, you will need to register for the service, a procedure that you can complete by registering via Facebook or via Emailby clicking the relevant button.
To save a photo, rename and choose whether to save it in JPG or PNG format using the appropriate drop-down menu. Then choose the resolution of the file (high, medium or low resolution) and then press the button Save to my computer to complete the save.
How to write on a photo (Canva)

Another great web service that I want to recommend to you for writing on a photo is canva. It is a service free which can only be used after registration. Its strong point? Its special functions to write on a photo for the creation of elegant, captivating and easy-to-create graphic projects.
If you intend to try writing on a photo with Canva, the first thing you need to do is click here, to connect to the main web page of the service. Then fill in all the registration fields: your e-mail address and a password to immediately create an account. To register you can also register via Facebook o Google (using the buttons of the same name) or register via email and then manually fill in all the fields displayed by manually providing your e-mail address and a password.
At this point you will be able to view the Canva editor. First, therefore, select the type of design you intend to use for your image, pressing on the one of your interest placed at the top (for example Social Media, Poster or Facebook Post). Once you have chosen the default template of the template to be modified, you can use the appropriate buttons located on the left side of the editor to modify it. You will then be able to select a background, you can add photos and, of course, also add writings.
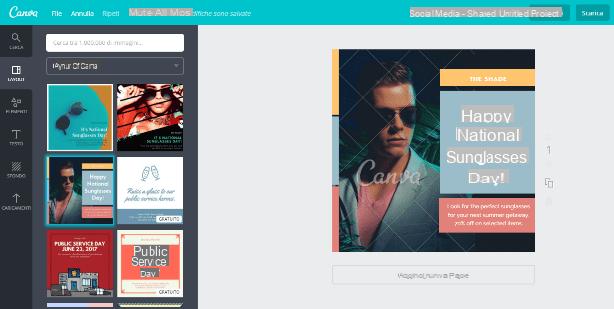
All the elements you add will be placed in the central part of the editor and you can edit them by clicking on them. As you can see, using Canva there are numerous customization elements: you can change the color and size of the lettering while clicking on the image chosen as the background you can apply filters, increase the contrast or brightness of the photo.
When you are done customizing the photo you can download it to your computer. To do this, click on the button Download located at the top right: you will then have to decide the format in which to save the image, choosing between JPG, PNG or PDF.
How to write on a photo (GIMP)
If you want to write on a photo and would like to use special programs to install on your computer, you can resort to using GIMP. If you have never heard of it, know that it is a software free designed for photo editing, as well as one of the best alternatives to the very expensive and difficult to use Photoshop. This program can be used on Windows, MacOS and even Linux and allows you to make advanced photo editing, even being able to apply text to images.
To use GIMP as a program to write on a photo the first thing you need to do is download the software. To do this, click here to connect to the official website of the service; then presses on the voice Download that you find at the top and then click on orange button to download the software directly.
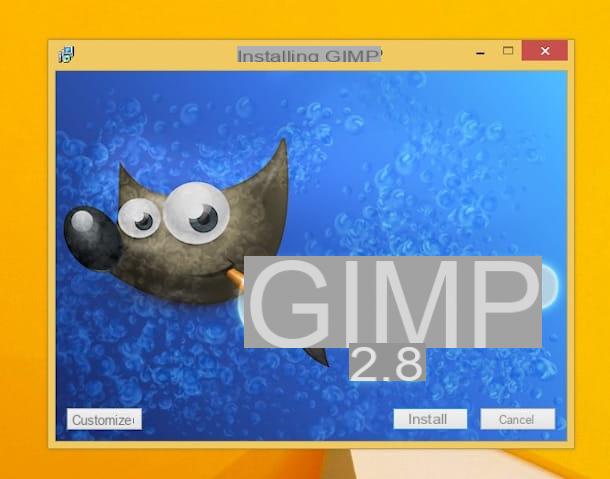
Start the software installation procedure by following the instructions on the screen and, once you have installed GIMP on your computer, start it by clicking on its icon from the desktop. Wait a few moments for the program window to be visible, then you can start using it as a program to write on a photo.
So I'll explain how to use GIMP: first click on the item Fillet placed in the upper right part of the central window, press on Apri ... and select from your computer the photo on which you want to act and on which you want to write a personalized text.
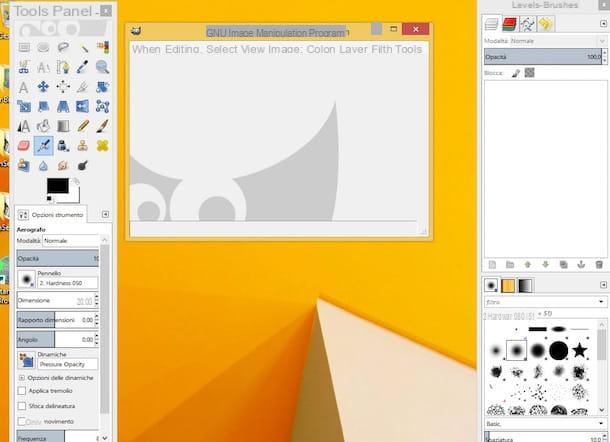
To write on the photo you will now need to use the Text tool (A symbol) that you find attached to the section Instrument panel by GIMP. Then click in the place in the photo where you want to add text and type everything you want to write as a caption to the photo.
If you want to make changes to the written text, just select it and use the formatting tools that you find next to it. For example, you can change the font, the color of the text or its size. Furthermore, if you wish, you can also change the position of the text by clicking on the selection box located around it and dragging it to a new position.
Once you have obtained the desired final result, you can then save the edited photo by clicking on the item Fillet placed in the upper right part of the central window of GIMP, by pressing on the item Esporta eats… that you find in correspondence of the displayed menu and then selecting the format and the location on your computer where you want to save the photo. Finally, you can save the photo by clicking on the button Export.
If in addition to being able to write on a photo, you would like to find out how to use GIMP for other photo editing operations, I suggest you read my guide on how to use GIMP in which I explained to you in great detail how to take advantage of this free program.
How to write on a photo