


There are so many Google services and each one covers a different aspect of daily productivity.
One of the most useful tools is certainly the calendar: it is well integrated with numerous services; as such, it can keep track of appointments, commitments and even reservations.
Fortunately, the Windows 10 Calendar app is designed to host accounts other than Outlook (and therefore Microsoft); among these, fortunately, there is also Google.
So let's see how to add the Google calendar in Windows 10 so you can manage your appointments, commitments, birthdays and reminders from there.
Preliminary information
We always recommend doing an installation through one 100% genuine and original license, this is to avoid data loss or hacker attacks. We are aware that purchasing a license on the Microsoft store has a high cost. For this we have selected for you Mr Key Shop, a reliable site with free assistance specialized in english, secure payments and shipping in seconds via email. You can check the reliability of this site by reading the many positive verified reviews. Windows 10 licenses are available on this store at very advantageous prices. Furthermore, if you want to upgrade to the latest versions of Windows operating systems, you can also purchase the upgrade to Windows 11. We remind you that if you have a genuine version of Windows 10, the upgrade to the new Windows 11 operating system will be free. Also on the store you can buy the various versions of Windows operating systems, Office packages and the best antivirus on the market.
How to add Google calendar in Windows 10
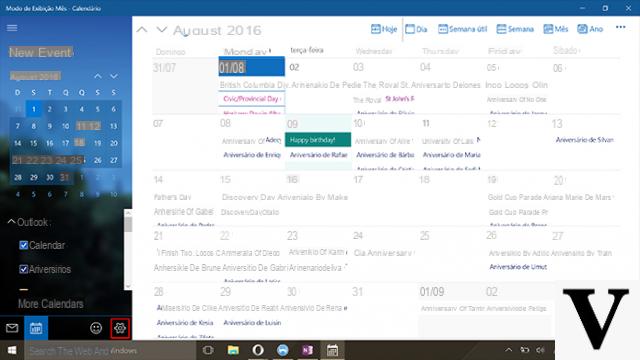
We open the Calendar app from the Start menu (just search for it by its name).
If you have never used Calendar before, tap on “Next” and then on Add Account. Otherwise click on the gear icon in the main window and select from there Manage Account.
From the panel that appears click on Add Account. From the list that appears, select Google.
Note: the windows on the Anniversary Update may be aesthetically different, but functionally everything is identical.
Enter your Google credentials when requested and grant access permissions by selecting "Allow".
The Gmail section will be automatically added to Windows 10 Calendar, along with all calendars already present and configured.
Now you can create, edit and delete events on the Gmail calendar directly from Windows 10: they will be automatically synchronized in Google.
To change the synchronization frequency you can proceed as follows: click on the gear icon in the main window and, from there, select Manage Account. Click on the added Gmail account and then on "Change mailbox synchronization settings".
You can select the synchronization interval from the dropdown next to "Synchronize contacts and calendars".
You can choose to synchronize every 15 minutes, 30 minutes, 1 hour, 2 hours or just manually. To make the settings final, click on Done, then click Save in the previous window.
Doubts or problems? We help you
Remember to subscribe to our Youtube channel for videos and other reviews. If you want to stay up to date, subscribe to our Telegram channel and follow us on Instagram. If you want to receive support for any questions or problems, join our Facebook community or contact us on Instagram. Don't forget that we have also created a search engine full of exclusive coupons and the best promotions from the web!


