


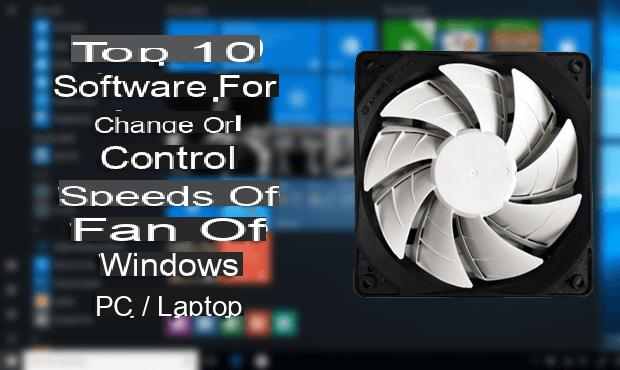
Since your computer's fans continue to be annoying (even after cleaning them), you are now looking on the Internet for a solution to the problem. In the following lines we will talk in detail about how to change fan speeds in windows 10 in the event that you are the owner of a PC equipped with the operating system of Microsoft.
Preliminary information
We always recommend doing an installation through one 100% genuine and original license, this is to avoid data loss or hacker attacks. We are aware that purchasing a license on the Microsoft store has a high cost. For this we have selected for you Mr Key Shop, a reliable site with free assistance specialized in in your language, secure payments and shipping in seconds via email. You can check the reliability of this site by reading the many positive verified reviews. Windows 10 licenses are available on this store at very advantageous prices. Furthermore, if you want to upgrade to the latest versions of Windows operating systems, you can also purchase the upgrade to Windows 11. We remind you that if you have a genuine version of Windows 10, the upgrade to the new Windows 11 operating system will be free. Also on the store you can buy the various versions of Windows operating systems, Office packages and the best antivirus on the market.
Premise
Before getting to the heart of our new tutorial today, it is necessary to make a brief but important premise. There fan speed adjustment it could cause serious damage to the internal components of your computer, so we advise you to work with extreme caution. Furthermore, we will not be responsible for any damage caused to your machine after reading the following steps.
How to change fan speed in Windows 10 from UEFI
The first method we propose you for check the fan speed on yours PC Windows 10 is to exploit it UEFI. It is a software that provides a series of functions to access the computer hardware and peripherals integrated on the motherboard by the operating system and programs. From here you can also check the sales speed of the fans.
Since each interface differs from model to computer model, we suggest you consider our dedicated guides on how to enter the BIOS or UEFI on any PC and how to enter the Lenovo BIOS.
Alternatively, follow the instructions given in User Manual included in the package together with the PC. Alternatively, you can download one copy in PDF format from the appropriate page of the manufacturer's official website. Here are some useful links to access the right section.
- ASUS
- Acer
- Lenovo
- HP
- MSI
- Dell
- Toshiba
- Apple
- Microsoft
How to change fan speed in Windows 10 via utility
Some high-end PC models (especially for gaming) implement suites developed by the same manufacturers that allow you to manage some settings related to hardware components, including the possibility of adjust the fan speed. Among the most famous companies there are ASUS, Acer e MSI.
How to change the fan speed in Windows 10 via SpeedFan
If you have not been able to access the UEFI or you have the old BIOS or your laptop or Desktop PC does not have a utility to adjust, then you can take advantage SpeedFan. It is a completely free program that allows you to keep under control the temperatures of the various hardware parts of the PC (including processor and graphics card). Other than that, it is possible manage the speed of the fans to be able to keep them stabilized.
If you feel like an expert, then follow the steps below:
- Open the default browser on your Windows PC (eg. Chrome, Firefox o Edge), connect to the website of SpeedFan and click on the link SpeedFan x.xx highlighted in blue that you find in the section Download.
- Once the installation is complete, start the software from the shortcut created on the desktop and wait for the end of the scan made by the program.
- From the window Hint, tick the box next to do not show again (to stop displaying the message) and press the button Close I will continue.
- The first tab displayed by the software is readings. Within this it is possible to see the foreground temperature of the individual processor cores, the general one of the chip, that of the graphics card (both integrated and dedicated) and those of the various storage media inserted or present inside the computer (eg hard disk, SSD and USB sticks). In addition to this, you will find the real-time fan speeds (expressed in RPM) next to the item CPU Fan, the percentage of GPU usage always in real time and the buttons Minimize e Configure (the first to close the software in the status bar and the second to access the Settings). Finally, there is the voice Automatic fan speed which, once activated through the appropriate box, allows the software to automatically set the fan speed. The remaining tabs present in SpeedFan we are not interested in this tutorial.
- Staying in readings, follow the steps above to allow the software to do its job, that is automatically manage the speed of the fans. After a few minutes you should notice a decrease in fan noise and one temperature stabilization.
Other useful articles
Doubts or problems? We help you
Remember to subscribe to our Youtube channel for videos and other reviews. If you want to stay up to date, subscribe to our Telegram channel and follow us on Instagram. If you want to receive support for any questions or problems, join our Facebook community or contact us on Instagram. Don't forget that we have also created a search engine full of exclusive coupons and the best promotions from the web!


