


For several years now Microsoft has decided to implement a setting that allows its users to determine whether a connection (Wifi or Ethernet) should be Public or Private. The difference between the two profiles lies in the possibility of making the device connected to the network identifiable or not; this returns without any shadow of doubt useful in all situations in which the user finds himself surfing a network in a public place or, more simply, does not surf the net with his own connection.
Sometimes, after a Windows update, it may happen that this profile is automatically switched to "Public" and therefore you no longer have a way to identify your PC on the network. Thanks to this guide it will be possible to solve this problem once and for all without much effort.
Preliminary information
We always recommend doing an installation through one 100% genuine and original license, this is to avoid data loss or hacker attacks. We are aware that purchasing a license on the Microsoft store has a high cost. For this we have selected for you Mr Key Shop, a reliable site with free assistance specialized in in your language, secure payments and shipping in seconds via email. You can check the reliability of this site by reading the many positive verified reviews. Windows 10 licenses are available on this store at very advantageous prices. Furthermore, if you want to upgrade to the latest versions of Windows operating systems, you can also purchase the upgrade to Windows 11. We remind you that if you have a genuine version of Windows 10, the upgrade to the new Windows 11 operating system will be free. Also on the store you can buy the various versions of Windows operating systems, Office packages and the best antivirus on the market.
Procedure for Wifi-Ethernet connections
The procedure to follow to modify a network, be it Wifi or wired, is very simple and can be summarized with the following steps:
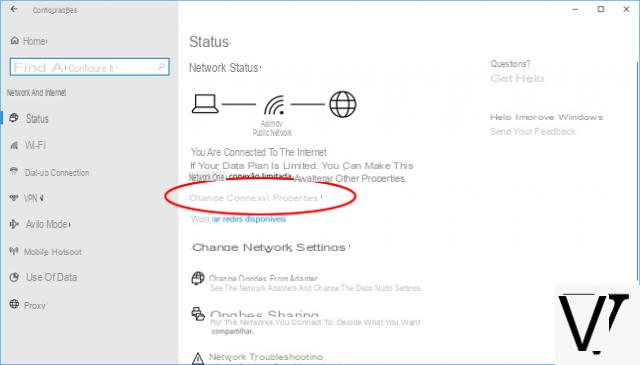
- Open the Settings Windows 10 and select the item Network and Internet.
- Select in the left column Wi-Fi or eventually Ethernet in case the connection is wired.
At this point, depending on the version of Windows 10, you will have to proceed in two different ways.
Latest Builds Currently Available
- Click on the name of the connection in the center of the page.
- Choose whether to set the profile Public o Private for the selected network.
Older builds
- click Advanced Settings (present at the bottom of the page of the Wifi or Ethernet section).
- Choose whether to enable or disable the option Make this PC discoverable, knowing that:
- On corresponds to a Private network profile;
- Disabled corresponds to a Public network profile.
Check the type of profile currently active
Once you have completed the procedure described above, you will have the actual transition from one type of network Public to a private (or the opposite) but if you want to have confirmation of the change, then you can proceed with the following check:
- Right-click on the connection icon in the application bar (bottom right);
- Select Open Network and Sharing Center.
- View the type of network written just below its name in the section View active networks.
Doubts or problems? We help you
Remember to subscribe to our Youtube channel for videos and other reviews. If you want to stay up to date, subscribe to our Telegram channel and follow us on Instagram. If you want to receive support for any questions or problems, join our Facebook community or contact us on Instagram. Don't forget that we have also created a search engine full of exclusive coupons and the best promotions from the web!


