We all have those special moments captured in images, be it family reunions, with friends, corporate events, among others and something that is very common is that we realize that the results of the same are not in the wrong orientation.
That they are turned to left or right and sometimes we don't know how to get them in the correct direction.
One of the file types that is most commonly repeated on our computer is that of images, and it is that every day we save large quantities of images or photographs on our computer. These are normally obtained through our email , messaging applications, social networks, mobile devices.
It is possible that some of these images we download from Internet or from our mobile, are in the wrong orientation and cause us to fill our computer hard drive with these types of files.
What is a file explorer?
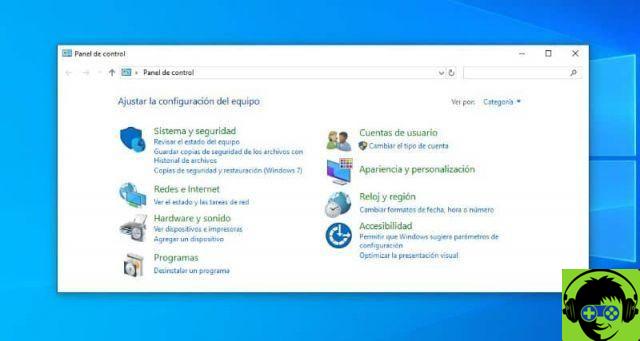
It consists of a file management application that is part of the Microsoft Windows operating system. Using this tool, you can create, edit or delete folders, files, images, quickly search for files or folders on your PC just by typing, etc.
There are images or photographs that we sometimes need, modify or retouch. This means that we need to look for an application that allows us to perform this type of action on them. Depending on what we need to do, just use one simple application, like Paint, or if it's something more complex, we can do it with any other more advanced editor.
However, if we want to rotate an image, what can we do without having to resort to any kind of image editor or file viewer?
How to rotate the image?

The following will demonstrate in three steps an easy way to rotate an image or photo without using any application or tool, simply by Windows File Explorer.
Step 1
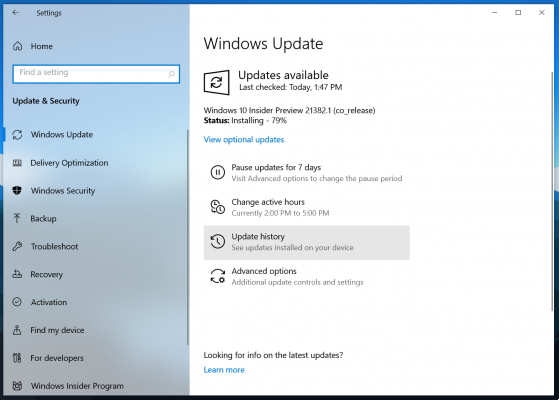
Open File Explorer or Windows Explorer and go to the folder that contains the image files. Select the image you prefer by clicking on it.
Step 2
You can select more than one image at a time to rotate. By clicking on the tab Manage, then by clicking the Rotate button, you can see that you can rotate the image left or right, this will depend on the direction you want to give the image file.
Rotating images from the Windows file explorer is something very useful, because it allows us to vary and solve vision problems. Another way to save a lot of time in case there are many images that we want to rotate, is that without exiting the file explorer we will be able to rotate them in a couple of clicks without having to open them in another application.
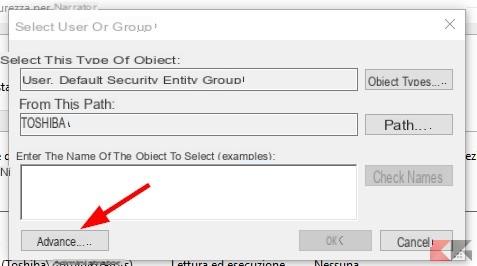
To do this, simply select the file from Windows Explorer itself and click on the menu option that activates at the top of the Explorer window, Instruments image .
After clicking on it, we'll see how one is displayed set of options to apply on the image, turn left, turn right, view in slideshow mode or set as desktop wallpaper, among others. In turn, by clicking on the option to rotate the image in the direction we want, it will be enough to have it as we want.
Therefore, with a couple of clicks we reached it, without having to save the changes or exit the browser itself. Then we can continue to rotate the rest of the images we saved quickly and easily so that you can enjoy your favorite memories. On the other hand, find out how to flip or rotate a video on your PC without any program.
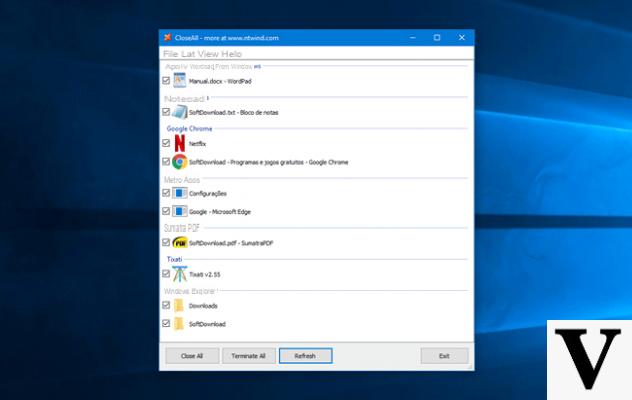
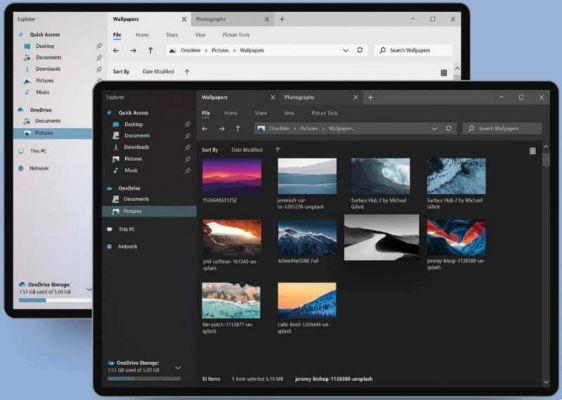
If you want to continue learning more about the explorer, we encourage you to download and use the tabbed file explorer in Windows 10.