


You have taken some very nice photos, would you like to share them online but, before doing that, would you like to put a digital signature on them, in order to preserve your copyright? Nothing easier: if you have installed on your computer GIMP, the best graphics and photo editing software available in open source, you can do it in an extremely simple, fast and, above all, free.
All you have to do is create a digital signature, save it and stamp it on all the photos you want to protect against redistribution without permission. I can assure you that this is a procedure that is truly within everyone's reach: even for those who, like you, are not so well versed in graphics and photo editing.
Come on, come on: take five minutes of free time, read my advice on how to sign photos with GIMP and try to put them into practice. I promise you that if you do, you won't have the slightest problem signing your photos at no cost. Having said that, there is nothing left for me to do, except wish you good reading and, above all, have fun!
Download GIMP

Before I tell you the various steps you need to take to sign your photos with GIMP, let me give you the instructions you need to download and install the program on your PC, in case you haven't already done so.
First, go to the GIMP website and click on the red button first Download x.xx.x e poi quello Download GIMP x.xx.x directly placed on the right, immediately after the wording GIMP for Windows o GIMP for macOS (depending on the operating system in use).
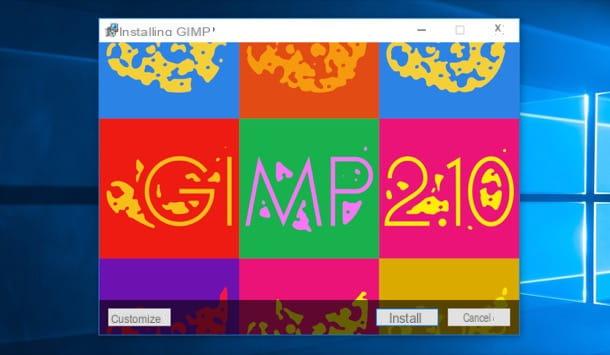
Once the download is complete, open the installation file you obtained and follow the instructions that are provided to you on the screen. If you use a PC Windows, then open the file.exe you downloaded and click the buttons Yes, OK, Install e end, but will conclude the setup.
A Macinstead, you just have to drag GIMP in the folder Applications macOS, right-click the program icon and select the item apri twice in a row, in order to “bypass” the restrictions imposed by Apple on software from non-certified sources (this is only necessary at the first start).
If you see the message "There is no macOS package yet, sorry. Please check back later " sotto the dicitura GIMP for macOS, evidently the latest version of GIMP has not yet been released for Apple's desktop operating system. If so, I suggest you install an older version of GIMP by going to this page.

If you need further explanations on how to download GIMP, please read the guide that I have entirely dedicated to the subject because it will surely be of great help.
Sign photos with GIMP
Be vuoi scoprire how to sign photos with GIMP, you must first create your signature: the one you will then imprint on the images, in the form of a watermark. To do this, launch GIMP and create a new image of a fairly large size (e.g. 1600 1200 pixels x) having one transparent background.
If you don't know how to do it, select the item New ... from the menu Fillet of GIMP and, in the window that opens, set Width e Height desired. After that, click on the item Advanced options, select Transparency give menu to tendin Fill with and click on the button OK to start creating your signature.
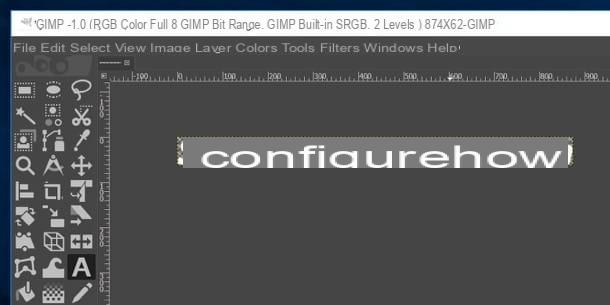
To make your watermark, select it text tool from the GIMP toolbar (the A located on the left side of the screen), choose the font you want to use for your signature from the drop-down menu Character and set the font size to 70-80 . The color of the signature must be white.
Now, all you have to do is write the text of your signature (eg your name and surname) and center the text using the arrow keys on the keyboard. When you are satisfied with the result, select the item Clip to content from the menu Image of GIMP (to adapt the size of the image to the signature) and save everything by selecting the item Export from the menu Fillet. In the window that opens, type the extension . Png at the end of the file name (ex. signature.png) to save the image in PNG format, so as to preserve its transparent background.
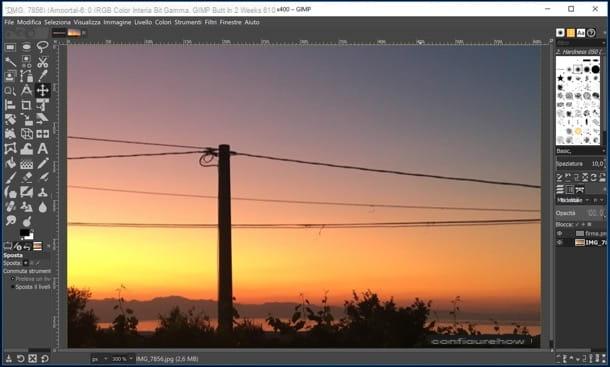
Now you are ready to affix the signature you just created using the PNG file you made just now. To do this, you must first open the photo you want to sign by selecting the item Apri ... from the menu Fillet of GIMP, and "print" on it the watermark with your name, by selecting the item Open as layers from the menu Fillet GIMP and opening the PNG file for your signature.
At this point, from the layer panel located on the right, select the signature image (eg. signature.png), recalls the Move tool (l'icona della cross) from the toolbar on the left and move the signature to the desired image point.
Then it calls it back Scale tool (the icon with the rectangle and the arrow) and resize the watermark by selecting one of the appropriate ones with the mouse indicators appeared on its sides and moving the cursor inwards or outwards. If you wish, then, make the writing semi-transparent by lowering the level of Opacity in the bar located on the right.

When you are satisfied with the result, select the item Export from the menu Fillet of GIMP (top left) and save your signed image in the folder and format of your choice. Admit it: Signing a photo with GIMP was easier than expected, wasn't it?
Sign multiple photos with GIMP
If you came upon this guide why are you going to sign multiple photos with GIMP at the same time, know that the program in question does not integrate any function suitable for the purpose. However, the problem can be easily solved by using one of the many plugins available for GIMP.
From the tests I have been able to do, one of the best plugins that allow you to sign multiple photos with GIMP is BIMP, which is only available for Windows and allows you not only to batch sign photos, but also to rename them, apply corrections to them and more.
To download it to your PC, go to this page and click on the button Installer for Windows. Once the download is complete, open the file.exe you got, press the button Yes and then click on the buttons Next, I Agree, Next e Close, but will conclude the setup.
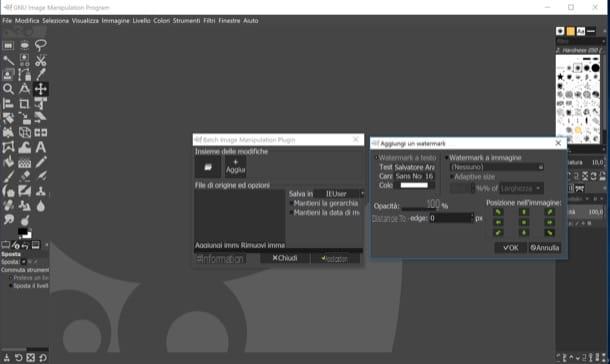
Now, start GIMP (if the program was already open, you have to close it and then reopen it, in order to activate the plugin), open the menu Fillet and select the item Batch Image Manipulation… from the latter. In the box that opens, then click on the button (+) Add and select the item Add a watermark give the menu check if you press.
At this point, in the box Add a watermark, select the option Text watermark or the option Watermark in image and write the text of the signature in the appropriate text field, or upload an image of the previously created signature (in the previous chapter I explained how to do it).
Next, choose the position in the image in which to insert the watermark, by clicking on one of the arrows placed on the right or on the square (if you want to insert the signature in the center), and click on the button OK.
This done, in the box Batch Image Manipulation Pluginclick on your button Add images, select the method for uploading images (ex. Add single images ..., Add folders ..., etc.) and, after uploading the images you intend to sign, click on the button (✓) Apply.
If everything went well, you will see the message End. All files were processed with 0 errors, indicating that the signature has been applied to all photos without any problems.
How to sign photos with GIMP


