Before you start recording on Audacity, it is better to make some adjustments so that your sound is the best possible.
First, consider viewing Audacity's sound input. To do this, click in the recording level, located to the right of the microphone-shaped icon, in the “Audacity Meter” Toolbar section. Then go to “Click to start monitoring”. If your microphone is working well, you see the recording level gauge being sensitive to ambient noise.

Then talk or play, depending on what you want to record, at a normal volume. Pay close attention to the recording level. Make sure that the maximum peak of the gauge that appears does not go above -5.
To avoid distorted sound, you can adjust the input volume, located next to the microphone symbol, in the "Mix" toolbar. Also try to make the sound loud enough so that you don't have to touch it up afterwards.

You can now test life-size recording. Press the red "Record" button, located in the "Transport" toolbar. Talk or play normally. A sound wave should appear on the work surface. Click after a few seconds on the black “Stop” square, located to the left of the “Record” button.
The recorded waveform should not have any clipping, that is, it should not be clipped at the top or bottom of the track. To more easily see if the waveform is clipping, go to “Display” and “Show Saturation”. The distorted sound will be represented in red.
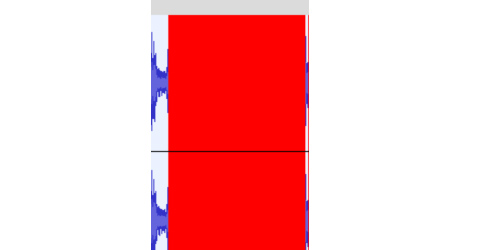
If clipping occurs, all you have to do is lower the recording level at the input mic level, located in the Mix toolbar. If the sound is not clipped and loud enough, you can start recording!
Find all our series of tutorials on Audacity