


Having been fascinated by some graphic creations made by a friend of yours, you decided to practice to learn how to use Photoshop. Of course you are focusing on jobs with a low difficulty rate but slowly you are trying to discover all the tools and functions included in the famous Adobe photo editing software, even the most advanced ones.
What do you say, then, if I explain to you today how to tile two photos with Photoshop? Yes, this is an extremely simple and fast procedure, but it will allow you to learn new features of the program, as well as allow you to get some beautiful collages to print and share online! Another important thing to underline is that it can be put into practice not only by the classic desktop version of Photoshop, but also online and with apps for smartphones and tablets.
What intrigues you? So, what are you waiting for to get to work? Come on, make yourself comfortable, take all the time you need to concentrate on reading the next paragraphs and, more importantly, try to implement the "tips" that I will give you. There is nothing left for me to do, except wish you good reading and, above all, have fun!
How to tile two photos with Photoshop on a computer
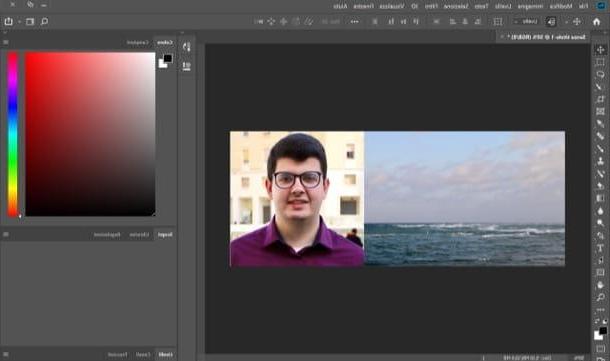
If you want to learn how to tile two photos with Photoshop, you have to create a new image, set the correct dimensions taking into account those of the photos you want to place side by side and paste them next to each other.
To do this, start the program on your PC (in case you haven't already done so) and create a new image: to do this, select the item New… from the menu Fillet (top left) and, in the window that opens, set pixel as the unit of measurement to be used for the image from the appropriate drop-down menu, type Width (the sum of the width of the images you want to tile) ed Height (the height of the highest image among those to be placed side by side) of the file you want to create, in the appropriate text fields, and click on the button Crea, to complete the operation.

If you don't know what the dimensions of the photos to tile are, do this: if you use Windows, select each image with the right mouse button and choose the item Property from the menu that appears. Then go to the card Details of the window that opens, where you will find Height e Width of the photo.
If you use a MacInstead, you can find out the exact resolution of a photo by right clicking on it, selecting the item Get information from the menu that appears and consulting the field Further information of the window that is proposed to you.
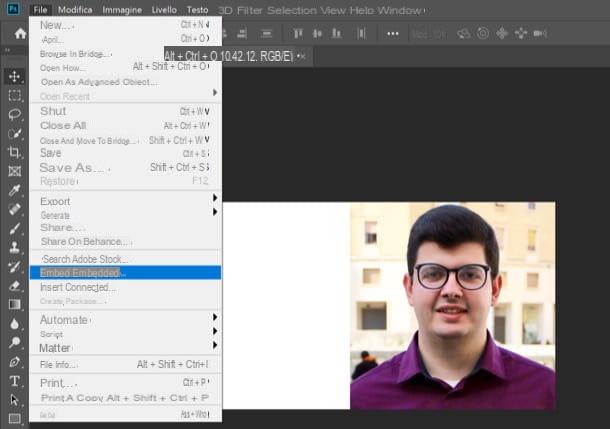
That said, go to the menu File> Place Embedded ... Photoshop and select the first image to insert in the "collage". Then use the mouse or the arrow keys on the keyboard to move the photo to the left edge of the empty image and, if necessary, resize it using the gray markers placed around the photo.
If you want to resize the photos while keeping their aspect ratio intact, press and hold the key Shift of the keyboard as you zoom in or out with the mouse.
Once you have positioned and resized the image according to your needs, press the button Submit on the PC keyboard, to save the changes made.
Now, select the item again Insert embedded ... from the menu Fillet Photoshop, choose the second photo to be tiled and move / resize it as seen previously. When done, press the button Submit on the keyboard and save the resulting collage by selecting the item Save with name from the menu Fillet.
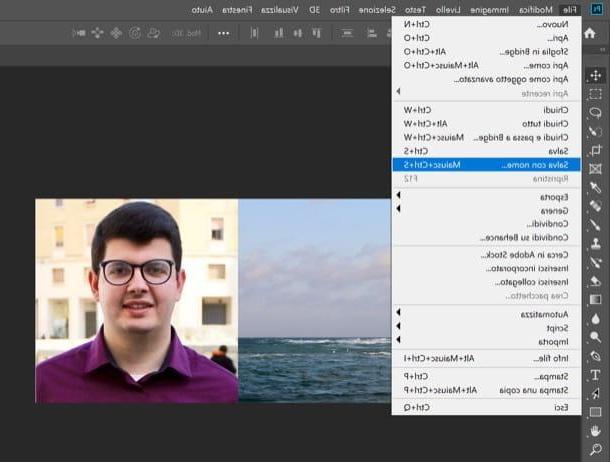
In the window that opens, select the format of files in which you intend to export the image (eg. JPG, PNG, etc.), choose the folder in which to save it, assign it a name and click sul pulsating Save, to complete the operation. Easy, right?
How to tile two photos with Photoshop online
You stai chiedendo how to tile two photos with Photoshop online? Well, I'm sorry to tell you, but sadly the web version of Photoshop doesn't offer any useful features for this purpose. But fear not: you can turn to one of the many alternatives that allow you to edit photos online and, in this specific case, place them side by side.
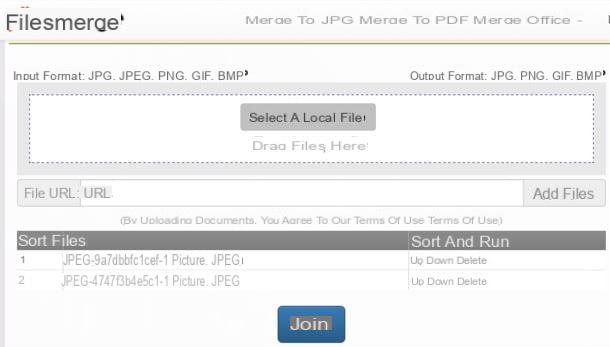
One of the best solutions to Photoshop Online, as far as image tiling is concerned, is constituted by Files Merge: an online service compatible with all major browsers that works without downloading additional plugins. Its only limitation is that it only allows you to merge two files every hour. To remove this limitation, you need to take out a subscription, which starts at $ 4,95 / month.
To use the service, connected to its main page, click on the button Select a local file and choose the images you want to tile (alternatively, you can drag them directly into the box Drop files here). Then put the check mark next to the box Merge horizontally o Merge vertically, to indicate themerge option that suits you best.
Via the drop-down menu Output format, then choose the format in which you want to download the output file (eg. JPG, PNG, BMP o GIF) and click on the blue button Merge. Once the image processing process is complete, click the link that appears on the screen to start downloading the modified file. Easier than that?
How to tile two photos with Photoshop on smartphones and tablets
Have you taken photos with your mobile and would like to merge them “on the fly” using one of Photoshop's mobile transpositions? Well, know that this is a feasible operation. To tile two photos with Photoshop on smartphones and tablets, I suggest you use Photoshop Express, which is officially produced by Photoshop and is available for both Android and iOS / iPadOS,
After installing and starting Photoshop Express on your device, click on the button NEXT and, after scrolling through the information sheets that illustrate the features and operation of the app, press the button Adobe ID and log in with your Adobe account or, if you prefer, log in with your account Google or with your account Facebook, by pressing the appropriate buttons Once logged in, press the button OK and grant the app the permissions it needs to make it work.
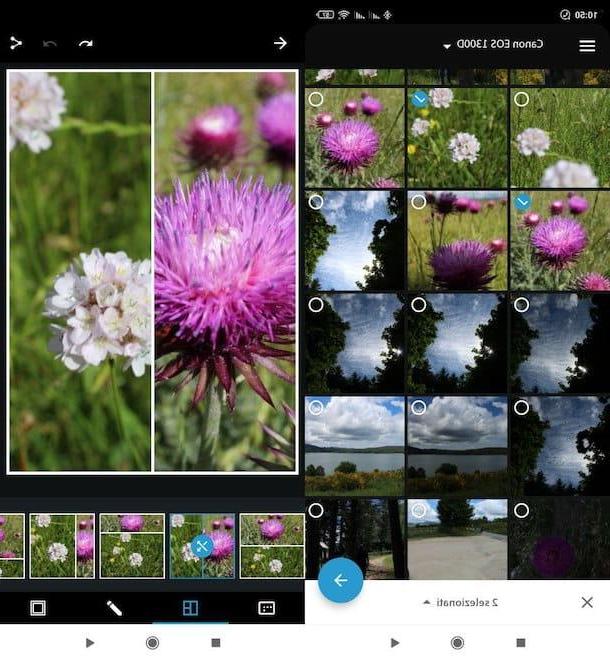
Then click on the icon collage (bottom right), tap onpreview of the photos you intend to place side by side and, after pressing on freccia rivolta verse destra (bottom right), choose the type of grid to be used to complete the operation. In conclusion, press the icon of the sharing (top right) and select a save or share option from those provided by Photoshop Express.
How to tile two photos with Photoshop


