


After updating your PC, you have encountered a problem that does not allow you to continue using the operating system as before. Microsoft. In particular, one appears black screen on Windows 10.
If you don't know how to solve the problem, then you have come to the right guide! In the next lines, in fact, you will find some useful tips to follow based on whether the black screen appeared before the startup logo of Windows 10 or after login.
Preliminary information
We always recommend doing an installation through one 100% genuine and original license, this is to avoid data loss or hacker attacks. We are aware that purchasing a license on the Microsoft store has a high cost. For this we have selected for you Mr Key Shop, a reliable site with free assistance specialized in in your language, secure payments and shipping in seconds via email. You can check the reliability of this site by reading the many positive verified reviews. Windows 10 licenses are available on this store at very advantageous prices. Furthermore, if you want to upgrade to the latest versions of Windows operating systems, you can also purchase the upgrade to Windows 11. We remind you that if you have a genuine version of Windows 10, the upgrade to the new Windows 11 operating system will be free. Also on the store you can buy the various versions of Windows operating systems, Office packages and the best antivirus on the market.
Windows 10: black screen after login
If the screen goes black after selecting the user account and typing the password, we recommend that you do a series of checks to try to solve the problem.
If the mouse pointer moves regularly on the black screen, you can try to fix it by opening the Activity manager (Task Manager) of Windows 10 using the key combination Ctrl+Shift+Invio. Once this is done, click on the menu Fillet present at the top left, choose Run new business and type explorer.exe inside the text field in correspondence with apri. Click on OK but I will complete the operation.
To verify the completion of the optimization, always log in to the Activity manager, make sure you are on the tab Processes and then press on the column disc. Wait for the process Service Host: Startup Optimization disappear. Complete the operation by simply restarting the computer. On the next boot, the black screen it shouldn't appear.
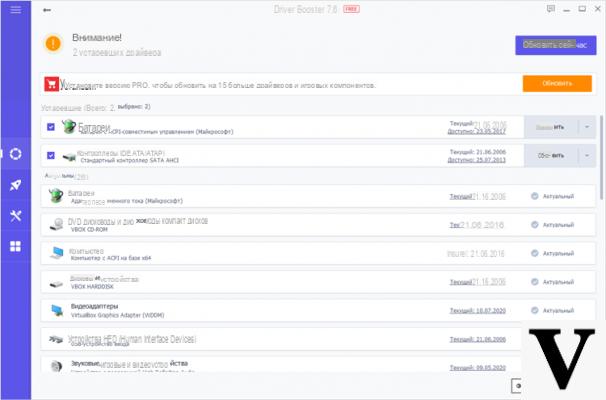
Another solution to solve the appearance of the black screen in Windows 10 is to disconnect all external hardware devices connected to the machine (eg USB keys and hard disk). Alternatively, download and install the latest driver version available.
If the previous solutions have not yet taken effect, we recommend that you restart Windows 10 in safe mode. To do this, click on the menu Home, press onicon Stop (on / off), press and hold the button Shift of the keyboard and press on Restart the work.
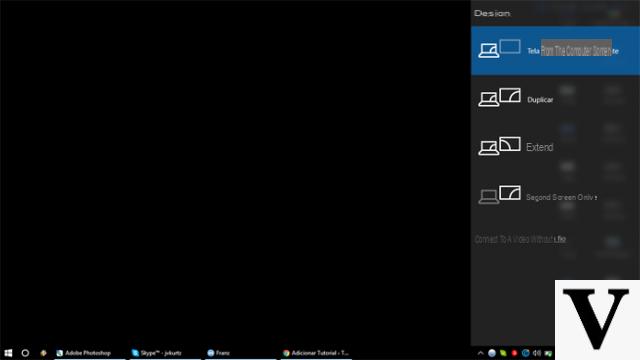
Through the proposed screen, click on Troubleshooting and then choose Advanced options. From here, press on Settings di avvio and finally click on starts. When rebooting the computer, press the key F5 to enter the safe mode of Windows 10. From here, open the Control Panel using the key combination Win + X and then choose Screen. Once this is done, click on Change your display settings and verify that Windows 10 is using the correct display.
We continue this guide dedicated to how to solve the problem of black screen in Windows 10 with another solution that can be used if the previous ones had no effect. This fix consists in uninstalling the video card driver always using the safe mode offered by the operating system Microsoft. To do this, access the safe mode as shown in the previous lines and then click with the right mouse button on thestart icon and choose Device management from the displayed menu. Through the proposed screen, press on arrow pointing to the right, present before the entry Video cards, and right click on the GPU name present on your computer. Select Uninstall from the menu shown.
You just have to complete the operation by simply restarting the Windows PC. On the next boot, the operating system should automatically reinstall the correct video card driver and fix the problem as well black screen.
Another method you can follow is the disable fast startup Windows 10. This most often involves the appearance of the black screen when the operating system starts. So, start your PC in safe mode and then open a window of Run us Win + R. Once this is done, type the command powercfg.cpl in the appropriate text box and press on OK. Via the pop-up window on the screen, click on Specifies power button behavior and select Change settings that are currently unavailable.
Complete the operation by removing the check from the item Faster startup in the section Settings stop and pressing on Save changes to save the changes. Restart Windows 10 to see if the problem has been solved correctly.
If you have a PC assembled with multiple video cards, then this could be the problem with the black screen Windows 10 fails to select the correct GPU at boot time by default. To solve this problem, open theRegistry Editor giving the command regedit in the window of Run (accessible via the key combination Win + R).
Once this is done, use Ctrl + F and type EnableULPS so as to search for all instances in the system registry. After locating the key EnableULPS, click on it twice and set 0. Do the same with all other instances of EnableULPS.
The penultimate solution to try to solve the problem of black screen in Windows 10 is to perform a clean boot of Windows 10. This will boot the operating system without loading third-party programs, services and drivers. In this case, we suggest you follow the instructions you find in our dedicated tutorial.
In conclusion, if you have installed a GUI editing software of Windows 10, we recommend that you uninstall it. The same is true for some antivirus not updated which could cause the appearance of the black screen di Windows 10.
Windows 10: black screen after the operating system logo
In the event that the black screen appears before the logo screen of Windows 10, you will have to restart the operating system in safe mode. Since the OS of Microsoft does not recognize by default the pressure of key F8, we suggest you perform forced manual reboots. After a couple of times, the message should appear Preparing for automatic recovery under the logo of Windows 10. At this point, follow the instructions provided in the previous lines to access the safe mode.
If the safe mode fails to start properly after several tests, you can solve the problem by restarting the computer in recovery mode and first clicking on Advanced options and then Troubleshooting. Once this is done, choose Advanced options and open the Command prompt. Inside the window, type bcdedit / set {bootmgr} displaybootmenu yes. To insert the curly brackets inside the Command prompt, hold down the Alt key on your keyboard and type 123 and 125 on the numeric keypad.
You just have to type exit to restart your computer. By doing this, the old Windows start menu will be reactivated by pressing the key F8 during the start-up phase.
Through the screen of Windows Boot Managerinstead of pressing the key Submit, pressed F8 to access the boot menu. From here, press number 5 to select the option Enable Safe Mode with Networking.
Remember that at the end of the possible fix you can disable the display of the Windows Boot Manager opening the Command prompt with administrator permissions and using the command bcdedit / set {bootmgr} displaybootmenu no. Now, you need to follow specific steps and try to restart Windows 10 at the end of each one or by entering Safe Mode again in case of failure.
If you have a computer with a dedicated video card (in addition to the integrated one), we recommend that you disable the latter. To do this, go to Device management as indicated above, click on the arrow of Video cards, right click on the name of the integrated GPU and select Disable device. Restart your computer to check if the problem is resolved.
Another solution is to try updating the video card driver. First, download the latest driver version from the GPU manufacturer's official website. Once this is done, go to Device management, press on the arrow of Video cards and right-click on the GPU name.
Once this is done, press on Update driver from the menu that appears on the screen and select Look for the driver software on the computer. You just have to select the driver package downloaded previously and continue with any update. Also in this case restart the PC and check if the still appears screen black.
Another solution is to create a new user account in Windows 10. To do this, restart the operating system in safe mode as indicated above and then open the Command prompt typing cmd in the search field of menu on Start.
After that, use the key combination Ctrl+Shift+Invio to open the Prompt with administrator rights. At this point, give the commands net user username / add e net localgroup administrators nomeutente /add one after the other. Instead of username, indicate the name to be assigned to the new account. Finish the operation by restarting the computer and checking if the black screen still appears.
As the latest solution, you just have to reinstall Windows 10.
Doubts or problems? We help you
Remember to subscribe to our Youtube channel for videos and other reviews. If you want to stay up to date, subscribe to our Telegram channel and follow us on Instagram. If you want to receive support for any questions or problems, join our Facebook community or contact us on Instagram. Don't forget that we have also created a search engine full of exclusive coupons and the best promotions from the web!


![[Free] Software to Play and Listen to Music on Windows PC -](/images/posts/bce57ef3d2bc9852e0fa758f66120b13-0.jpg)