The time has come to retrieve the old dusty photos from the closet, taken almost a geological era ago when the digital word did not yet exist. We are talking about the images printed on photographic paper that filled our homes before the advent of digital cameras and SD Cards capable of storing giga of memories in a space equal to a postage stamp. The most geeks have tried several times to save dear old analog photos from oblivion using scanners and photo editing software. Unfortunately, the process was laborious and, considering the amount of images to be scanned, we quickly gave up. And so they continued to remain locked in the closet waiting for better times.
Thanks to the new app PhotoScan by Google, available for Android 5.0 and above and iOS version 8.1 and above, today it is possible to digitize old photographs to save them on your smartphone or in the cloud, all using only the phone's camera. Some dots appear on the screen to be framed: once the sequence is completed, the images are processed by an algorithm that returns a discrete digital scan.
Let's connect to the application store of our device (Apple Store or Play Store) and from here we install Google FotoScan. Once the process is finished we will see an animated GIF appear and the Start Scan button at the bottom.
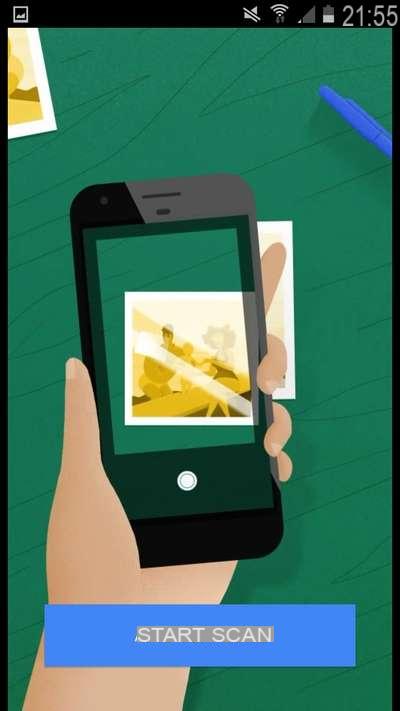
We choose the photograph to be scanned and place it on a horizontal plane without worrying too much about any reflections on the photo. Finally, press Start Scan and wait for the black matte to appear.
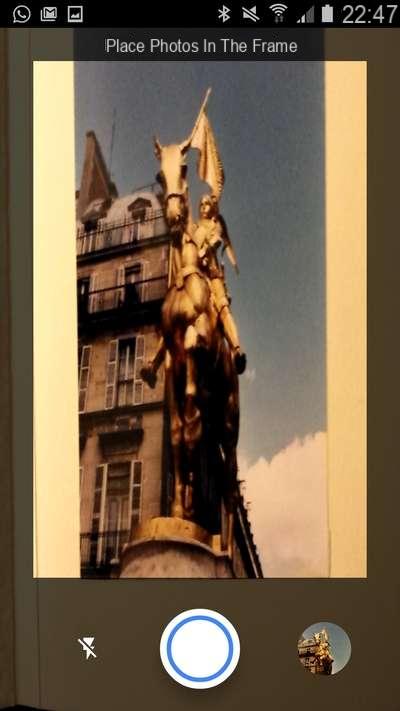
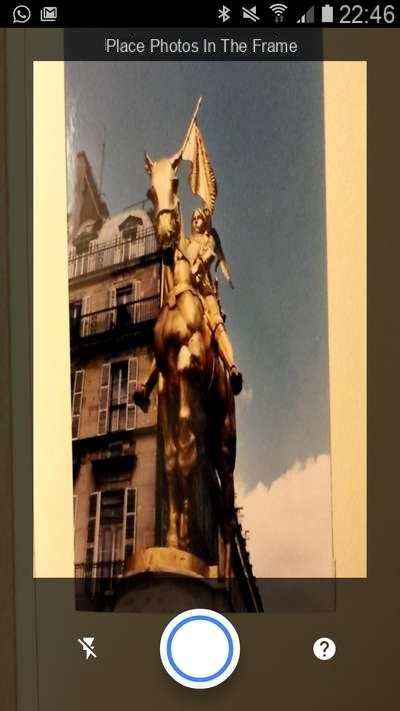
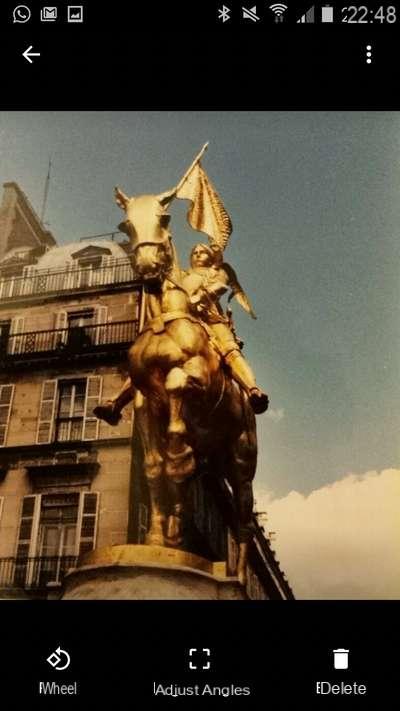
Before pressing the central round button that allows you to start scanning the photo, make sure that it is perfectly contained in the black frame on the screen; then we disable the flash by pressing the button at the bottom left.
We move the camera lens onto each of the 4 white dots, arranged to form a square on our photograph, without tapping them. In this way we will go to scan the photo, providing FotoScan with all the elements necessary for processing.
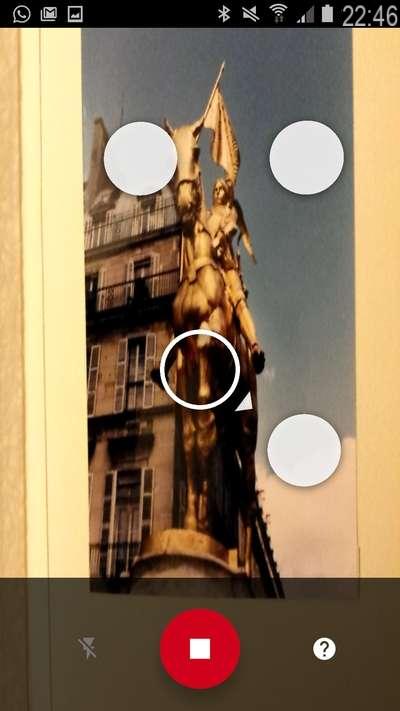
Some precautions: to avoid that the scanned photo is deformed, we pay the utmost attention so that during the recording operation, the mobile phone moves from one point to another of the scan parallel to the support plane on which the photograph is placed.
Also, depending on the type of photo to be scanned, we change the location of the phone. To scan vertical photos, we hold the phone upright; for scanning horizontal photos, let's place it horizontally. It seems trivial, but it is a frequent mistake.
Once the scanning operation is complete, a green circle will appear in the center of the screen and at the bottom we will see the preview of the photograph. All we have to do is touch the thumbnail to see the photo we just scanned.
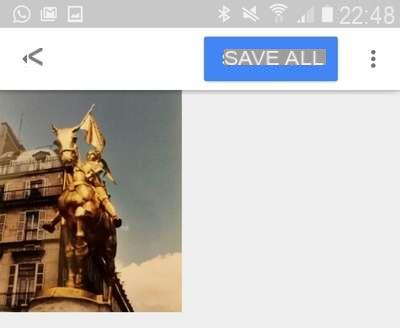
In the preview screen, you will be able to change the corners of the photo, i.e. center the scan on the actual area of the photo, rotate it or delete it to rescan. As a last step, press the arrow at the top left and choose Save all.
Let's retouch the photos
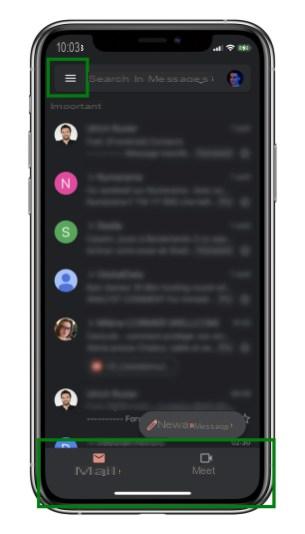
To improve the result we can send the newly scanned photo to the "beauty salon" of Google Photos (available for Android and iOS). From the FotoScan screen, touch the Open Google Photos button: we can choose whether to automatically backup and synchronize our photo gallery on Google Drive for free.
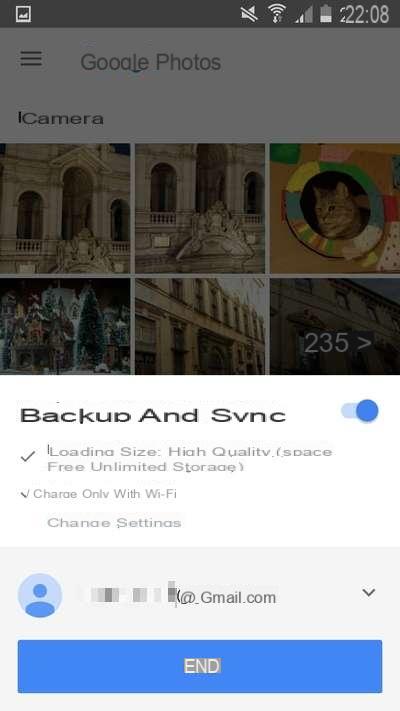
To disable the function, simply move the appropriate cursor to the left. We select with a tap the image created previously with Google FotoScan and in the new window we tap on the icon with the pencil. We select the central icon with the three overlapping lines to change Light, Color and Pop, or the sharpness. For each menu we have the possibility to make a general adjustment using the large cursor next to the item, or by acting on the arrow on the right we can access a rich sub-menu for more detailed adjustments. At this point, to the right of the icon with the three overlapping lines we can see a small circular icon. Selecting it with a simple tap it is possible to "straighten" the photo if the scan is a little skewed. Once the changes have been completed, press Save.
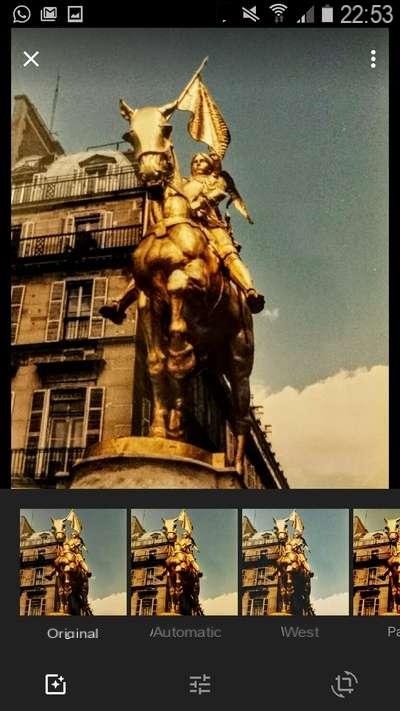
Before sharing the image, let's retouch it with the filters made available by Google Photos. After selecting the Pen tool, we will be taken directly to the Filters mode, which will allow us to apply one (or more) of the numerous filters made available by the Google app to the photo. We set the filter and save with a tap on the Save button. We can also apply more filters on the photo to make the final result more original. To do this, simply reopen the photo for editing and repeat the operations of the previous step.
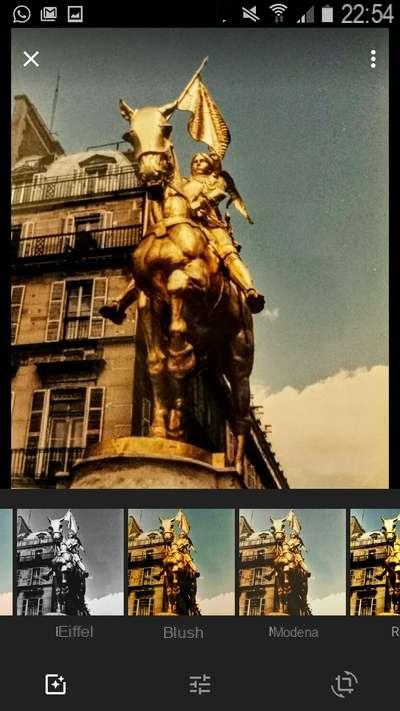
Google PhotoScan