There are many reasons why we need to know what programs we have installed on our computer. And one of them is when we decided to format the PC for installation of a new version of Windows. This way you will know which ones are currently installed, which is why in the following article we will show you how to view programs installed on local or remote computer in Windows PowerShell.
Of course, there are many applications that can do this for us without complicating our lives so much. But it would be more beneficial for us to know other ways to do this and which are very simple to do. This obviously happens via the CMD command prompt, which we can replace with the console PowerShell.
Avoiding having to install programs to perform tasks that we can do on our own is the best thing to do. In this way we learn how to use the different tools that Windows this offers.
We have shown this in previous articles, but now it will use a very versatile tool like the console PowerShell in Windows 10.
How to view programs installed on local or remote computer in Windows PowerShell
To get started and give you the instructions you need to follow to see the programs installed on the local or remote computer in Windows. First we will use the PowerShell console on our local computer. For this we will access via the search bar and type PowerShell or we can also use keyboard shortcuts.
As you should already know, PowerShell is a very console similar to that offered by CMD, which is responsible for interpreting text commands and displaying the required data or information. And in this way we can do various administrative actions in the system locale the remote itself and with this you can know what programs you have installed
Steps to view programs installed on local computer in Windows with PowerShell
With the PowerShell console open, we will enter the following command and then press the Enter key to run it: Get-WmiObject -Class Win32_Product | Select-Object-Property Name.
Now you just have to wait a reasonable time which will depend on the number of programs you have installed on your computer. After that time you will be shown a list with all the programs, you may want to export this information to a text file. So that you can later consult the content and have it saved.
To do this, we will write the following command: Get-WmiObject -Class Win32_Product | Select-Object -Property Name > D:file-name.txt and this file is what we are going to save on our PC. Now we will see what command we will enter to see the programs installed on a remote computer.
For this we will use the command prompt or CMD and we will use the commands used in WMIC to know the information of the programs installed on the remote computers and user accounts.
To know this we will open the command prompt and write the following command, then press the Enter key and have this list: wmic / node: IP / user: user product get name, version, vendor
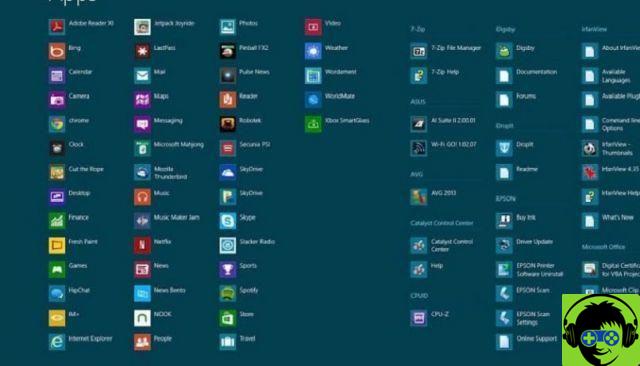
In the IP value we will change it or replace it with the IP of the remote computer, of which we want to know the information of the installed programs.
In the User value it we will replace with the name which is located on the remote computer and which obviously must have administrator permissions, in this way we will get the requested information.
And in this way we conclude this article, which gives you valuable information on how we can see programs installed on local or remote computer in Windows PowerShell. But we can also see the hidden files, through this Windows 10 console.









![[Free] Software to Play and Listen to Music on Windows PC -](/images/posts/bce57ef3d2bc9852e0fa758f66120b13-0.jpg)