Well, it's time to talk about the tower - how to get in, what's inside, and how to beat the last boss. There's a lot of play left when you reach the third area of the map, and the interconnected land mass of the High Realm is a complex website. You first need to collect two upgrade powers - the Shock Fruit Stabilizer and the Stomp Launcher to gain access to the two power towers.
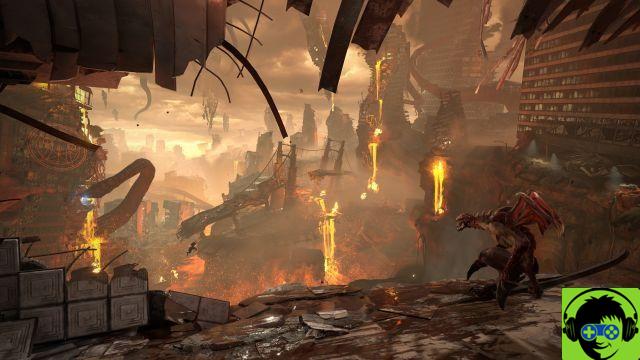
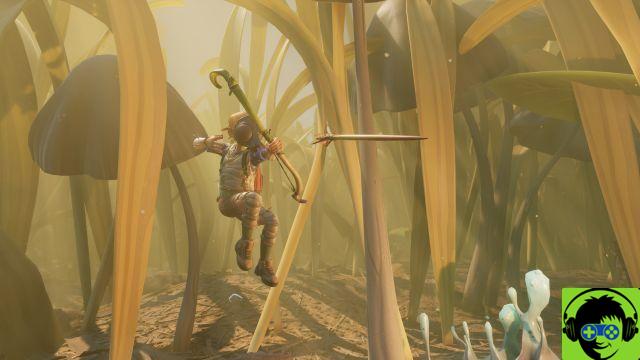
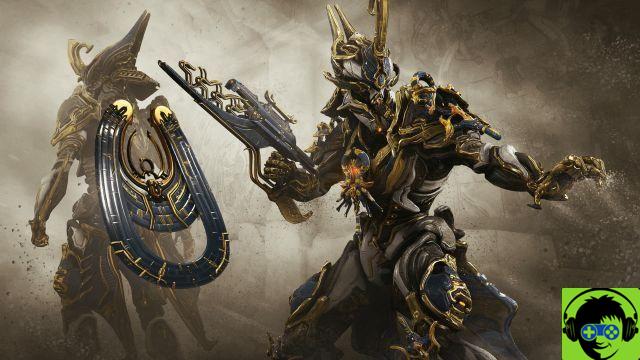
The tower itself contains a bizarre final boss that's intimidating if you're not up for a big fight. Check out Teratomo below - I mean, seriously, check out this thing.
How to complete the quest "Fixer Upper" | Foreign alloy location | How To Get Double Jump and Grapple Upgrades | How To Get The Bombegranate Stabilizer »Helpful Wiki Cragdaw Boss Guide | How To Get The Searing Bomb Stabilizer »Useful Wiki Floopsnoot Queen Boss Guide | How To Reach Rank 2 Field Explorer | Guide "For Science!" | How To Reach Rank 3: Explorer | Guide “For Science!”, Part 2 | How to Get the Launch Thruster and Advanced Proton Tether Upgrades | How To Get The Shock Fruit Stabilizer »Helpful Wiki Unlock Tower Guide | How To Get The Stomp Booster | Final Guide to Crossing Power
Unlock the tower
To complete your main mission on AR-Y 26, you will have two main objectives - you must defeat the monster in the center of the tower, and you must collect enough fuel to go on the Javelin, your ship!
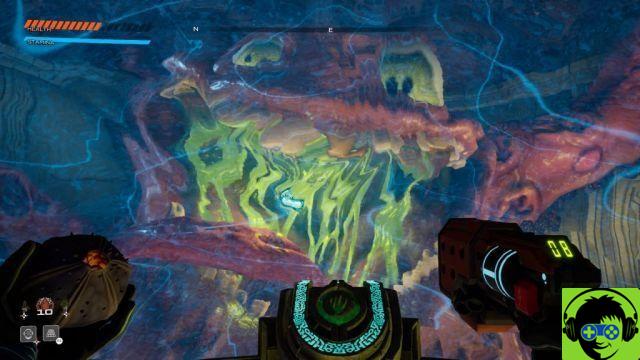
You will be able to unlock the tower once you reach the top of the Enigmatic Tower area in the High Realm - the third realm in the game.
Power tower: From there, you will need to complete the quest to acquire the Shock Fruit Stabilizer upgrade. Just scan one of the lockable doors for the towers surrounding the central tower.
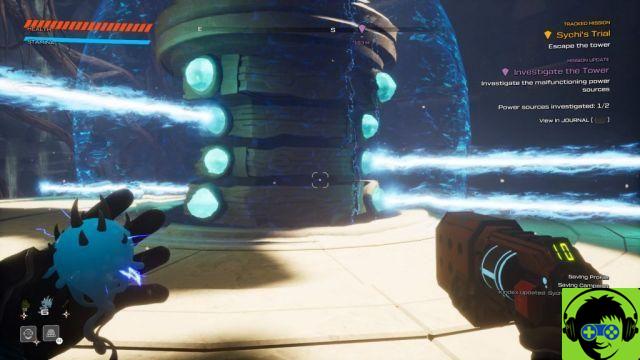
After getting the Shock Fruit, return to the two deactivated crystal towers around the main one. You will begin the quest "Trial of Sychi" when you enter one of the Electric Towers. To start the tower, use a Shock Fruit on the laser grid in the center.
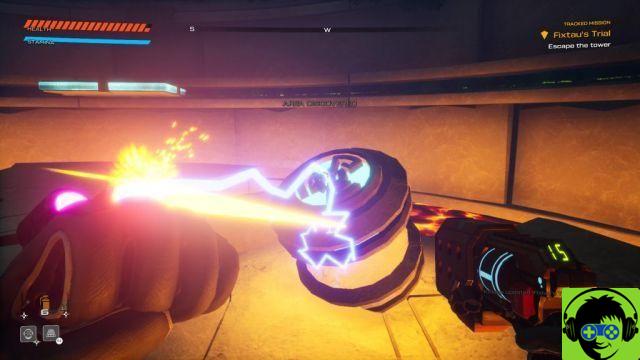
Agility Tower: To complete this tower, you will need the Stomp Booster. Scan any floor board to start the Stomp Booster quest, then come back when you've acquired it - smash the floor of the tower, then use the grappling hook to remove the glowing plugs.
After that, you will have to quickly climb on the rotating platforms to reach the top of the tower. You are timed, as the lava slowly rises beneath you! Climb up, flip the switch and the central tower will unlock.
How to unlock the tower: Return to the central tower control room through the door with the three markers. Once both crystals are activated in the outer towers, the door to the central tower will open. Go inside and flip the switch to open the main door.
Go to the Broken Bridge in the Landing Site area and walk through the destroyed bridge to the massive tower gate. The teleporter inside takes you to the final location!
Into the Arrow - The Final Gauntlet
Welcome to 'Within The Spire', the fourth region of the game. Enter the master bedroom and go down the elevator. Here you will have to smash three "eyes" in the area. One is at the top of the pod chamber, in the room with the shockproof door. The second is in the center, and the third is at the bottom with the bugs. After breaking all three, the lift will drop.
Use the elevator again and you'll enter a second area with more eye pads. The first is near the top - use Grapple Seeds to enter a high room, then use a Bombegranate to blow up the cracked wall. Watch out for the lizard enemies that come out of the ground!
The second is hidden behind a bank of cracked pods on the upper walls. Look for an entire wall of cracked glass pods and pull them up to reveal it. The last one is on the ground floor, behind two fallen pods.
In the third chamber, the first eye is easy to spot. The second eye is in an upper chamber guarded by a Slamphibian. You don't have to fight - just jump into the room where it bursts! The last one is on the ground floor, behind a pile of pods. Look for cracked ground and smash it down to find it.
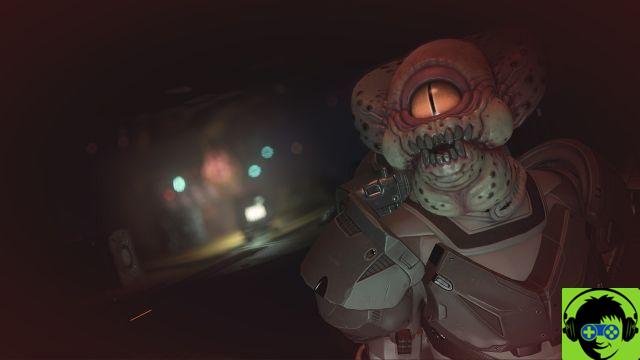
How To Beat Teratom | The final boss
Teratomo is a huge monster, and you'll need to prepare yourself before you face him. Equip Bomb grenadesand upgrade your nomad gun to carry as many bullets as possible. To hurt Teratomo, aim for the yellow pods all over his tentacles - they're everywhere, and they grow back between each streak.
There are two Vitality Plants on the solid sections at each corner, and the hanging pods will always give you a consumable type of seed. But you really only need the Bombegranates. Keep running, returning to Vitality Plants when they respawn.
He will gain more attacks as the battle progresses. He starts by firing a barrage of explosives from his pus launchers and will pour lava onto the solid ground. If you stand on the circular platforms in the center for too long, it will summon tentacles to smash them into the poison below. It will be some time before the circular platforms reappear.
Do enough damage and his tongue will split open. Try to grab the seed and you will initiate the second phate. In this phase, his attacks are more furious - and he will summon flying Jellywaft Bounties in groups of three. It gets a lot trickier from now on.
Keep moving and use Bombegranates on clusters of weak spots to destroy them. Save your gun for distant pods, head to the shot near the ceiling. Once you smash them all two more times, you'll finish the battle and finally get the planet Seed back.
You are going to get eaten, but the game is not over yet! Return to the Javelin with your Planet Seed - before you can truly complete the game, you'll need to collect at least five fuel sources.
5 easy fuel sources
If you're looking for the 10, check out our full guide to fuel sources here.
Fuel source # 1: Towering Crystals of Madness - The first fuel source you'll find is at the top of the Towering Crystals of Madness, the area to the far left of the Verdant Wilds of Zyl. At the top there is a small area populated by pufferbirds with this fuel in a cave.
Fuel source # 2: Festering Chasm - Near the Festering Chasm teleporter, there is an alien tablet marking a Launch Thruster spot. This means you need the Launch Thruster upgrade to reach the secret area above. If you have it, launch to the top and use a Bombegranate to open up the cracked wall.
Fuel source # 3: Festering Chasm - To the right of the Launch Thruster marker (the one that takes you to the Matriarch's Lair teleporter), find a small cave behind a blue mushroom.
Fuel source # 4: Si'ned VII Mushrooms - To the left of the Infested Husk entrance, there is a path that leads to cracked ground. Use the Stomp Thruster to smash and collect this easy fuel source.
Fuel source # 5: Pillars of Xzorgana - Use the Launch Thruster to reach the tiny island that sinks directly above the Pillars of Xzorgana teleporter.