


First download Photo Filter and then install it.
SUMMARY:
- Our video
- Copy and paste
- Insert text, text effects
- Image effects
- Color effects
- Selection tool
- Change of direction
- The cloning buffer tool
Our video
Loading your video "FAQ: How to use PhotoFiltre for beginners"Copy and paste
To copy / paste into Photofiltre you have to open 2 images, right click on the image where you want to take the element to copy; on the second image, right click ~ selection shape and select the one you want (I recommend polygon because it is quite precise and easy to use).
Make the outline of what you want to paste on the second image it should look like this:
(Do not hesitate to zoom in to be more precise).
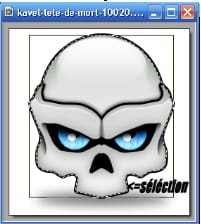
- There, I selected the entire outline of the skull with the polygon then all that remains is to right click on it ~ copy then select the second image, right click ~ paste, this is what it gives:
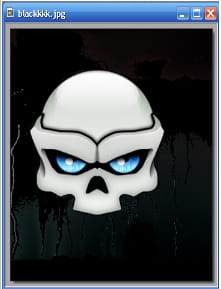
- To give certain effects to your collage, you just have to do as above; but before confirming the paste, right click on the paste image ~ paste option then it's up to you to adjust the opacity of the image to paste:
(Opacity set to 20)
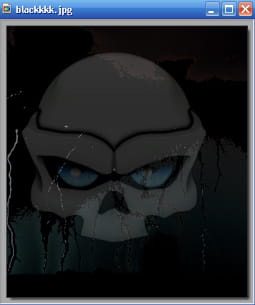
- You can also use the transparency function, a very practical function, thanks to this function you can remove certain colors from the pasted image during a collage. Here's what it looks like with always the same image:
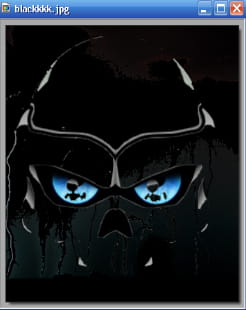
(In this image I removed the white at 70)
Insert text, text effects
- To insert text into Photofiltre you can click the text icon

A window opens where you can set several options:
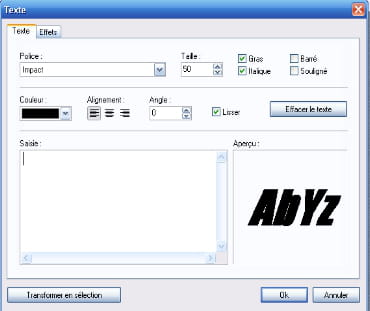
(size, font, color, angle, bold italics ....)
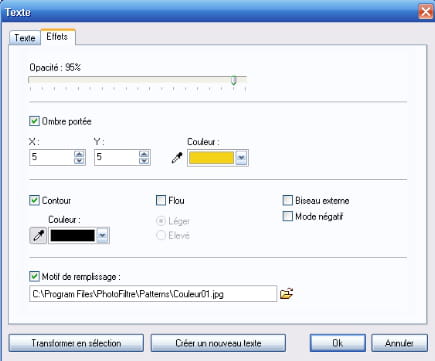
- You can also add effects when inserting your text, click on the text icon then select the Effects tab where you can set several options such as opacity, outline, shadow and fill mode :
- These options are easy to adjust. For opacity move the slider. To define the shadow and outline, select the boxes as well as for the fill pattern where you have to click on the small icon

- To choose your fill pattern, you can choose the predefined ones or another by going to take it in your own files.
Here is what it looks like with these settings:
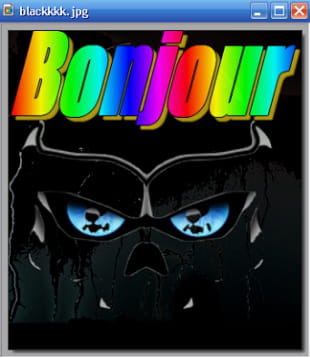
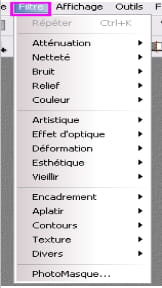
Image effects
There are many image effects in Photofiltre. They are mainly found in the tab
Filters.
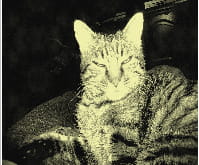 Old photo effect
 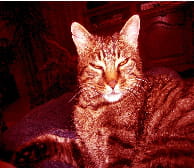 Sunset effect
  Gradient effect
Color effects
Color effects in Photofiltre are multiple we will see some of them.
Most of them are in the Settings tab but they are also present in the PF interface:

In the Adjustment tab:
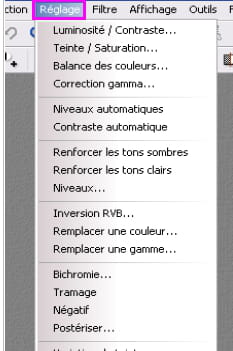
Let's test a few: 
Duotone (Dominance of 2 colors to choose from)
Work with brightness, contrast, gamma and saturation.
Selection tool
The selection tool in Photofiltre opens by clicking on your image, then you move your cursor in the direction you want.
There are several possible selections to choose them, right click on your image / Shape of the selection. To make your selection disappear, right click in the selected area / hide the selection.
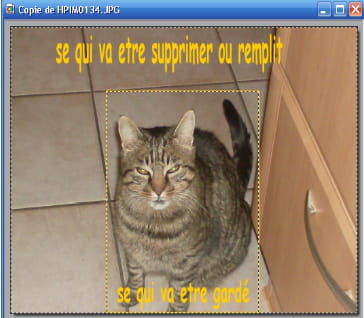
The selection can also be used to frame, fill, re-frame ...
the re-card tool is used to keep only part of the image: 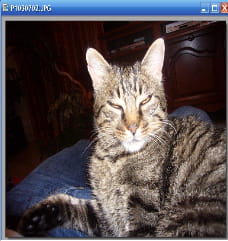 Before crop.
 After re-framing, only the cat's head was kept.
The selection can also be used to frame a text (or other).
To frame something, you create a selection around what you want to frame, right click: outline and fill, you select your color and width as well as opacity. Do not forget to uncheck the box "fill the background".

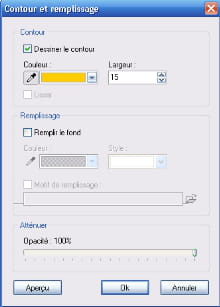
(fill outline window)
You can also fill the part of an image that you do not want to keep by doing the same steps as before except that you select the "fill the background" box (you can uncheck the outline box unless you want to insert one).
There is also the option to invert the selection it allows to keep only what you have framed with the selection.
Example:
You frame what you want to keep you right click / invert the selection and then do what you want (fill in remove).
To delete, right click / delete; the parts you erase automatically turn white.
The selection can also be used to give certain effects but only in certain parts of the image. 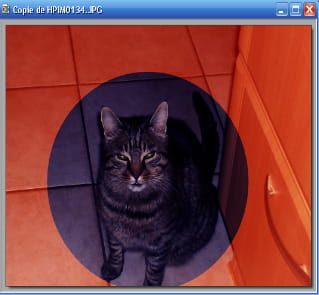
Here is what it can give Selection / ellipse / night effect / invert the selection / sunset effect .. (it is not very aesthetic but it is to give an example).
Change of direction
- To change the meaning of an image in photo filter, all you have to do is select the image and then use the following tools:
- In the Image tab ~ Tilt / Offset
- You can use the rotation tool, which offers several "sub-tools" (parameterized ...).
- You can also do Selection tab ~ Select all then go to the Edit tab ~ Transformations ~ ... (the distortion tool gives "cool" effects).
No example for this chapter; I think it's not too complicated ...
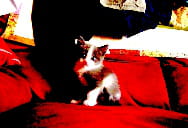
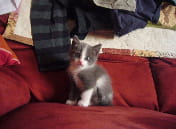
The cloning buffer tool
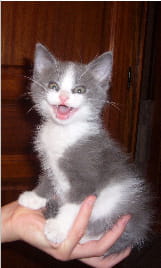
We are going to see the buffer tool a tool which allows to "clone" certain parts of the image: 
To use it click on this small icon: 
- To push on CTRL then aim with the mouse at the precise location you want to reproduce.
- In this picture, if I want to replicate the entire body of the kitten, I put my mouse over its body while pressing CTRL ; I click then I click in a second place and I start to "draw" the body of the kitten.
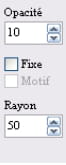
Thanks to the Opacity option, the reproduction can be made more or less opaque.
The Radius option allows you to have a more or less precise cloning.
We will see the usefulness of the option "pattern" and "fixed".
Here is what can be achieved with the Fixed option:
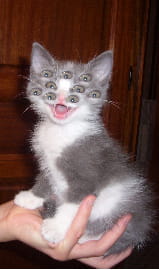
You guessed it, the Fixed option allows you to clone only part of the image.
For the Pattern option:
- You open 2 images with PF.
- You select the one of your choice: Edit ~ use as pattern (sayce here).
- Select the Clone Buffer, check Pattern.
- And slide on the second image.

Obtained thanks to:
 As a motif
  Base image


