


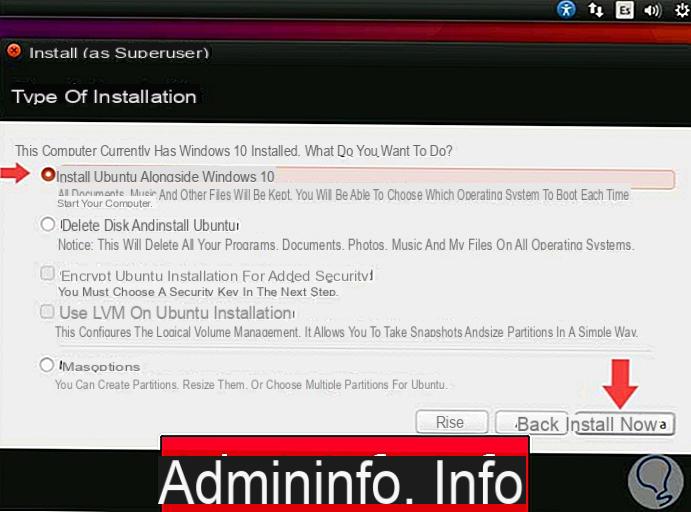
We installed Ubuntu alongside our pre-installed Windows system but didn't the former convinced us completely?
In this mini-guide we will see how to remove the Ubuntu partition directly from Windows, without having to use recovery tools or discs.
Just use the EasyBCD application on our Windows system and in a few simple clicks we will remove the bootloader on Ubuntu (GRUB) and we will delete the partition (or partitions) assigned to the GNU / Linux distribution.
PLEASE NOTE: The procedures described may cause system problems! Make all necessary backups before proceeding.
Doubts or problems? We help you
Remember to subscribe to our Youtube channel for videos and other reviews. If you want to stay up to date, subscribe to our Telegram channel and follow us on Instagram. If you want to receive support for any questions or problems, join our Facebook community or contact us on Instagram. Don't forget that we have also created a search engine full of exclusive coupons and the best promotions from the web!
Delete the Ubuntu partition
Delete the bootloader
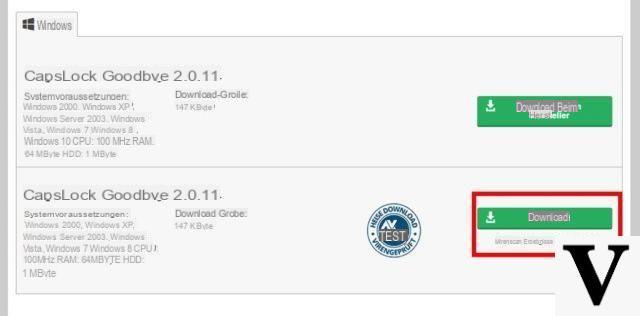
We download and install the EasyBCD program executable.
DOWNLOAD | EasyBCD
The program requires the .NET Framework to work; in its absence it will be installed by EasyBCD itself.
The program is unusable if the PC is not connected to the network, unless the system has already installed the framework.
Once the program is installed, click on BCD deployment from the left menu. In the central screen make sure that the entry Install the windows Vista/7 bootloader to MBR is selected
click on Write MBR to confirm. When finished, click on Edit Boot Menu. We will have a list with our Windows at the top of the list.
Just assign a check mark in the Default column to our system to set it as the default at startup. Click on Save Settings at the bottom to confirm the changes.
Reclaim disk space
Now we need to delete the space that Ubuntu used to occupy. Right click on "My Computer" (or This PC on Windows 8.1) and select "Management"; in the new window we open “Disk Management”.
On Windows 10 just right click on the Start button and select "Disk Management".
Now it is sufficient to delete the Linux / Ubuntu partitions and relative swap partition; we reassign the space to Windows by clicking on its partition and using the Expand item (only if the partitions are confluent).
ATTENTION: make sure you only delete the Ubuntu partitions and do not delete anything else, otherwise you risk losing other data and Windows partitions!
Normally you can recognize the right partitions from a few details: the lack of letters associated with the partition, the lack of recognition of the system file, and the absence of entries such as boot, paging file, and system.
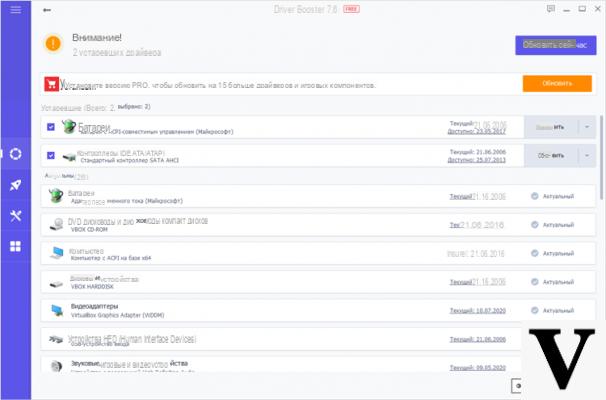
Pay close attention to “hidden” partitions for notebook restores: they usually have the wording Recovery Partition, as shown in the image above (first item in the list).
By helping us with the size of the partitions it will be easy to delete the right partitions without doing damage. In the previous image, the partitions to be deleted were the second and third from the top.
Doubts or problems? We help you
Remember to subscribe to our Youtube channel for videos and other reviews. If you want to stay up to date, subscribe to our Telegram channel and follow us on Instagram. If you want to receive support for any questions or problems, join our Facebook community or contact us on Instagram. Don't forget that we have also created a search engine full of exclusive coupons and the best promotions from the web!


![[Free] Software to Play and Listen to Music on Windows PC -](/images/posts/bce57ef3d2bc9852e0fa758f66120b13-0.jpg)