


Wandering around the Net, have you found some beautiful wallpapers in which two or more images have been superimposed using gradient effects and would you like to learn how to create something like this? Would you like to create a photomontage in which you can paste a subject on a background different from the original one but you don't know how to do it? Don't panic if you have a copy of Photoshop, you can do it all in just a few clicks.
Believe it or not, overlay two images with Photoshop it is a very simple operation and everyone can do it, including those who, like you, are still at the very beginning with the world of photo editing. Of course, the very first results you get are not always perfect, you must first get a little familiar with the editing tools included in Photoshop, but I assure you that it takes very little time to start creating photomontages or wallpapers of acceptable quality.
So, what do you think? Are you ready to try your hand at this new "enterprise"? If your answer is yes, immediately take a few minutes of free time and get to work: below you will find explained, step by step, how to overlay two images in Photoshop in order to obtain artistic images with gradient effects or photomontages from realistic appearance. Happy reading and have fun!
▶ ︎ Overlay two images with gradient effects | Overlay two images by cutting out the subjects
Overlay two images with gradient effects
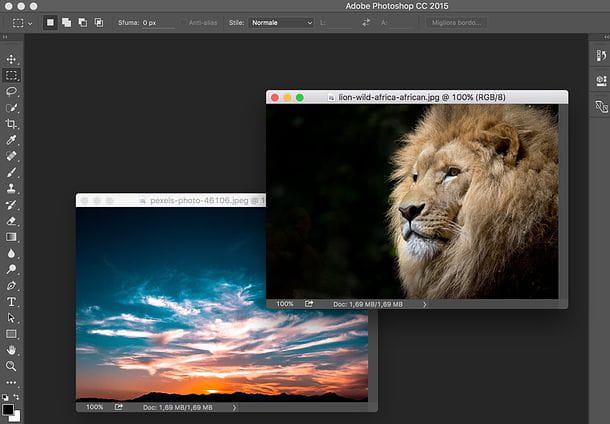
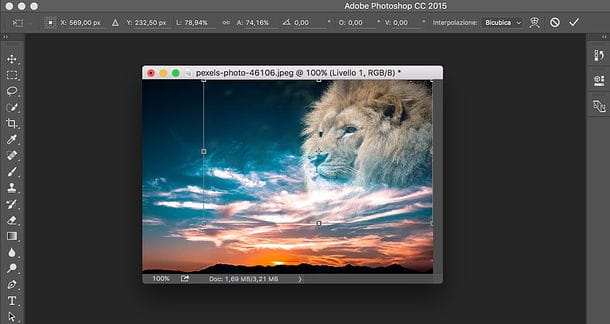
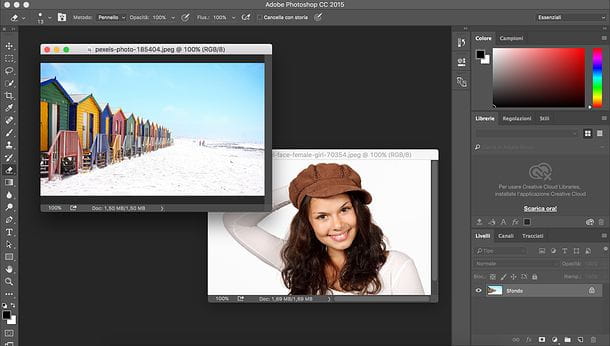
If you want to learn how to overlay two images with Photoshop to create an artistic gradient effect, the first step you need to take is to start the famous photo editing program and import the two photos to be superimposed through the menu File> Open (or by dragging them directly into the application window).
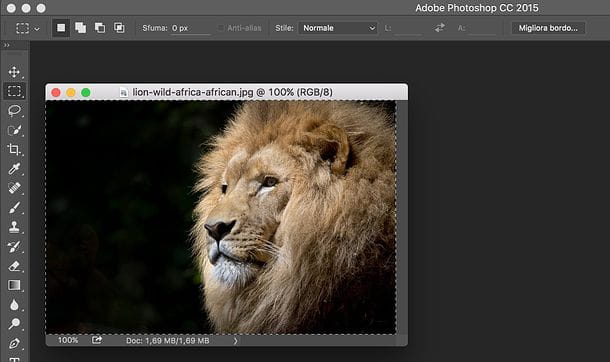
At this point, choose it rectangular marquee tool from the left sidebar (the segmented rectangle icon) and select the portion of the second photo you want to overlap the first. If you want to select the whole image, you can simply press Ctrl + A on your computer keyboard (if you are using a Windows PC) or cmd + a (if you are using a Mac) and the image will be selected automatically.
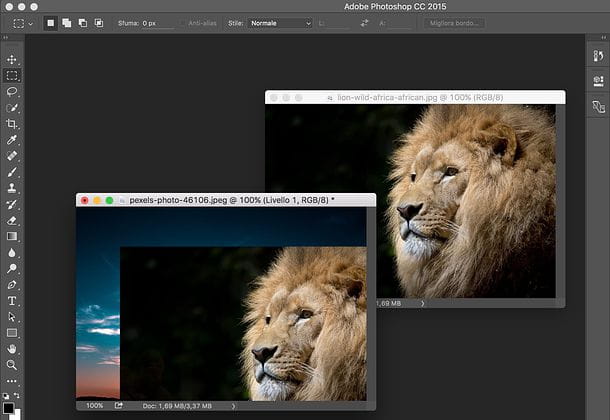
Then choose the item Copy from the menu Modification Photoshop (or press the key combination Ctrl + C/cmd + c), go to the photo you want to use as the basis for your "collage" and select the item Paste from the menu Modification to paste the portion of the image you copied on it.
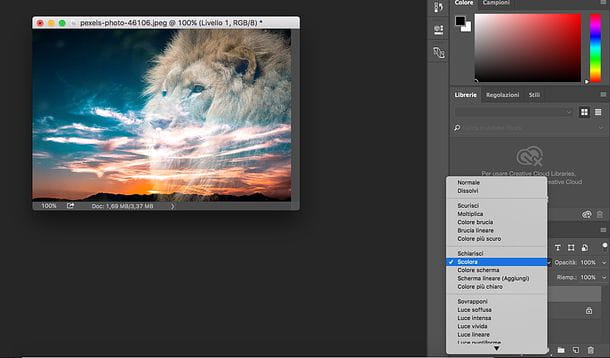
Now, to get a gradient effect and create an artistic overlay of the two images you imported into Photoshop, go to the control panel of the levels which is at the bottom right and choose a blending method among those available in the appropriate drop-down menu (where the option should currently be active Normal). There are no blending modes that I particularly recommend: you have to select them all one by one and find the one that seems best suited to your image. In my example I have chosen Drain which eliminated the black background from the pasted image and created a nice gradient effect.
I also point out that by acting on the drop-down menu Opacity located in the layers panel (bottom right) you can decrease the opacity level of the foreground image by making it semi-transparent.
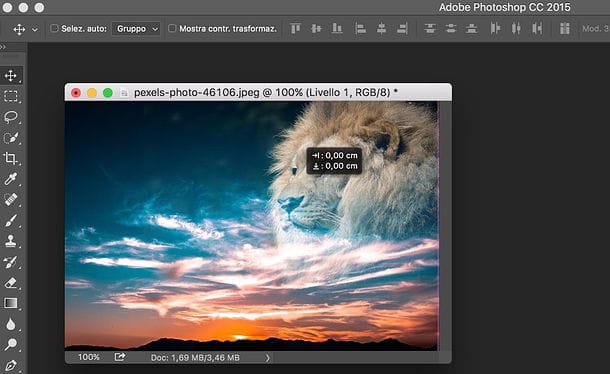
If after selecting a blending mode and / or lowering the opacity percentage of the image, the position or size of the image does not satisfy you, select the item Transform> Scale from the menu Modification Photoshop and use the mouse to move and / or resize the selected image. Then press on Submit per salvare i Cambiomenti.
Alternatively, if you only need to move the image and not resize it, you can select it Move tool from the left sidebar (the cross with the arrows that go in four different directions) and move the foreground image using the mouse (then holding down the left button on it and dragging it to the desired point).
If you need to erase some parts of the overlay image (eg a piece of background or a "smear" left after changing the blending mode), select the Eraser tool from the left sidebar (the eraser icon) and use it as if it were a brush to erase the parts of the image that you deem superfluous.
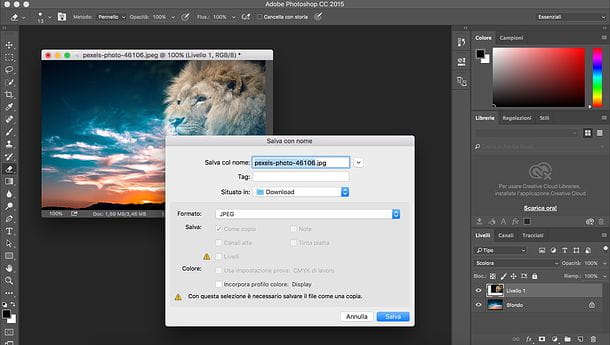
When you are satisfied with the result, you just have to save your image by selecting the item Save with name from the menu Fillet of Photoshop. In the window that opens, indicate the folder in which to save the image, select the format in which you want to export it through the drop-down menu Format, type the name you want to give the file in the field File name (o Save as) and click on the button Save but I will complete the operation.
Overlay two images by cutting out the subjects
If you want to superimpose two images in order to obtain a realistic collage and not an artistic collage with gradient effects, you need to cut out one or more subjects from one photo and paste them on the other. To do this, start Photoshop and import the two photos on which to operate: the background and the photo that contains the subjects to be cut out.
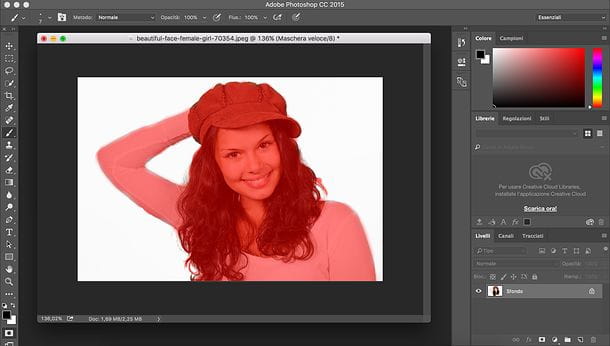
At this point, focus on the image that contains the subjects to be cut out and activate the Quick Mask mode by clicking on the rectangle with the circle inside located at the bottom of the Photoshop toolbar (the one on the left of the screen). Then select the black colour on the palette and use the brush to select the subject (or subjects) to cut out.
The selection must be as precise as possible, even if later you will be able to refine it using a special function in Photoshop. To get a good result, I recommend using brushes of various sizes (smaller to act on the outer edges and details, such as hair). If there are any smudges or errors, you can easily fix it by selecting the White color in the Photoshop palette and using the brush on the selection part to be deleted.
Once the selection is complete, deactivate the Quick Mask mode by clicking on the icon again rectangle with the circle inside located at the bottom of the Photoshop toolbar. Then select it rectangular marquee tool or any other selection tool from the Photoshop toolbar, right click on a point in the image where selection is active and choose the item Select reverse from the menu that opens. This way you will get an (almost) exact selection of the subject (or subjects) you need to cut out.
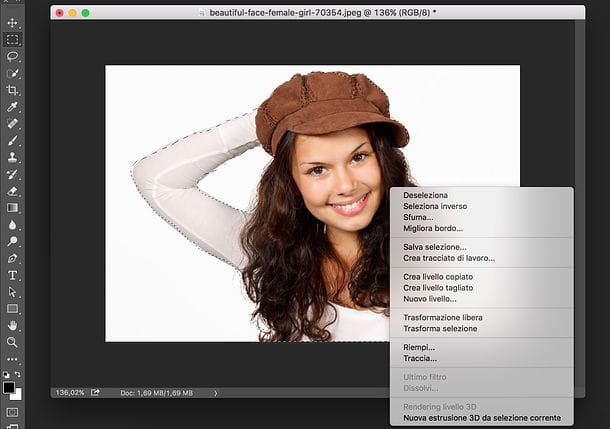
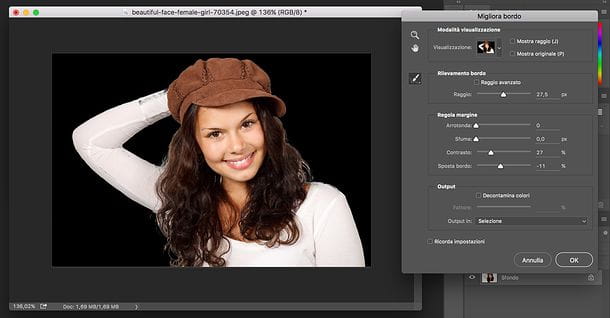
Now you need to refine the selection of the subject (or subjects) of the photo. Then click on the button Refine Edge located at the top right and uses the adjustment bars in the window that opens to remove all smudges from the selection.
For example, with the adjustment bar Round up you can make the edges of the selection "softer"; with the bar Contrast you can make them "sharper" while using the bar Move edge you can move the selection border forward or backward. When you are satisfied with the result obtained (the preview of the selection is shown in real time), click on OK.
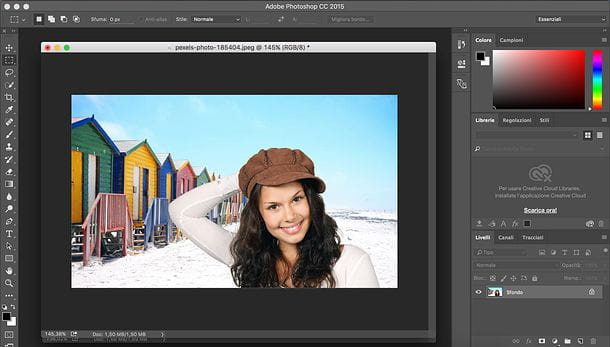
Now, select the item Copy from the menu Modification Photoshop (or press the key combination Ctrl + C/cmd + c) to copy the subjects you have selected, move to the image to use as background and select the item Copy from the menu Paste Photoshop (or press the key combination Ctrl + V/cmd + v) to glue the subjects onto the latter.
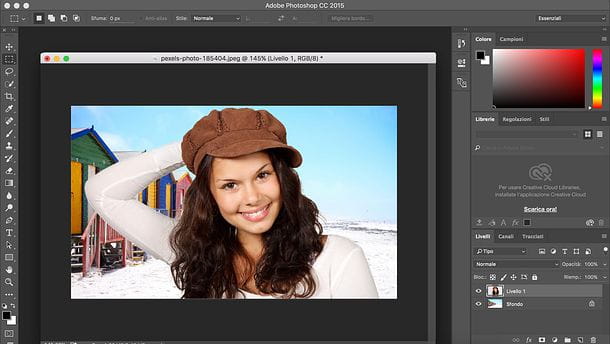
If you need to move and / or resize the subject in the background, select the item Transform> Scale from the menu Modification Photoshop and use the mouse to move and / or resize the image. Then press the button Submit per salvare i Cambiomenti.
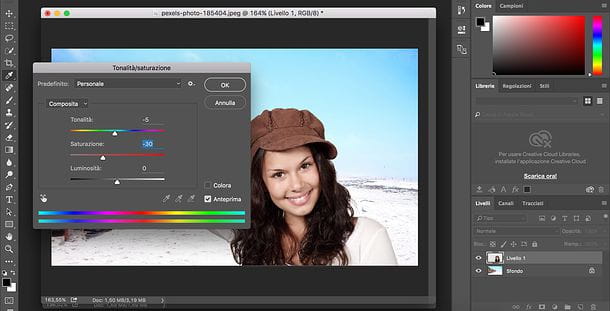
Finally, if you see fit, use the adjustment tools of tone, contrast e colore present in Photoshop to make the colors of the subject more in line with those of the background. The tools in question are all found in the menu Image> Adjustments Photoshop and can be used via the handy adjustment bars.
For example, there is the tool Hue / saturation which allows you to change the hue of the colors of an image, their degree of saturation and their brightness: in my opinion it is one of the most effective when it comes to adapting a subject to the colors of the background. Of course, before calling the tool make sure that in the levels (bottom right) the subject level is selected and not the background level.
Other operations you can do involve adding shadows using the blending options level and / or removing any residual smudges from subjects using the Eraser tool.
When you are satisfied with the result, go to the menu File> Save with nome Photoshop and proceed with saving the image in the format you prefer. If any of the steps are not clear to you and / or you want more information on how to crop an image with Photoshop, see my tutorial on how to crop with Photoshop.
Final report: I used the 2022 version of Photoshop CC on macOS to create the tutorial, but the instructions in the guide are valid for all the most recent versions of Photoshop and for all operating systems (therefore both Windows and macOS).


