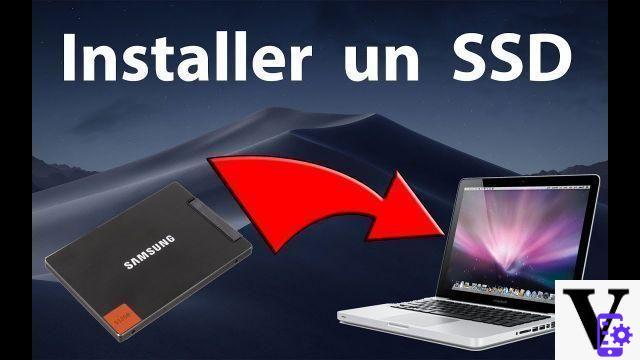
Years go by, and while it still performs well, your MacBook starts up slower and applications take a long time to start. Why not give the apple juice a little more by replacing the hard drive with a brand new SSD?
Please note, this tutorial is only valid for MacBook Pro prior to 2013 and White MacBook under Mac OS X.
Prerequisites
-
One SSD
-
An external enclosure for a 2,5-inch hard drive
-
Carbon Copy Cloner software (trial version allows full use for 30 days). It is possible to do without using tools built into Mac OS X, however, it requires going through an external startup disk, which extends the duration of the procedure.
-
A Phillips screwdriver and a precision Torx screwdriver.
Cloning
Connect the SSD to a USB port through the external box, then launch theDisk Utility integrated into Mac OS, located by default in Applications / Utilities. Select the SSD and go to the Partition tab.
Dance Partition scheme, to choose 1 partition, give the desired name for it, select the format Mac OS Extended (Journaled). In Options, to select GUID Partition Table. Finally click on Apply then wait while formatting.
Now that the SSD is ready to receive data, run Carbon Copy Cloner. In the field Source disk choose the disk to clone then in Disk select the SSD. The software should display a small yellow alert icon. Click on it then on Open Disk Center.
Select the SSD in the left column then Create Recovery HD partition for this volume. This step is not essential, but very useful if you want to reinstall your system in the event of a problem; the other solution is to create a USB key from which you can boot.
Once the procedure is complete, go back to Carbon Copy Cloner and reselect the SSD as the target. Click on Clone and let the software do it. Cloning will take more or less time depending on the amount of data to be copied and depending on the USB interface (2.0 or 3.0).
Before opening the MacBook to replace the HDD with the SSD, go to the System / Startup Preferences and select the SSD instead of the hard drive as the boot drive.
Installing the SSDShut down the MacBook. Remove the screws under the computer then remove the cover.
Remove the two screws from the hard drive retaining bar to release it. Detach the HDD from the SATA cable carefully so as not to damage the cable.
Transfer the screws from the HDD to the SSD using the Torx screwdriver.
Reconnect the SATA cable to the SSD then place it as the HDD was. Screw the retaining bar back on. Close the cover.
Start the computer. Normally nothing should have changed except the speed of startup and use.










![[Review] Samsung Powerbot VR7000: the robot vacuum cleaner from Star Wars](/images/posts/6bc44de38605b5c0fa12661febb1f8af-0.jpg)


