


 Illustration
During your creations on Adobe Illustrator, you sometimes need to be precise when arranging the elements between them. For this it is possible to place markers. We can put them vertically, horizontally but also at an angle, and that is much less known.
TÉLECHARGER ILLUSTRATOR
How to add marks on your document in Illustrator?
1. To set benchmarks, you must display the rulers.
View > Rulers > Show Rulers.
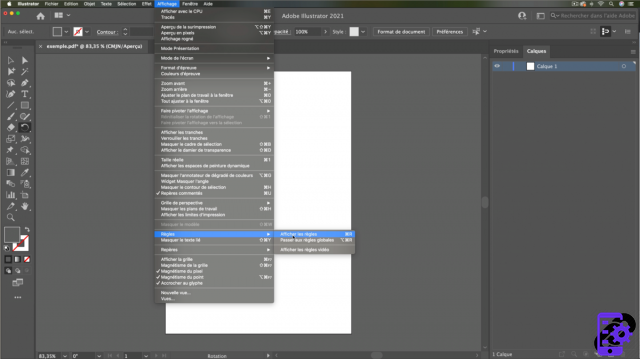 Open rules
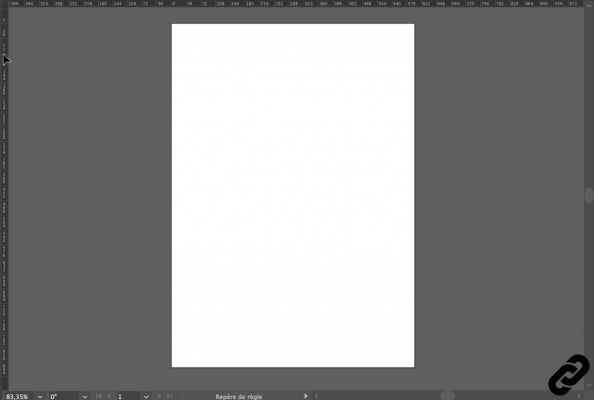
2. You can see tick marks on the edges of your workspace: these are the vertical and horizontal rulers.
We will create marks :
- Point your mouse cursor on the vertical ruler (a black arrow appears).
 Rules
Rules
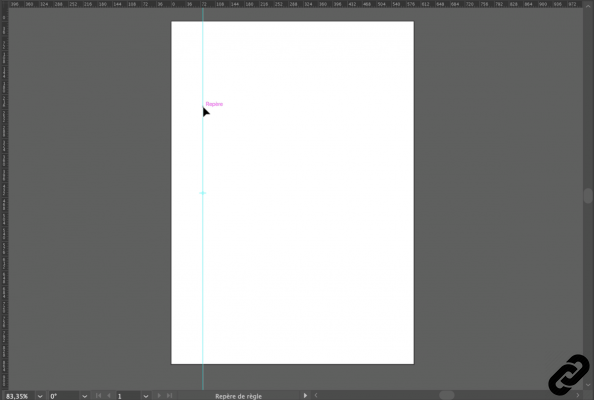
3. Click, hold the mouse button and drag to the right. A turquoise blue line will appear, this is your first mark.
Once the landmark is placed, you can modify its position by returning to it, clicking and dragging.
 Create markers
4. If you want several markers, repeat the same operation, both for the vertical and horizontal ones.
 Several landmarks
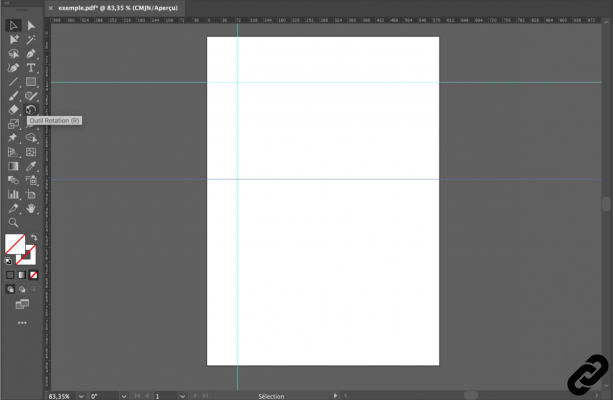
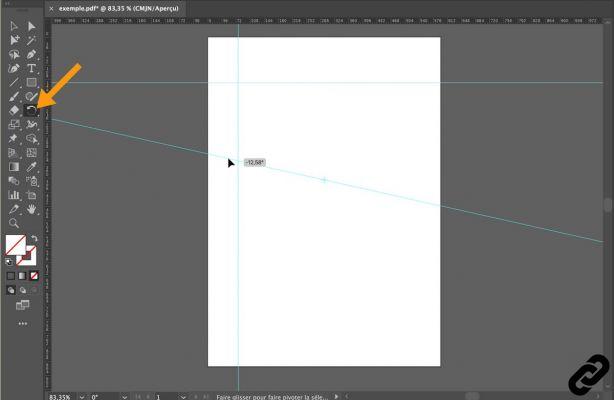
5. By default the marks are at 0° or 90° but it is possible to change this angle.
- Select the marker you want to tilt.
- In the toolbar choose therotate tool (a rotation axis will be created on the marker).
Point the mouse cursor there and move it to change the angle.
 Mark rotation
ILLUSTRATOR you are passionate about and you want Learn More ?
Come and discover the complete Illustrator Initiation training.
More than 10 hours of videos, creations and practice.
-20% for all Expertsconnecting readers.


