


Geometric shapes are used to flesh out the presentation of your Word document and to model concepts. Version after version, the offer has diversified: in addition to the basic shapes (square, triangles, arrows...), you can now insert lines drawn with the mouse, curves, equation symbols, flowchart elements, bubbles, callouts, various stars, banners...
This easy tutorial details all the steps to insert the geometric shape of your choice into any document on Word.
Insert a geometric shape in Word
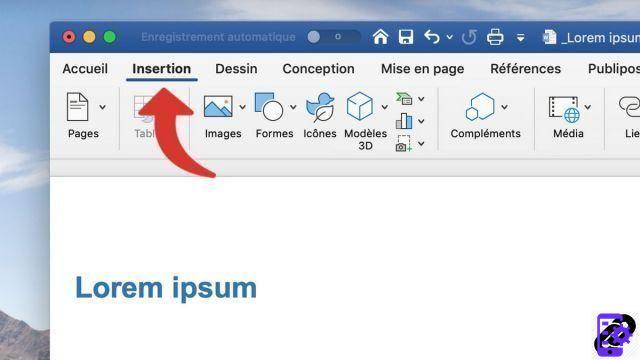
- Click on the tab Insertion.
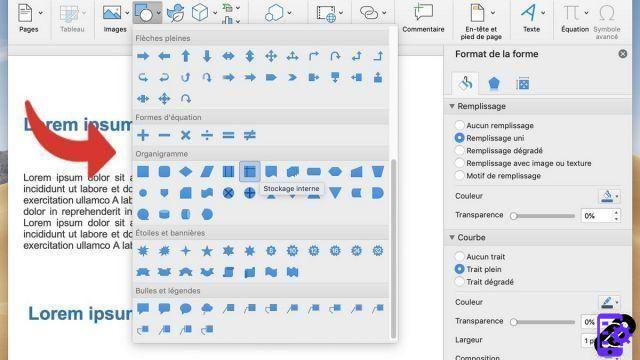
- Click on the button Forms.

- From the drop-down menu, select the forms of your choice.
- Click in the document where you want to insert the shape.
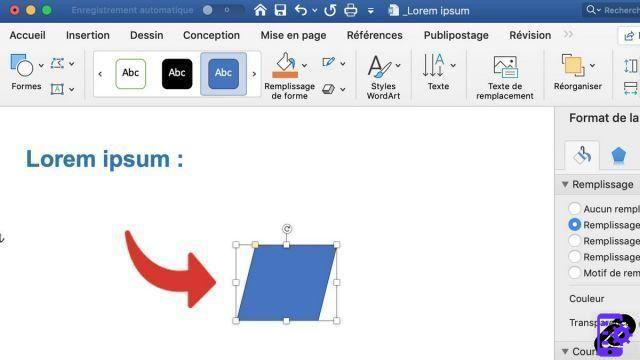
Once inserted, you can move the shape or change its appearance by right-clicking and selecting it Shape format. To add text to your shape, the most accurate way is to create a text box.
To download :
Microsoft Word for Windows 10 | Microsoft Word for MacOS
Find other tutorials on Word:
- How to add watermark in Word document?
- How to add background to Word document?
- How to quickly insert screenshot in Word?
- How to insert picture in Word document?
- How to quickly insert screenshot in Word?


![[Review] Samsung Powerbot VR7000: the robot vacuum cleaner from Star Wars](/images/posts/6bc44de38605b5c0fa12661febb1f8af-0.jpg)


