


What to do when the pc starts up but the monitor remains black


It happens to everyone to turn on the PC, hear the reassuring fans that start to spin and (in older PCs) an equally comforting and short "beep!". Normal signals that precede the usual, quiet, startup of the computer and the operating system (which, Windows or Linux, in this article we will assume as perfectly functioning).
What happens, though, if the monitor stays black? Don't panic, and try these tips, in the order in which we propose them:
Do you want to see the TV series without clicks and interruptions? The ideal solution is unlimited surfing at 1 Gigabit with the true optical fiber of InformaticsKings UltraInternet Fibra! Check here if your area is covered and find out the incredible rate
1) Test the monitor
Before you dive into making assumptions about complicated and time-consuming solutions, make sure (this is the most obvious thing) that your monitor is working properly. Unplug it from your computer, turn it on and off. If the display shows diagnostic information of any kind, you will know that the display is receiving power and is capable of displaying content.
Do you want to buy a new laptop? Here's where you can do it, at the best prices
2) Verify that the PC has completely restarted from a state where it was completely off. A computer may appear to be "not turned on" when it is just having trouble recovering from the standby / hibernation or hibernation state of Windows.
Turn off the computer completely by holding down the power button for 3 to 5 seconds. With the power completely cut off, turn on the PC again and try to see if it boots normally.
3) If your pc is still one of those that beeps when starting up, check the meaning by consulting this article
4) Clean up the CMOS
Turn off the PC, unplug the power and open it. Remove the button battery from the motherboard and wait at least a quarter of an hour (the time necessary for the PC to lose all configuration data).
Replace the battery in its compartment, reconnect the power cord, and turn the computer back on. You will notice upon entering the BIOS that all settings have returned to factory defaults. A BIOS configuration problem can sometimes be at the root of PC startup problems.
A warning: if with this action you managed to solve the problem and you need to change some BIOS settings, do them one at a time, save and restart, so that if the problem is revised you will know what was the cause.
5) Check that the voltage of the power supply is set correctly
It can happen (rarely, in those sold in Europe) that on one side of the power supply there is a manual switch 110/220 volts: make sure it is in the 220 position.
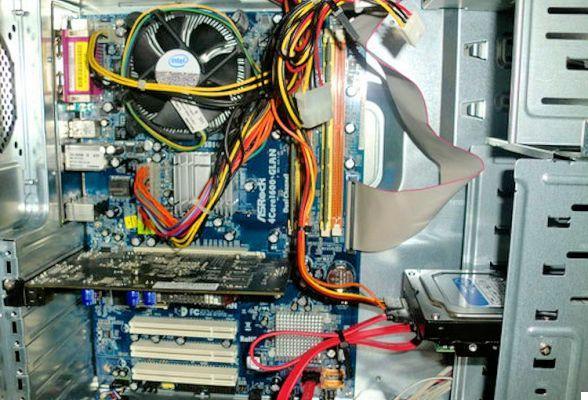
6) Extract and reinsert any component inside the PC
It is a valid advice first of all for RAM, whose contacts can oxidize (in that case, take a soft pencil eraser and rub it on it), but also for video cards and all connectors in general. Often this simple "order and clean" operation helps.
7) Take out the CPU and reposition it, but only in extreme cases, if you have the impression that it moves in its housing. It is a very delicate operation, leave it to someone more experienced if you don't feel like handling an object worth hundreds of euros safely.
8) Check for any signs of short circuits sometimes caused by screws that go around the case and come into contact with the motherboard or other components, or by some badly connected cable. Obviously, if the sheath of some cable is exposed and there are wires in evidence, cover it with a couple of turns of electrical tape.
9) Test the power supply
It is not said that since the fans and LEDs of the PC are working, the power supply is also doing the same. It is one of the components that causes the most problems ever (and for this reason it is worthy of an important investment when building a PC yourself) and is often the cause of intermittent operation or malfunction of one or more computer components.
To test it you need a tester and a bit of electronics experience: if you are not able, take it to a technician. If even one test fails, it would be much better to change it immediately with a quality model and obviously with an adequate wattage, or higher than the components present in your PC (current and maybe even future).
10 ) Start the computer with only the essential components. The purpose here is to eliminate as much hardware as possible, while retaining the PC's ability to boot, to isolate the problem as much as possible. If your computer starts normally with minimal hardware, skip to step 11.
If your pc still doesn't show anything on the monitor, proceed to step 12.
11 ) Reinstall all hardware removed in step 10, one component at a time, and test after each installation.
Since the pc has booted up with only the core components, these same components must function properly. This means that one of the components you deleted earlier are causing the pc to not boot properly. By reinstalling each device in the PC and testing them each time, you will eventually find the one that is causing the problems.
Obviously, replace the defective device when and if you can locate it.
12 ) Test your computer peripherals with a motherboard tester
If your pc still doesn't show any information on the monitor even though you have left only the basic peripherals, a motherboard tester (available on any ecommerce site for a few dollars) will help you identify the component that is causing problems.
If you feel you are unable to work with a motherboard tester, skip to the next step.
13 ) Replace each basic component of the pc with an identical or equivalent one that you believe to be fully functional, one component at a time, to understand which could be the culprit. Test after each replacement to find out which component is defective.
14 ) If you don't have a motherboard tester either you don't intend to buy it or you don't even have any spare parts to test with, you can't figure out which component is faulty.
In these cases, you have little choice but to rely on an experienced friend or rather a specialized technician.
Do you want to buy a new laptop? Here's where you can do it, at the best prices


